
Below are the steps to create mouse profiles on Razer Synapse 4.
-
Launch Razer Synapse 4.
-
Select your mouse from the “DASHBOARD”.
-
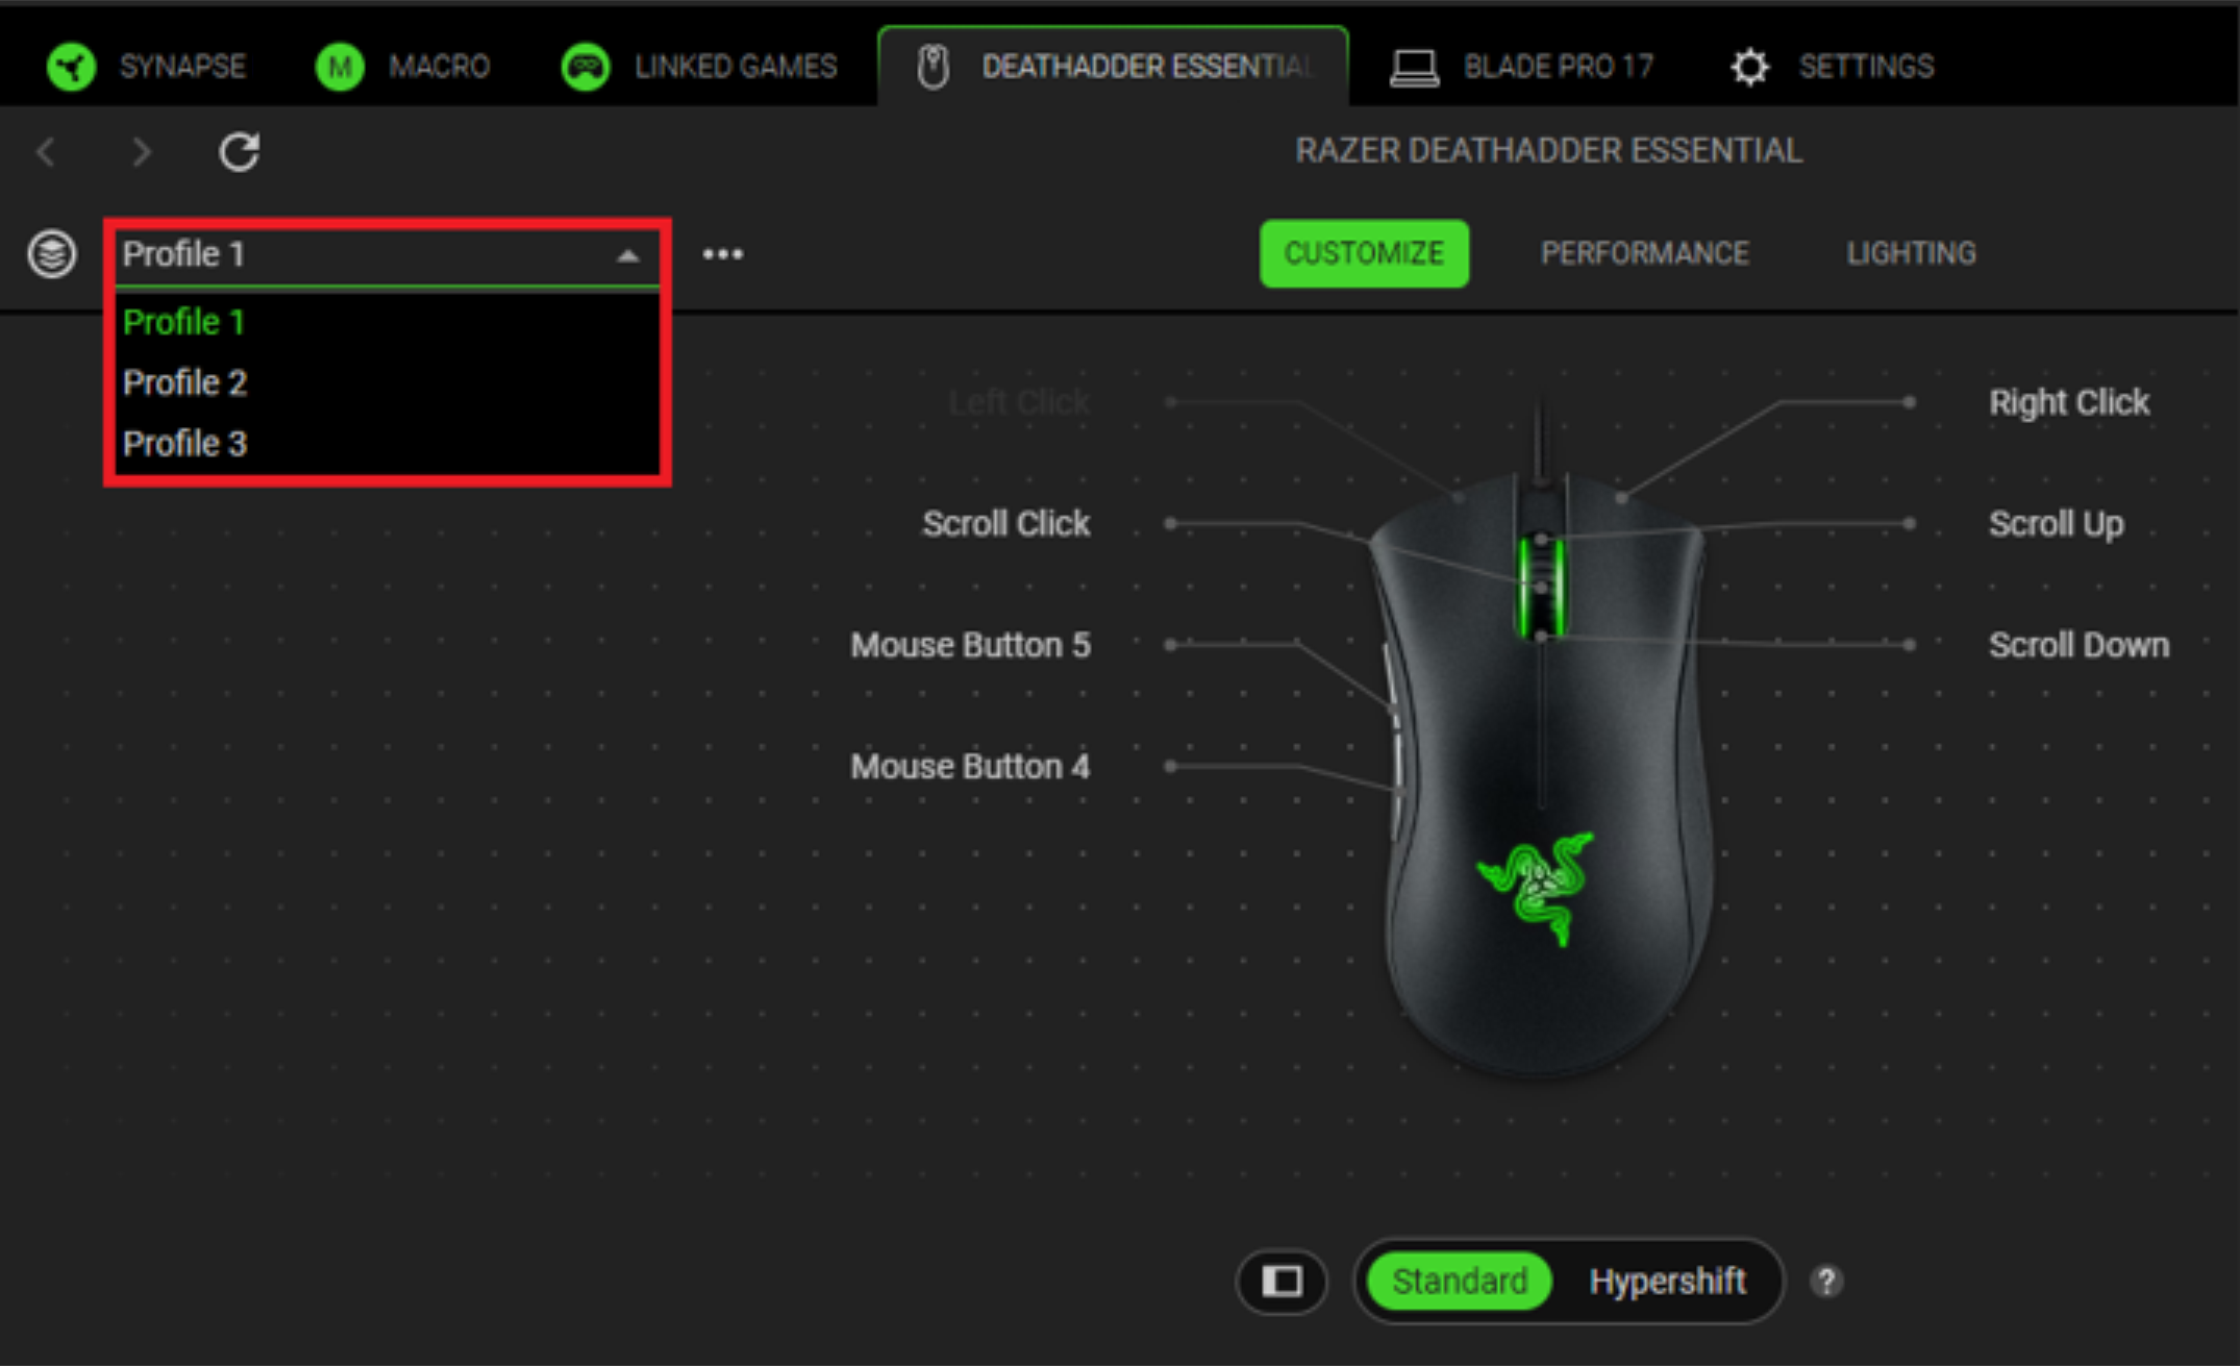
Click on the three dots “…” and select “Add” to create a new profile.

-
Rename the profile.
-
Select the profile you want to rename.
-
Click on the three dots “…” and select “Rename”.

-
Fill out the text field with your preferred profile name.

-
-
Assign a different set of commands per profile.
- Default
- Keyboard Function
- Mouse Function
- Sensitivity
- Macro
- Inter-Device
- Switch Profile
- Switch Lighting
- Launch Program
- Multimedia
- Windows Shortcuts
- Text Function
Note: To create multiple profiles, repeat steps 1 to 5.
-
Click on the memory card icon to assign a profile to the on-board memory of your Razer mouse.
Note: Refer to your manual to see if your Razer mouse has on-board memory.
-
Drag the profile to whichever profile color you want once the “ON-BOARD MEMORY” section is open. The profile should appear in the on-board memory section.
You have successfully created mouse profiles on the Razer Synapse 4.

