- https://rzr.to/ZvI4sn | March 13, 2024
You can view the video below for instructions or review a copy of the video transcript.
STEP-BY-STEP PROCESS- Download the pairing utility on your computer with the link above.
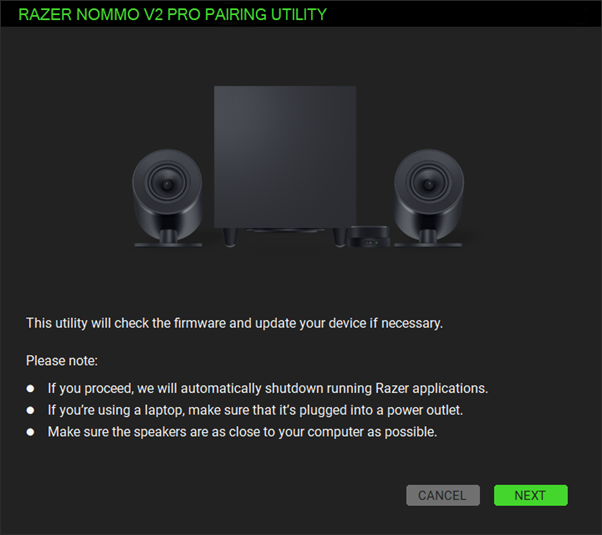
- Run the pairing utility.
- Click "NEXT" to proceed. Do note that all Razer applications will be automatically closed.
- Follow the instructions in connecting the devices to the power outlet and your PC then click “NEXT”.

- Ensure the subwoofer LED indicator is blinking green. If it is not blinking green, use a tweezer or sim ejection pin to poke on the Subwoofer pairing button as shown below.
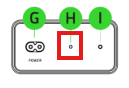
Note: If your subwoofer indicator still shows a static green LED, do the steps below:
For a device running firmware v1.8.0.0_r1 and above, double press and hold the pairing button until the indicator turns blinking green.
For a device running firmware v1.8.0.0_r1 and below, press and hold the pairing button until the indicator turns blinking green.
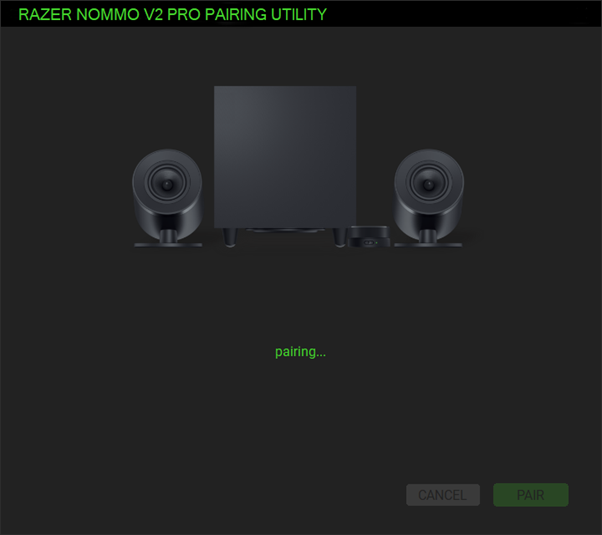
- Click “PAIR”.
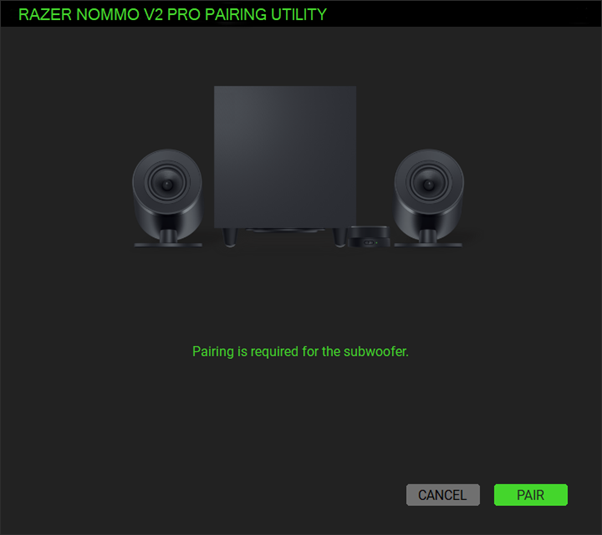
- Wait while the pairing is in progress.
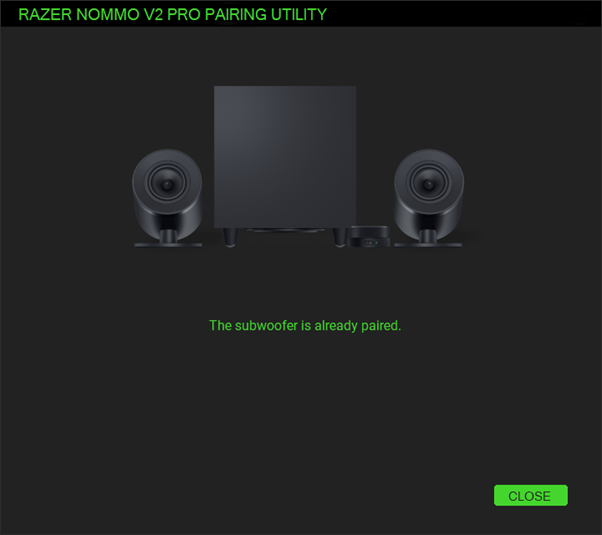
- Click “CLOSE” once the process is completed.