This document is a step-by-step process in pairing a replacement USB wireless dongle to the Razer Turret for Xbox One’s included keyboard and mouse.
Available Versions
- https://rzr.to/VueHK
- Supports multiple languages and for the user who would like to pair their dongle with the Mouse.
Step-by-step Process
Note: Make sure to download the latest utility version through the link above before proceeding.
-
Download the latest firmware update.
-
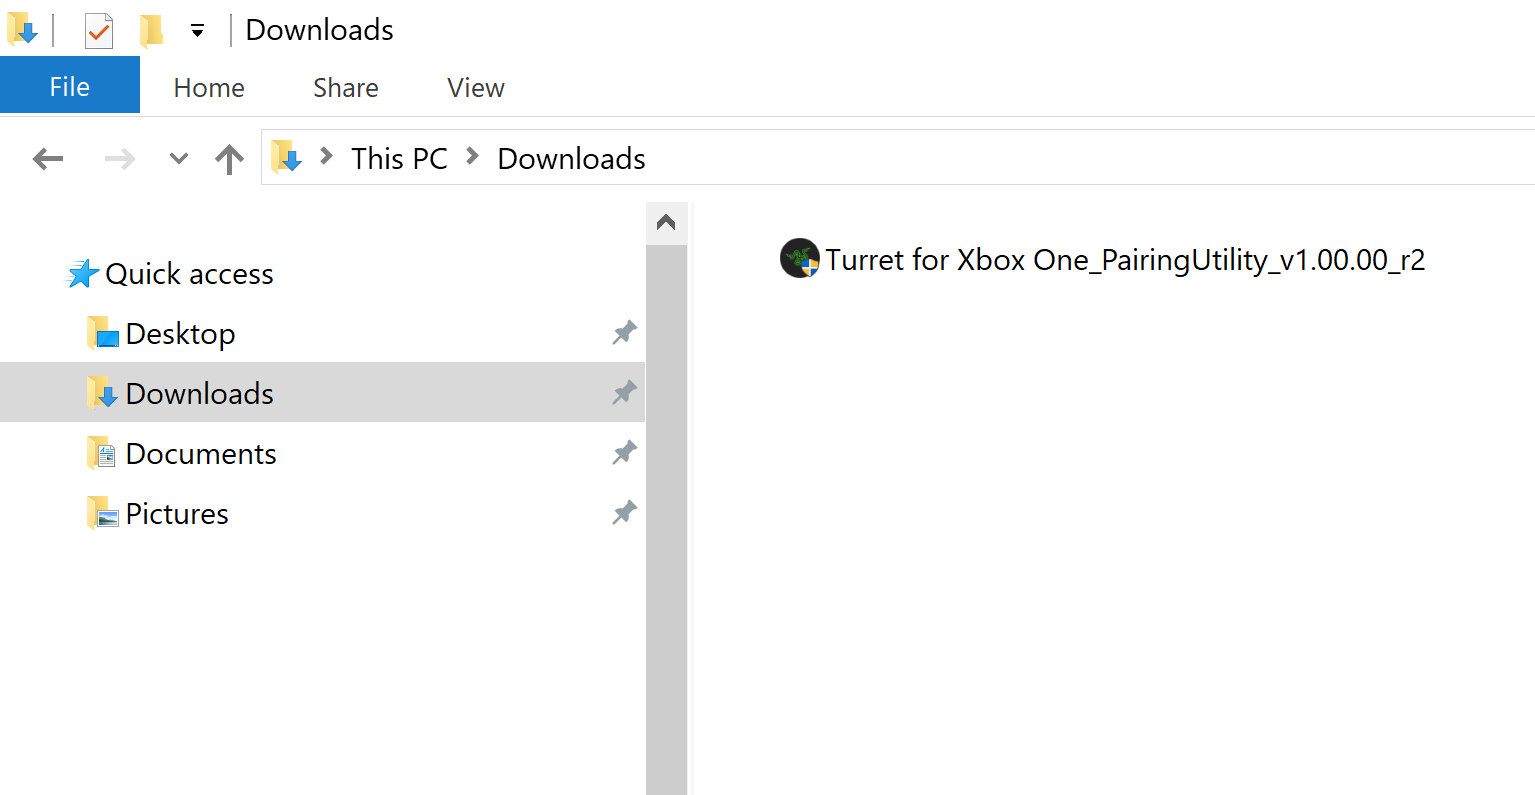
Run the "Turret for Xbox One_PairingUtility_vX.XX.XX_rX.exe" which should be located in the "Downloads" folder of your computer.
Note: Downloaded file location may vary, depending on which folder you selected prior to downloading.
-
You will be notified that all running Razer applications will be shut down. If you have unsaved progress in other Razer programs such as Synapse, make sure to save your work before starting the pairing utility. Click "NEXT" to continue.

-
Plug the replacement USB wireless dongle to your computer or laptop. Click "NEXT" to continue.

-
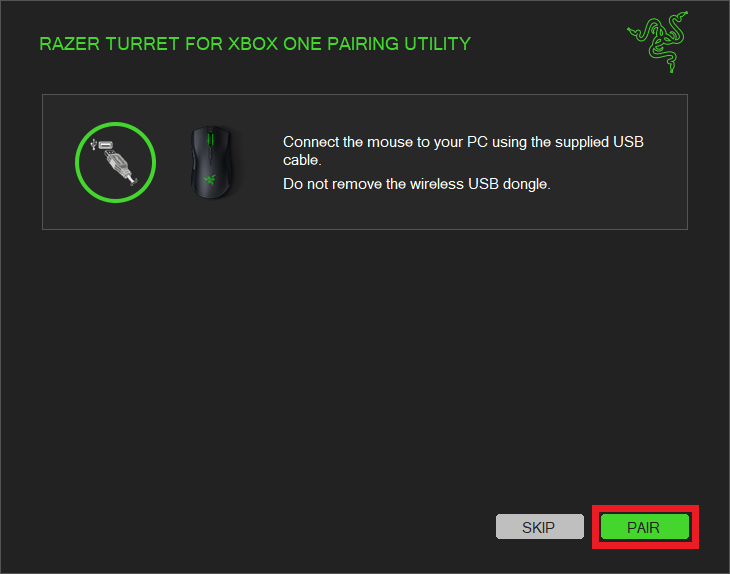
Connect the mouse to another USB port in your computer using the supplied USB cable. Do not remove the wireless USB dongle. Click "PAIR" to start the pairing process.
-
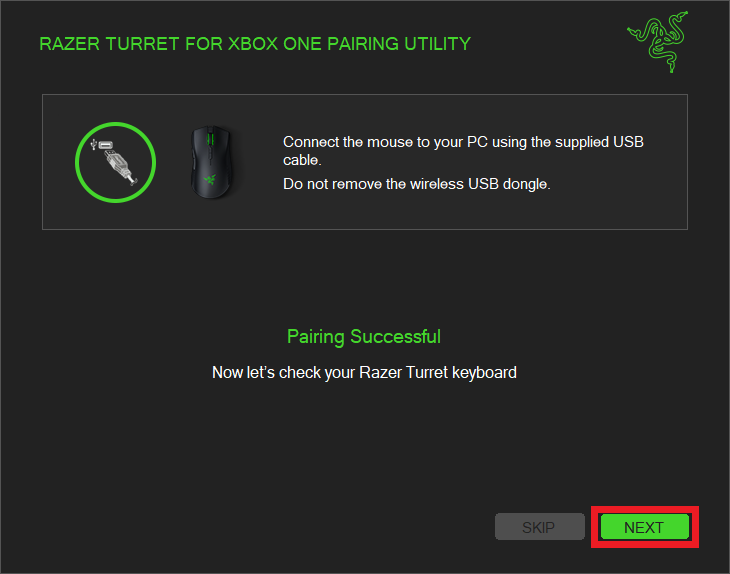
You will be notified once the pairing process is complete. Click “NEXT” to continue.
-
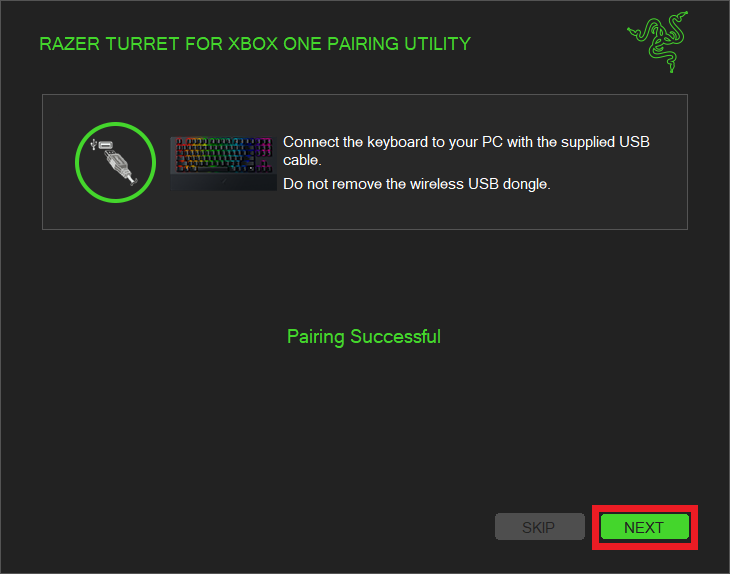
Connect the keyboard to your computer using the supplied USB cable. To do this you may remove the mouse. Do not remove the USB dongle. Click "PAIR" to begin pairing.

-
You will be notified once the process is complete. Click "NEXT" to continue.
-
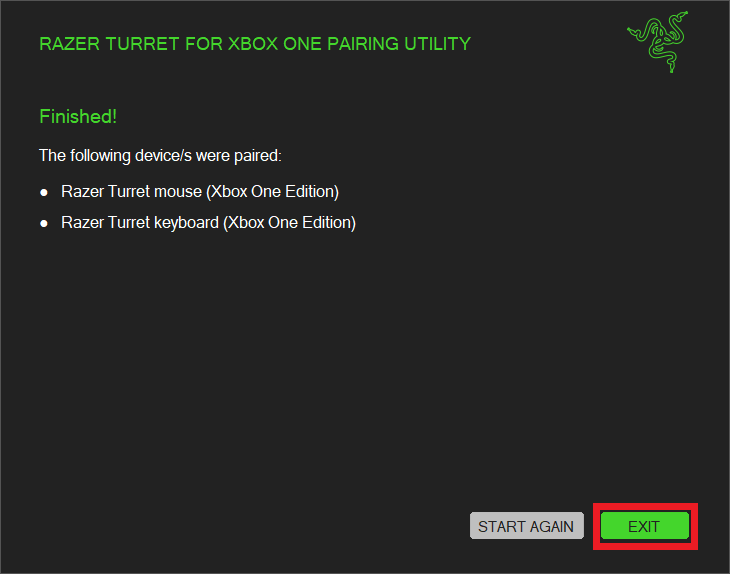
Pairing complete. You should now be able to use the Razer Turret for Xbox One wirelessly with your replacement USB wireless dongle. Click "EXIT" to close the utility.