
Applicable models:
You can enhance productivity by leveraging advanced mouse shortcuts in Razer Synapse 4, enabling a more efficient workflow. Assign an AI launcher to your mouse to activate an AI overlay of tools and facilitate seamless tasks with a single command.
-
Open Razer Synapse 4.
-
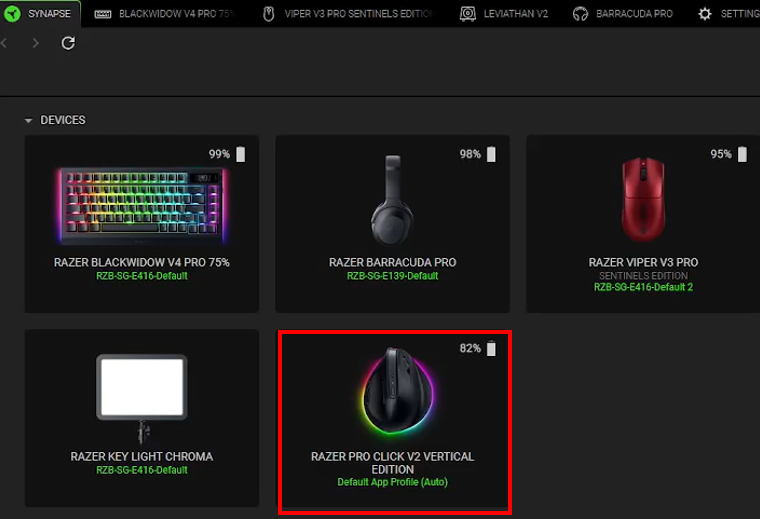
Select your mouse from the DASHBOARD.
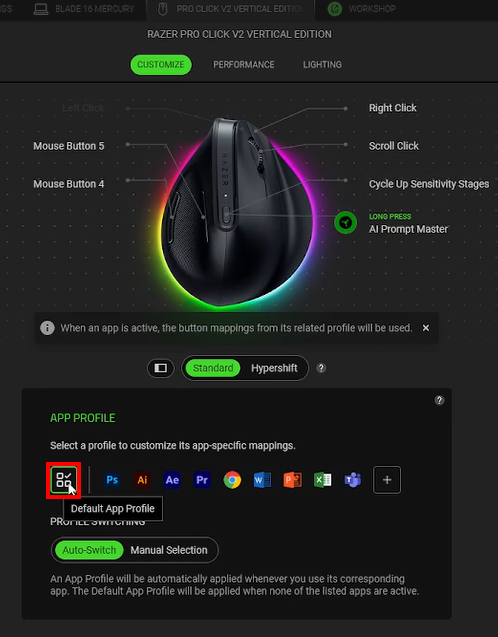
Note: Make sure the “Default App Profile” button is selected.
To customize app-specific mappings to your Pro Click V2 mouse buttons, see How to assign app-specific button mappings to your Razer Pro Click V2 mouse for more details.
-
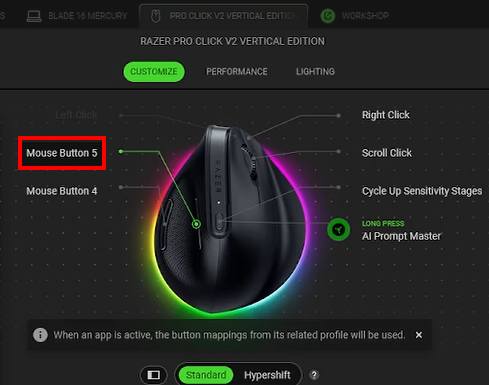
Click on the mouse button you want to assign an AI launcher to.
-
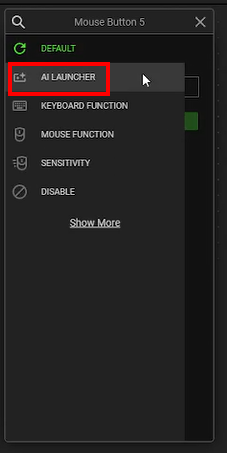
Click “AI LAUNCHER”.
-
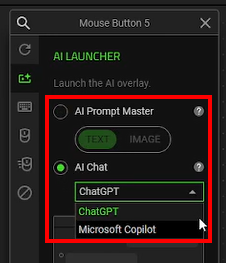
Choose an AI overlay.
-
AI Prompt Master – This will open an overlay where you can input AI prompts before sending them to a chosen service. The options are:
-
TEXT
-
IMAGE
-
-
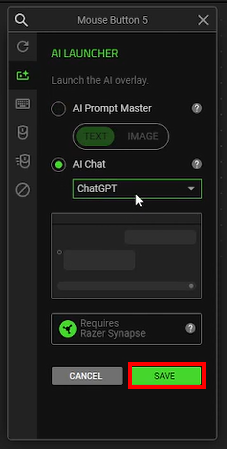
AI Chat – When activated, this will launch an overlay with the selected AI engine. The options are:
-
ChatGPT
-
Microsoft Copilot
-
-
-
Click “SAVE”.
-
Press the AI launcher button for one second to launch the overlay.

