
Applicable models:
You can assign button mappings to your mouse to customize app-specific profiles in Razer Synapse 4.
Follow these steps to assign app-specific button mappings to your mouse.
-
Open Razer Synapse 4.
-
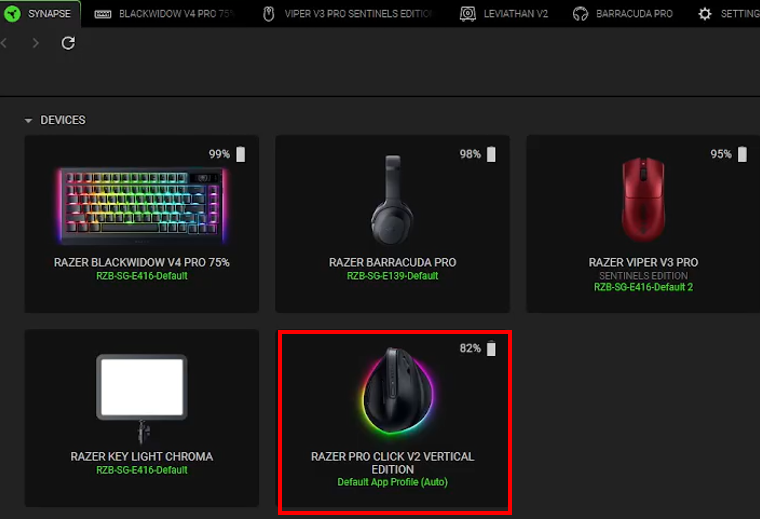
Select your mouse from the DASHBOARD.
-
Select an application you want to customize app-specific mappings to.
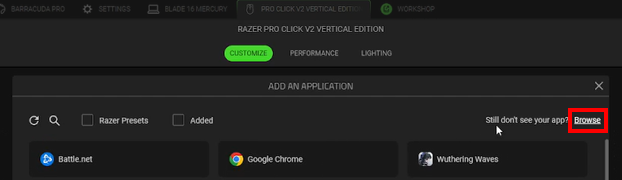
If your preferred application is not available in the APP PROFILE section: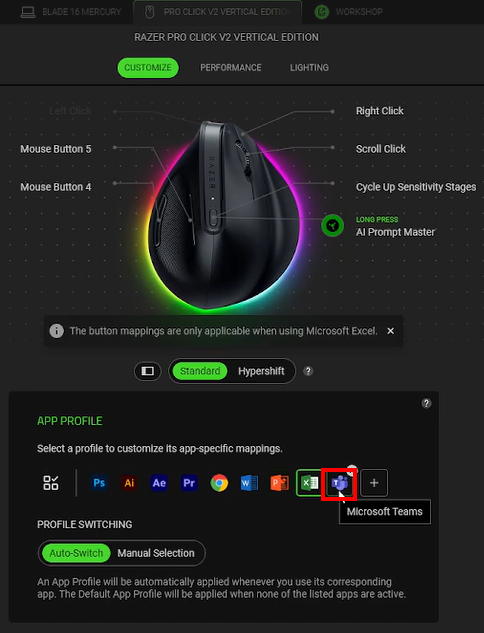
-
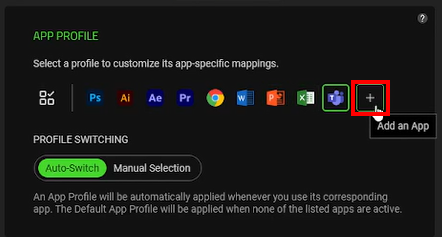
Click the “+” button to show more applications.
-
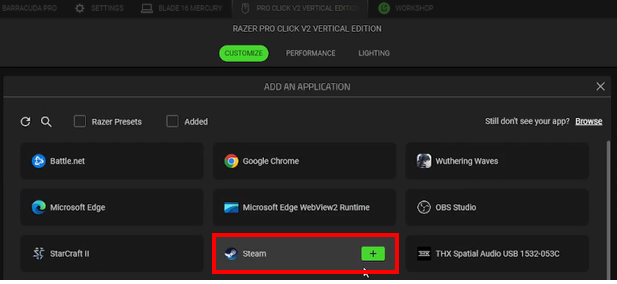
Click the “+” button next to the application you want to add.
-
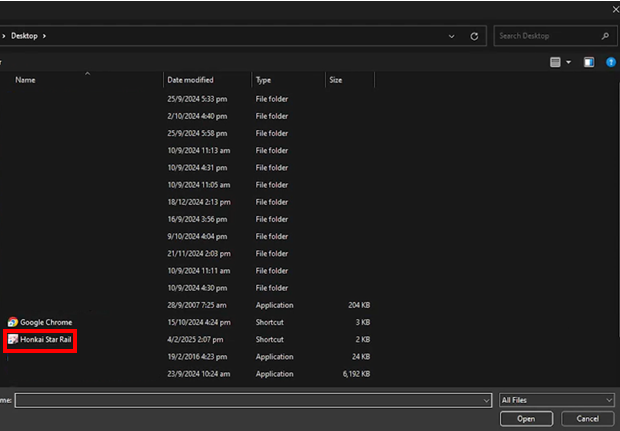
If you still do not see your preferred app, click “Browse”.
-
Double-click on the application you want to add.
-
-
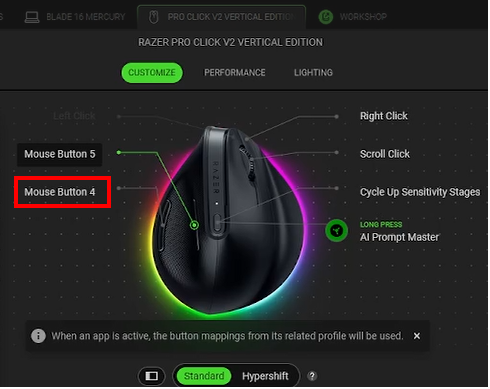
Click on the mouse button you want to assign mappings to.
-
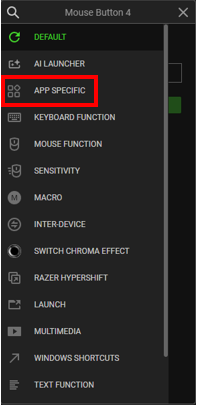
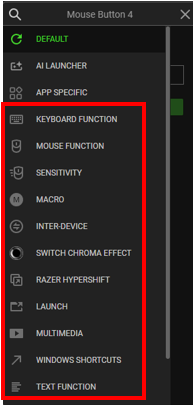
Choose an action to remap your button’s functionality.
Note: Some App Profiles may have an “APP SPECIFIC” tab which includes preset Macro.
-
Click “APP SPECIFIC” to remap app-specific button mappings.
The APP SPECIFIC tab will pop up for these preset apps:
-
Microsoft Word
-
Microsoft PowerPoint
-
Microsoft Excel
-
Microsoft Teams
-
Adobe Photoshop
-
Adobe After Effects
-
Adobe Premier Pro
-
Adobe Illustrator
-
-
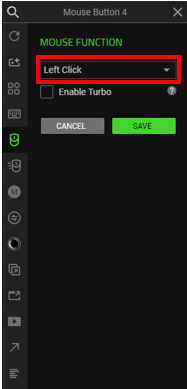
Select your preferred function such as MOUSE FUNCTION, MACRO, or SENSITIVITY, for generic button mappings.
See How to remap keys or buttons on a Razer laptop, keyboard, or mouse for more details.
-
-
Click on the action you want to assign.
-
Click “SAVE”.
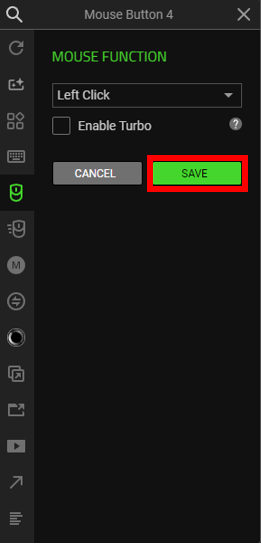
The key is now assigned based on the App Profile you selected.
-
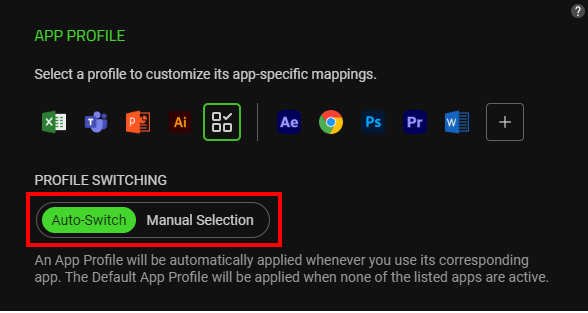
Choose your preferred profile switching.
-
Auto-Switch – An App Profile will be automatically applied whenever you use its corresponding app. When the app is active, the button mappings from its related profile will be used.
-
Manual Switch – The selected App Profile is always active, even when the related app is not running.
-

