
You can assign Razer Chroma settings to a Razer mouse's buttons, allowing you to switch between Razer Chroma lighting effects without opening Razer Synapse.
See the step-by-step instructions below on how to create multiple Chroma effects on a Razer mouse.
-
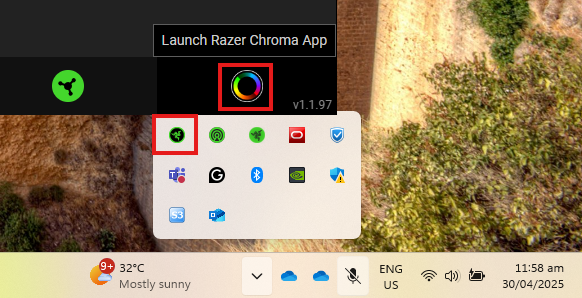
Launch Razer Chroma.
-
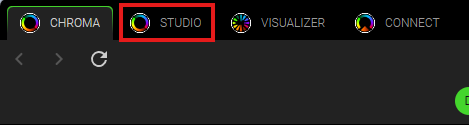
Click the “STUDIO” tab.
-
Click the ellipsis icon, then click “Add”.
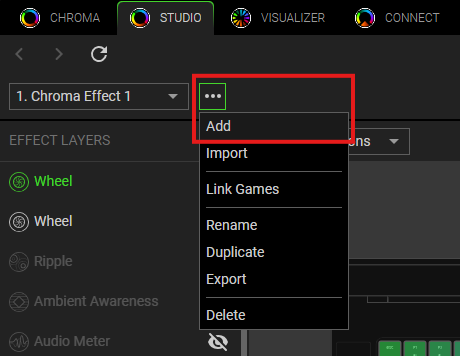
Note: The new effect is defaulted to the name “Chroma Effect 1” and progresses to 2, 3, 4, and so forth as you keep adding new effects.
-
Click the Chroma effect you prefer under “ADD EFFECT”.

-
The effect will then be added to the "EFFECT LAYERS" section as shown below and will be prioritized from top to bottom.
-
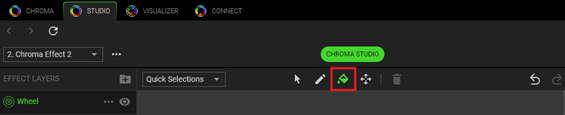
Select the effect and apply the effect to your Razer product using the following application tools:
-
Selector - Select the LED where you want to apply the effect. (Shortcut: Ctrl + S)
-
Pen - Lets you draw on the LEDs with the current effect. (Shortcut: Ctrl + P)
-
Paint Bucket - Fill an area continuously with the current effect. (Shortcut: Ctrl + B)
-
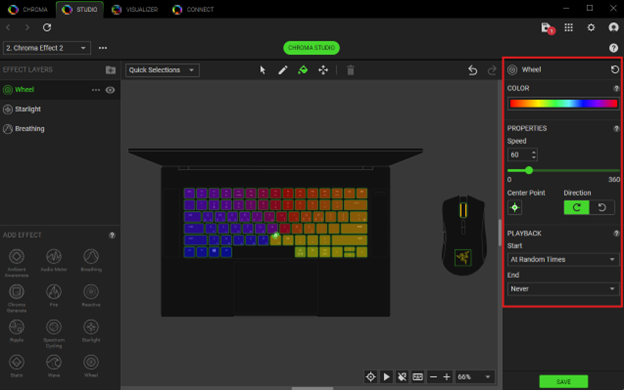
You can also edit the effect using the “Effect Settings” column on the right side.
-
-
Click on your mouse to apply the effect.
-
Click “SAVE” to complete the process.
Your mouse will immediately apply the lighting effect.
To configure Chroma lighting on your Razer mouse, see How to configure the Chroma lighting on a Razer mouse for more details.

