Step-by-step process
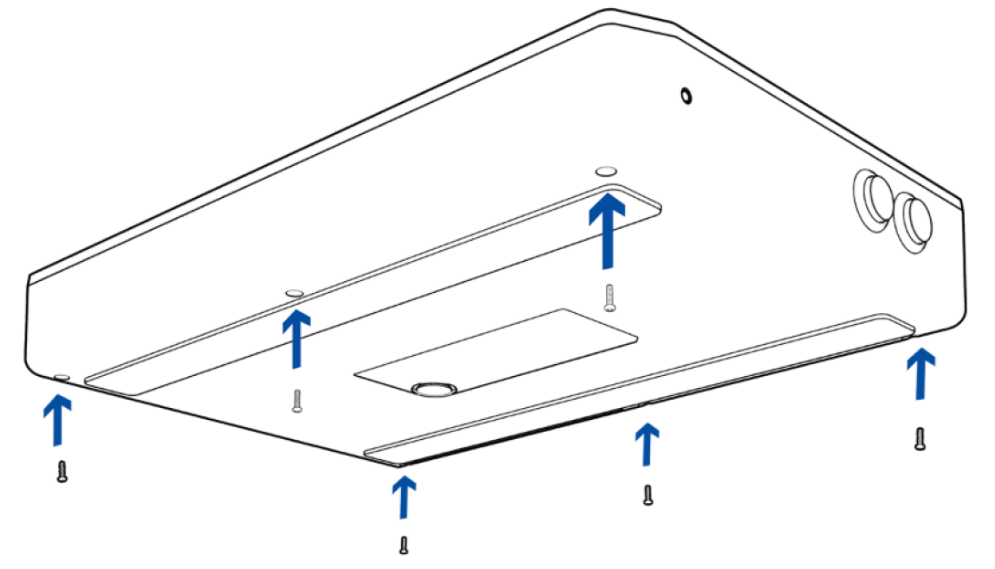
- Remove the screws at the bottom of the Razer Panthera Evo using a Philips screwdriver.

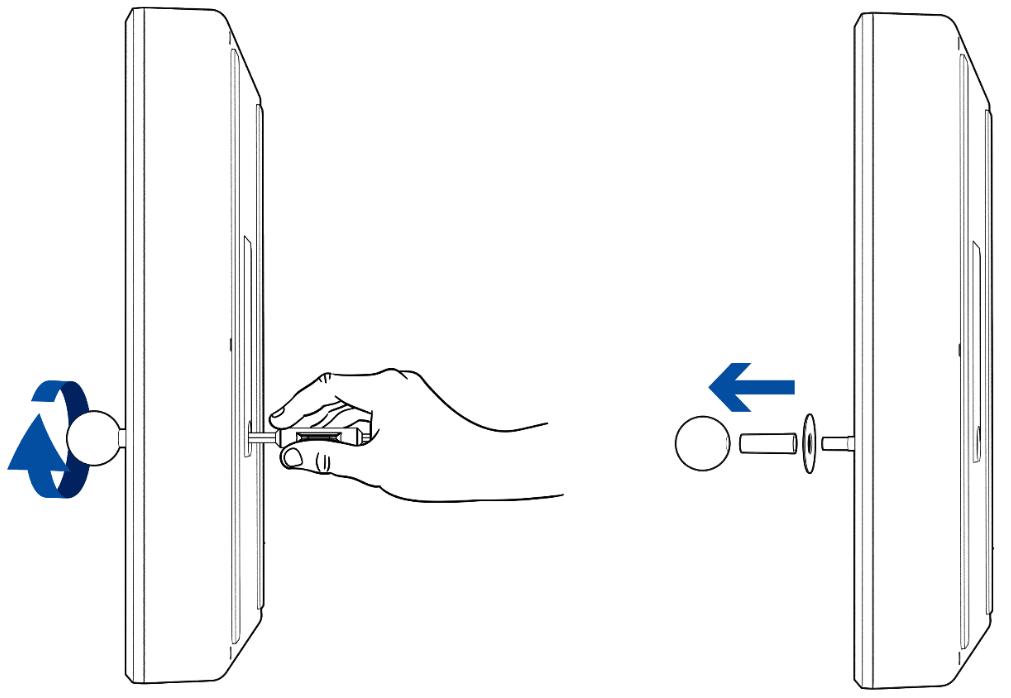
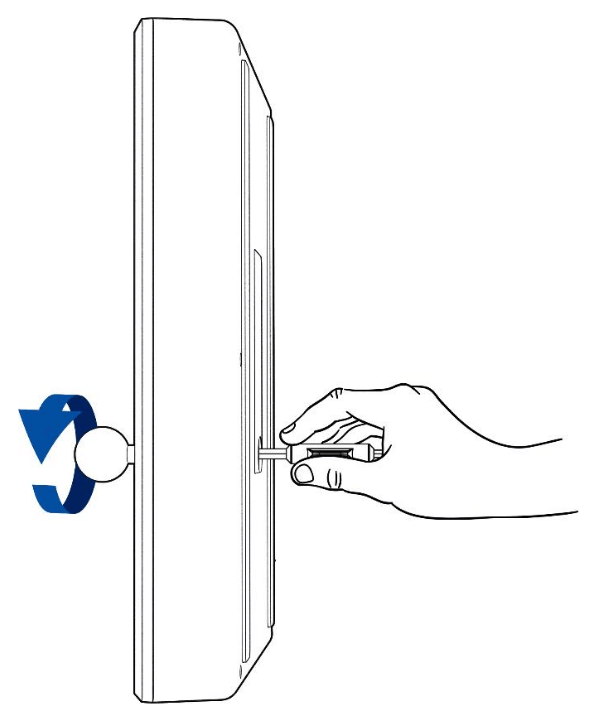
- Tilt the arcade stick sideways, take a flat tip screwdriver, and hold its flat tip firmly into the screw head found inside the access hole.

-
While holding the flat tip screwdriver, rotate the ball top grip counterclockwise until it is fully removed from the joystick shaft.
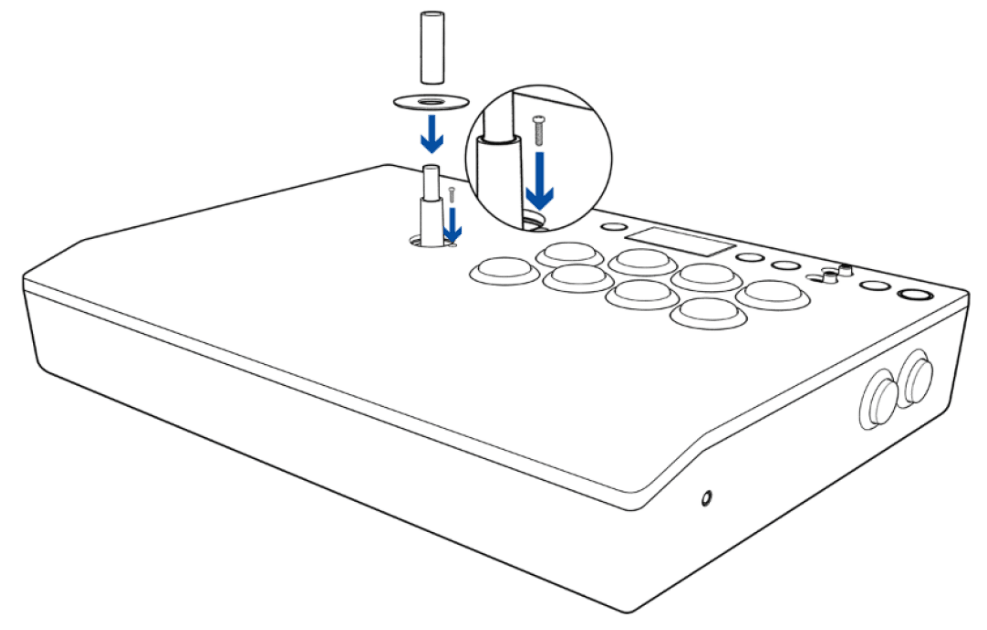
-
Remove the shaft cover and joystick dust cover.
- Place the arcade stick on a flat surface and then remove the plate cover’s screw.

- Remove the plate cover and the artwork.

- Align and place your custom artwork design on top of your Razer Panthera Evo.
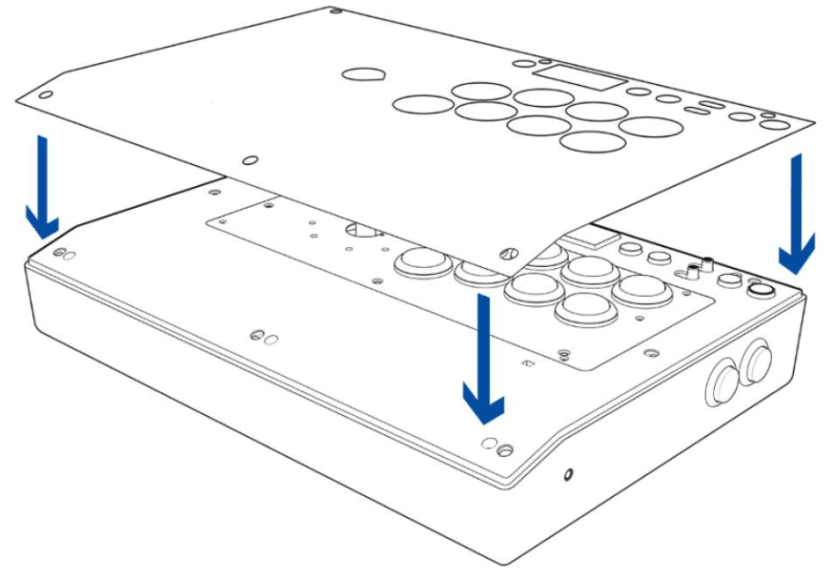
- Place the plate cover onto the arcade stick, fasten its screw to hold it in place, and then return the shaft cover and joystick dust cover.
- While holding the flat tip firmly into the screw head inside the access hole with a flat tip screwdriver, rotate the ball top grip clockwise to fasten it in place.
- Reattach the bottom screws of your Razer Panthera Evo.