
A clean re-installation of Razer Synapse may help resolve recurring software issues, device detection problems, or performance-related errors. This article provides step-by-step instructions on how to completely remove and reinstall Razer Synapse on a Windows PC.
You can view the video below for instructions or review a copy of the video transcript.
Follow the detailed instructions below to run the re-installation process of Razer Synapse in your device.
Select Razer Synapse version
Razer Synapse 4
-
Verify that Razer Synapse 4 is installed on the PC.
Note: Collect and save Razer Synapse logs prior to performing a clean re-install, should the issue need further investigation. See the answer below for more details.
-
Back up profiles from Razer Synapse. See the answer below for more details.
Note: Skip this step if you already have a Razer ID and have your profile associated with Razer Synapse.
- Close all Razer Synapse programs.
-
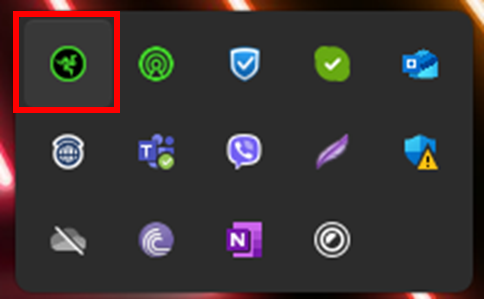
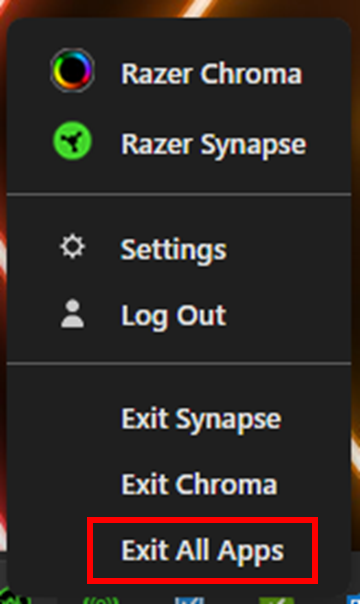
Right-click on the Razer Synapse 4 icon on the system tray.
-
Select "Exit All Apps".
-
- Open your PC or laptop’s "Settings”.
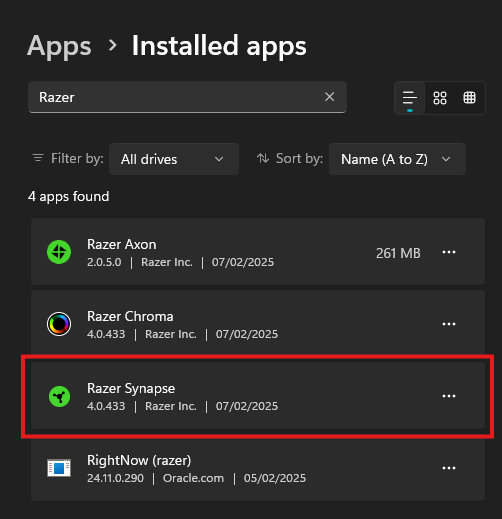
- Go to "Apps" > "Installed apps".
-
Search for “Razer” on the “Installed apps” page.
-
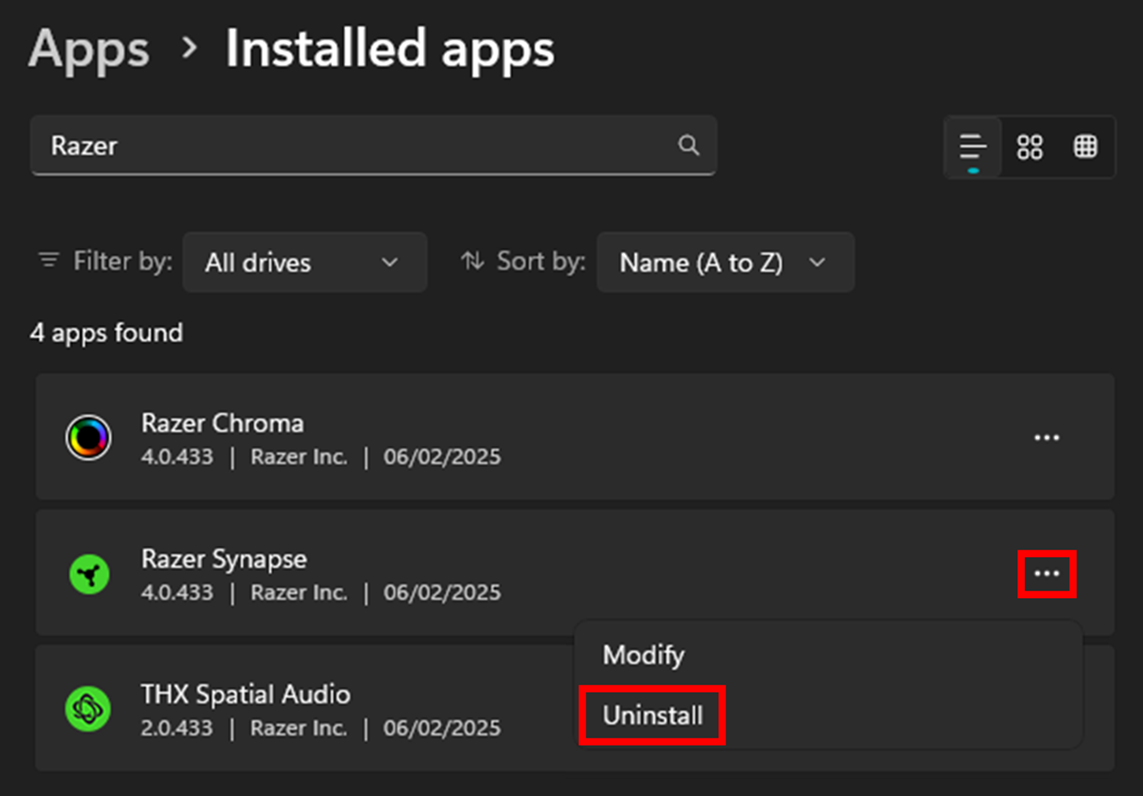
Click the ellipsis icon and select "Uninstall".
-
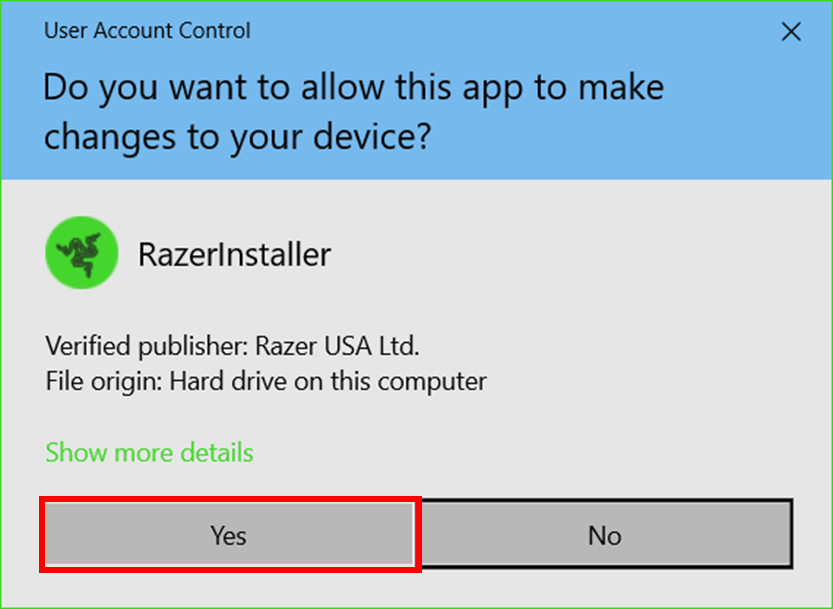
Click “Yes” once the Windows User Account Control prompts.
-
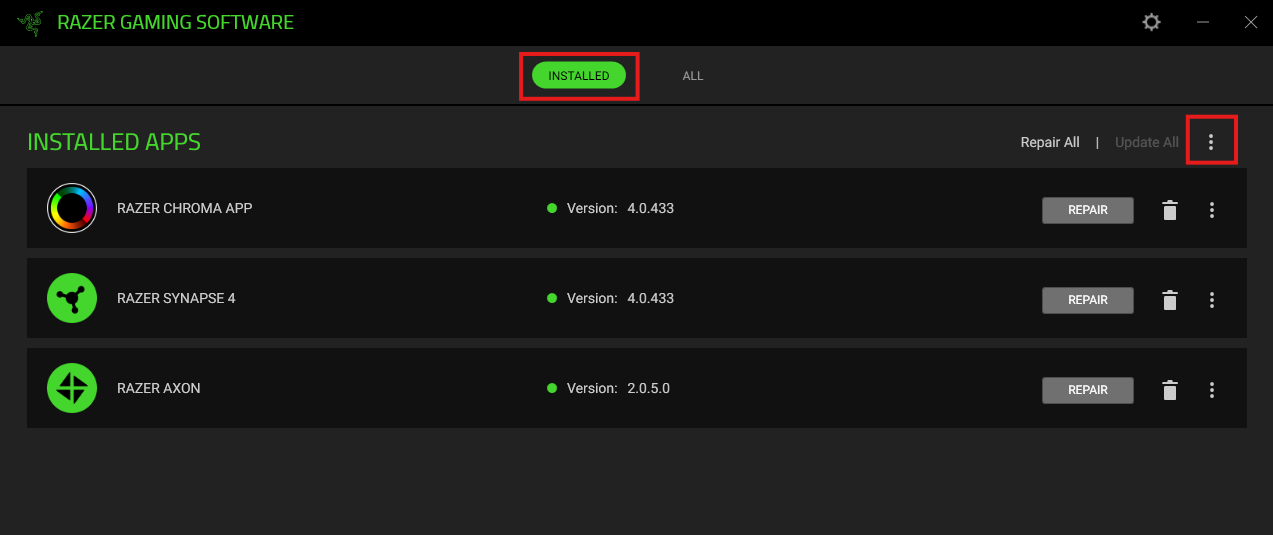
Click the ellipsis icon in the upper right corner of the “INSTALLED APPS” tab in the “RAZER GAMING SOFTWARE” window.
-
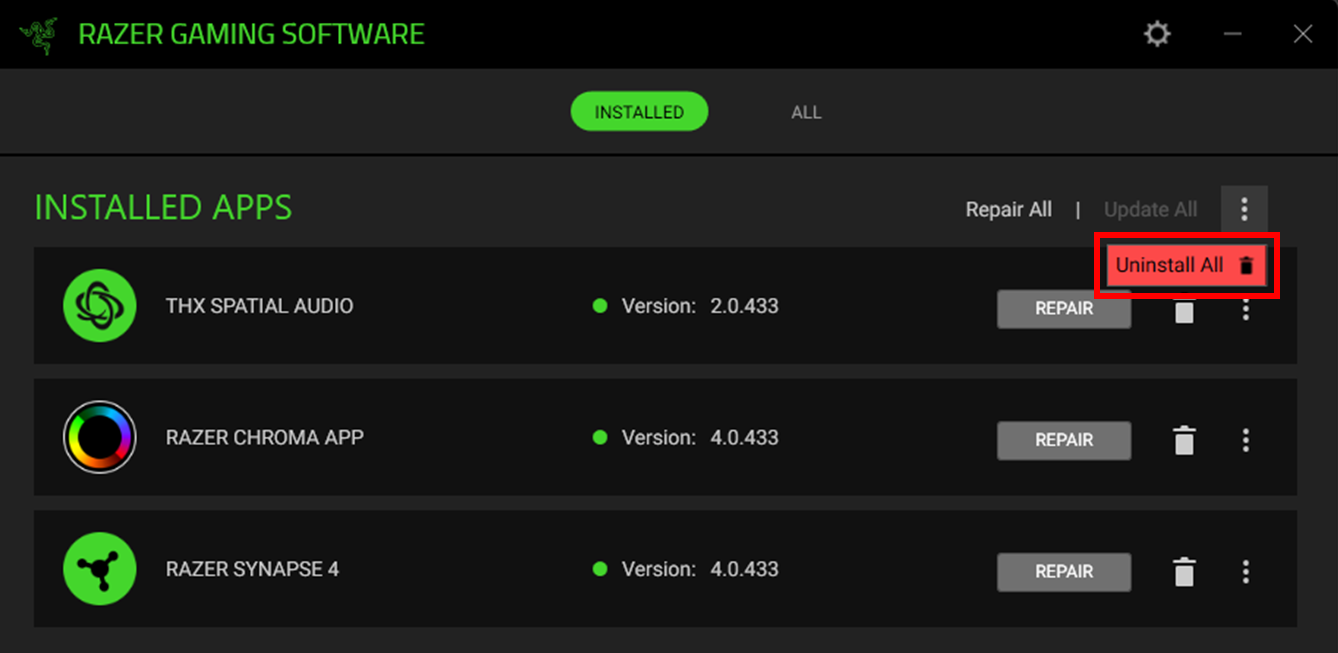
Click “Uninstall All”.
-
Click “UNINSTALL” in the uninstall confirmation window.

-
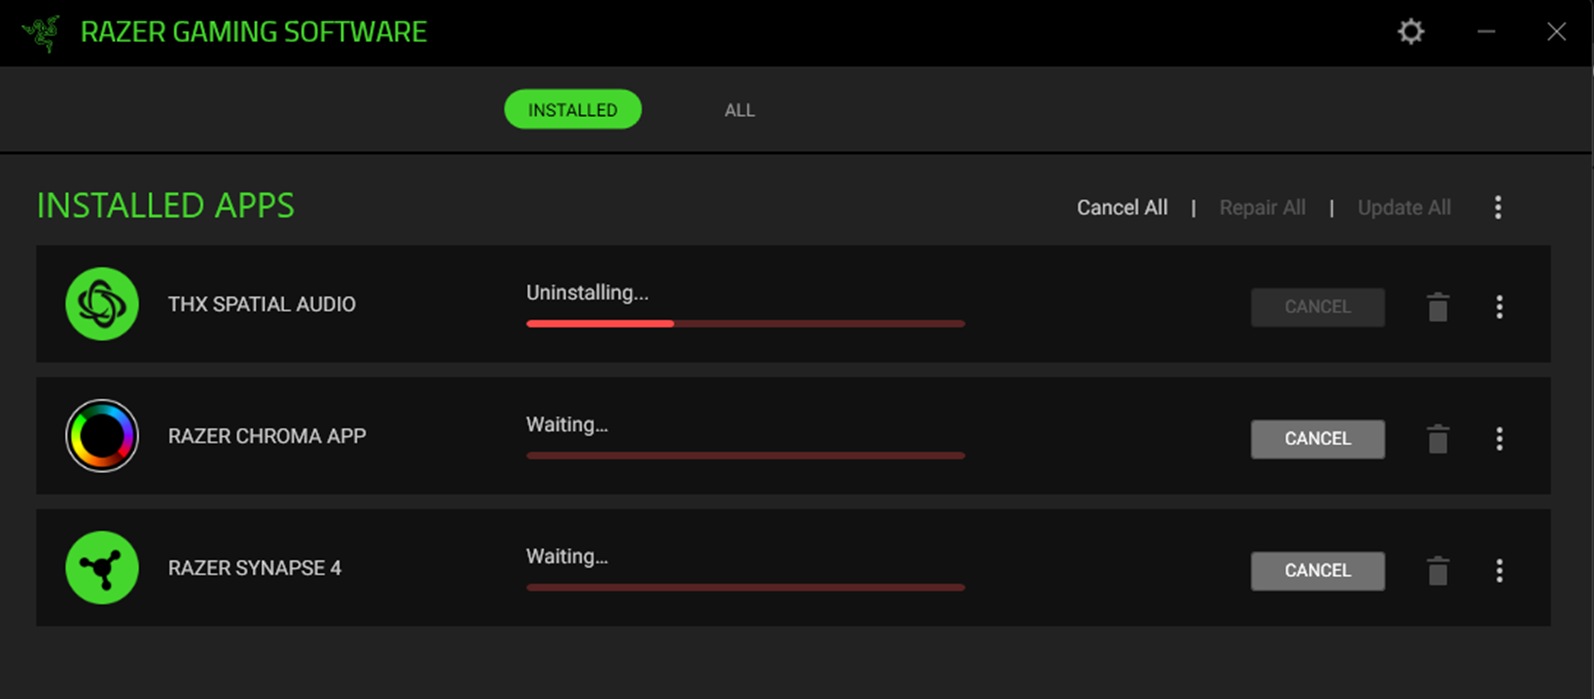
Wait for the uninstallation to complete.
- Close the window once the uninstallation is complete.
- Close the “Apps & Features” window and disconnect all non-essential Razer devices from your PC or laptop.
- Use the Windows System File Checker tool to repair missing or corrupted system files.
- Update Windows OS. See the answer below for detailed instructions.
- Install and run the Intel® Driver & Support Assistant (Intel® DSA) to check for and update any Intel-related drivers.
- Restart the PC.
-
Download and install the latest version of Razer Synapse 4. See How to install or upgrade Razer Synapse for detailed instructions.
Note: If a Razer ID was never used, the exported files from Step 2 will need to be imported into Razer Synapse. See the answer below for detailed instructions.
Razer Synapse 2.0
-
Verify that Razer Synapse 2.0 is installed on the PC.
Note: Collect and save Razer Synapse logs prior to performing a clean re-install, should the issue need further investigation. See the answer below for more details.
-
Back up profiles from Razer Synapse. See the answers below for detailed instructions.
Note: Skip this step if you already have a Razer ID and have your profile associated with Razer Synapse.
-
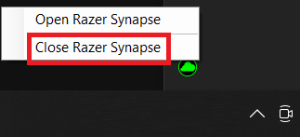
Close Razer Synapse 2.0 from the System Tray by right-clicking on the Razer Synapse icon and selecting "Close Razer Synapse".
- Uninstall all Razer Synapse programs.
-
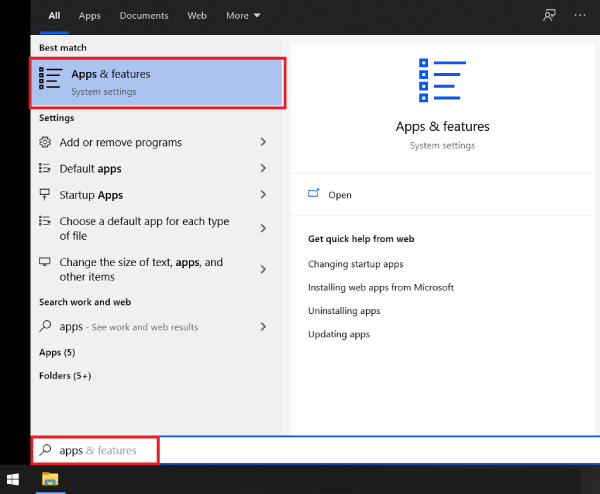
Search for "Apps & features" in the Windows search box then click on it.
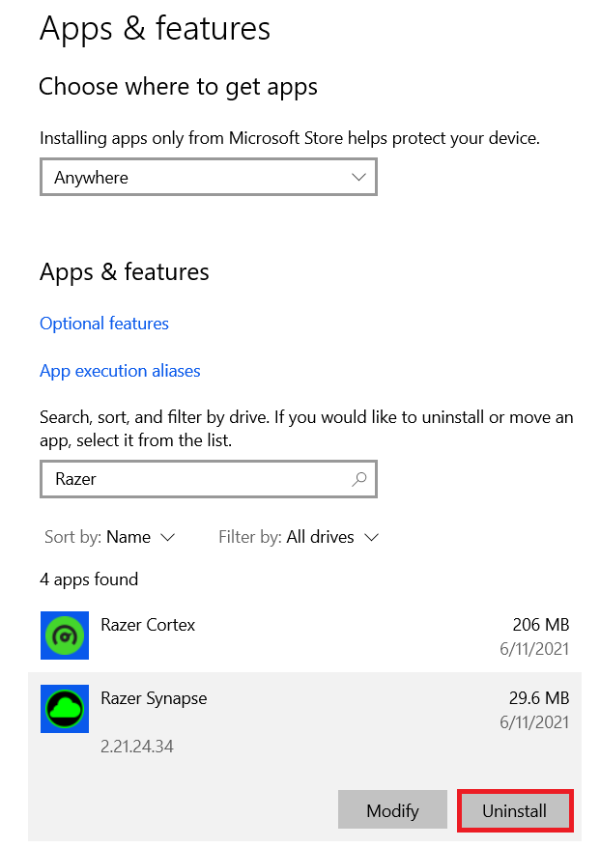
- Type "Razer". A list of Razer programs installed in Windows will appear and can vary by PC.
-
Click on "Razer Synapse", select "Uninstall", then click on "Uninstall" again.
- Click "Yes" once the Windows User Account Control prompt opens.
-
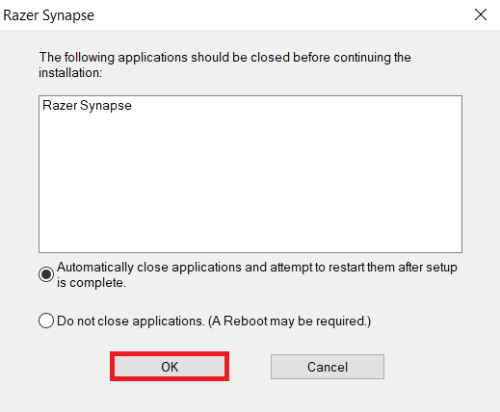
Select either option shown and click "OK" to close Razer applications before continuing with the uninstallation.
- Wait for the uninstallation process to complete.
-
- Use the Windows System File Checker tool to repair missing or corrupted system files.
- Update Windows OS. See the answer below for detailed instructions.
- Install and run Intel® Driver & Support Assistant (Intel® DSA) to check for and update any Intel-related drivers.
- Locate and remove all remnants of Razer Synapse from the PC.
-
Delete all folders and files named Synapse in the following locations:
Note: These folders are hidden by default, so be sure to unhide them. Access the "Folder Options", go to the "View" tab, and select "Show hidden files, folders, and drives". If you are somehow unable to delete these folders, you will have to stop any Razer Synapse-related processes running in your task manager.
- C:\Program Files\Razer
- C:\Program Files (x86)\Razer
- C:\Program Files (x86)\Razer Chroma SDK
- C:\ProgramData\Razer
- This command can be used in place of the above to access the directory: %ProgramData%
- C:\Users\<username>&gr;\AppData\Local\Razer
- This command can be used in place of the above to access the directory: %AppData%
- C:\Users\<username>&gr;\AppData\Roaming\Synapse3
- This command can be used in place of the above to access the directory: %AppData%
-
- Restart the PC.
- Download and install the latest version of Razer Synapse 2 from Razer Support. See the answer below for detailed instructions.
-
Login to Razer Synapse with your Razer ID.
Note: If a Razer ID was never used, the exported files from Step 2 will need to be imported into Razer Synapse. See the answer below for more details.

