
To customize the action buttons on the Razer Panthera Evo, do the following:
- Remove the screws at the bottom of the Razer Panthera Evo using a Philips screwdriver (not included).

- Tilt the arcade stick sideways.
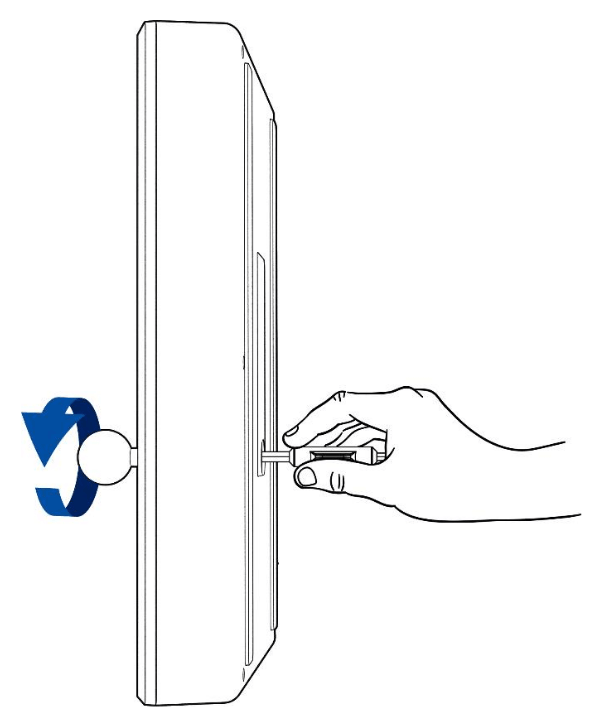
- Take a flat tip screwdriver (not included) and hold its flat tip firmly into the screw head found inside the access hole.

- Rotate the ball top grip counterclockwise while holding the flat tip screwdriver until it is fully removed from the joystick shaft.
- Remove the shaft cover and joystick dust cover.

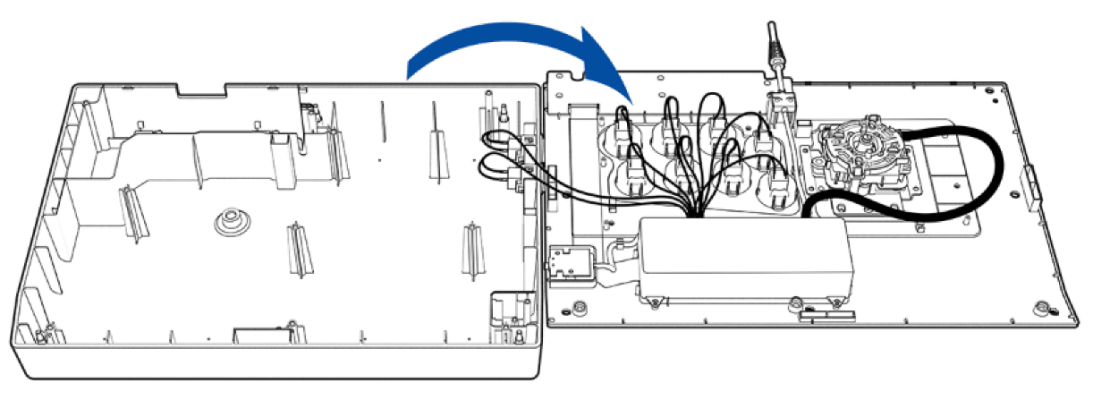
- Place the arcade stick on a flat surface and then remove the plate cover’s screw.

- Remove the plate cover and the artwork.

- Remove the screws of the compartment cover using a Philips screwdriver.

- Lift the compartment cover rightwards and use your other hand to lightly support it. The action buttons and cables are now accessible.
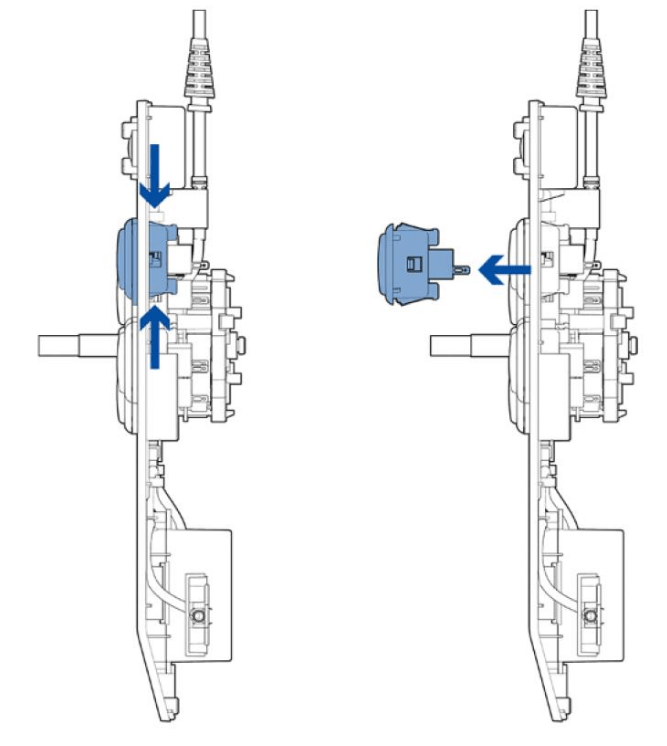
- Carefully pinch each of the small tabs on the Quick Disconnect (QD) cables to easily remove them from the action button.

- While holding the action button’s fastener, gently push the action button out. You can use a screwdriver to push the fasteners in more easily if needed.
- Repeat steps 4 and 5 for all the action buttons you want to change.
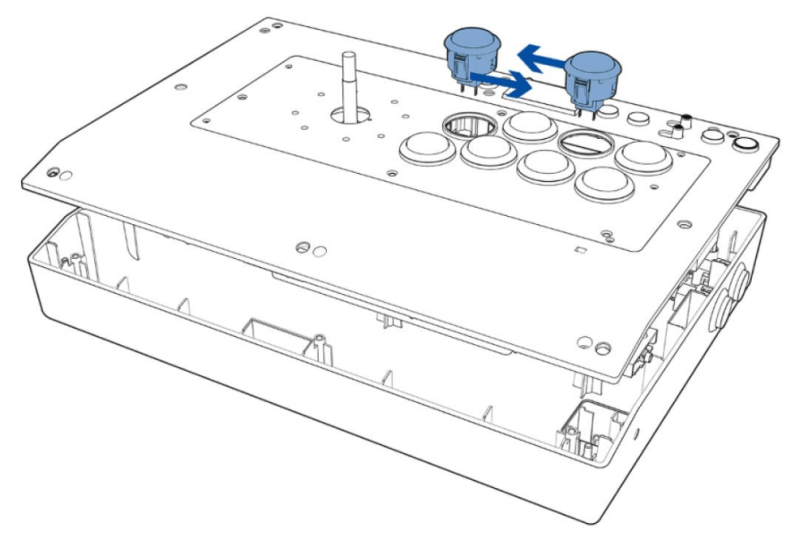
- Insert your desired action button(s) or button cover(s) into the available slots.
- Reattach the cables to the action buttons and ensure that all cables are properly connected.
Note: When reattaching the cables, observe the correct color of each cable pair as indicated on your Razer Panthera Evo’s label sticker. You may opt to swap an action button’s wirings with other action buttons if preferred.

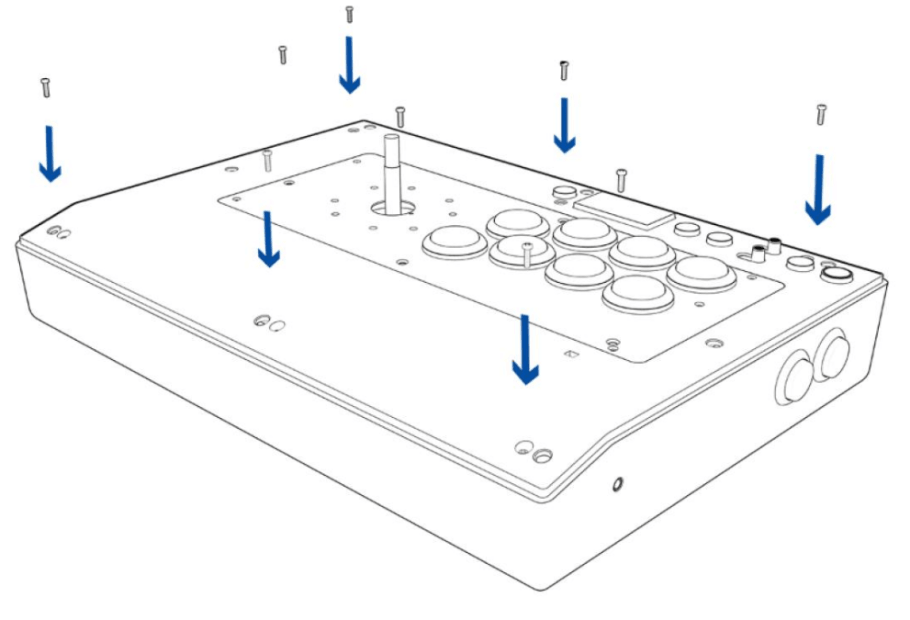
- Align and place the compartment cover and reattach its screws.
- Place the artwork and the plate cover onto the arcade stick, fasten its screw to hold it in place, and then return the shaft cover and joystick dust cover.

- While holding the flat tip firmly into the screw head inside the access hole with a flat tip screwdriver, rotate the ball top grip clockwise to fasten it in place.
- Reattach the bottom screws of your Razer Panthera Evo.


