
To make the most of your new gaming monitor, follow the instructions below:
Note: To prevent damage to your brand-new display during the unboxing process, carefully open the packaging by hand. Avoid using sharp objects such as knives to avoid scratching or causing irreparable damage to your device.
-
Place the Raptor on a solid flat surface once the device is out of the box. Do not connect the power adapter yet.
-
Grip the sides of the display using your two hands gently but firmly and lift it to its maximum height.
-
Tilt it 90-degrees back to have access to your I/O ports.

-
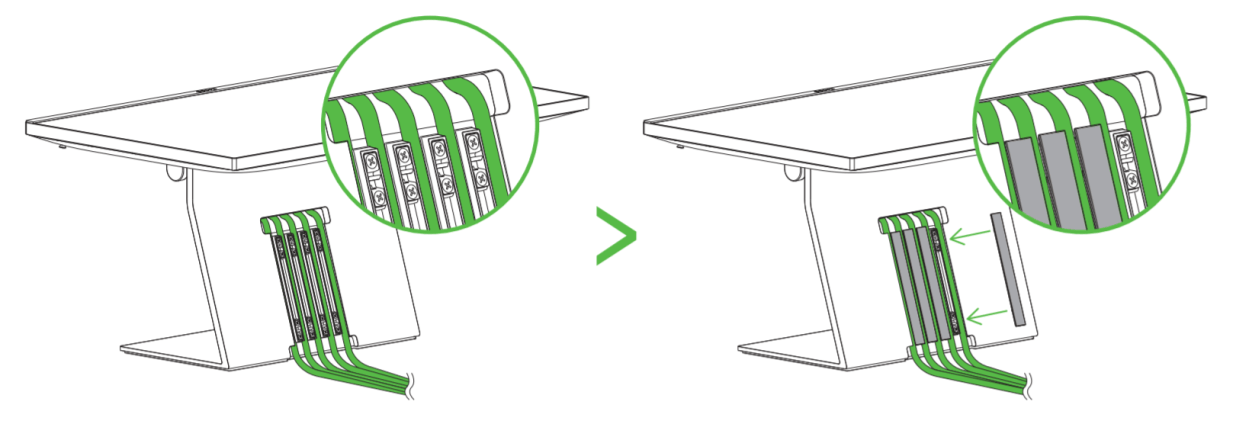
Remove the slats from the back of the stand to reveal the channels that will house the flat cables.

-
Insert the included cables through the hole and then plug them to their respective ports.
-
Provide slack to the cables and tilt the monitor forward slightly.
-
Adjust accordingly. This will help avoid any strain and ensure longevity of the cables.

-
Place each flat cable onto the nearest unoccupied channel and then reattach the slats in place.
-
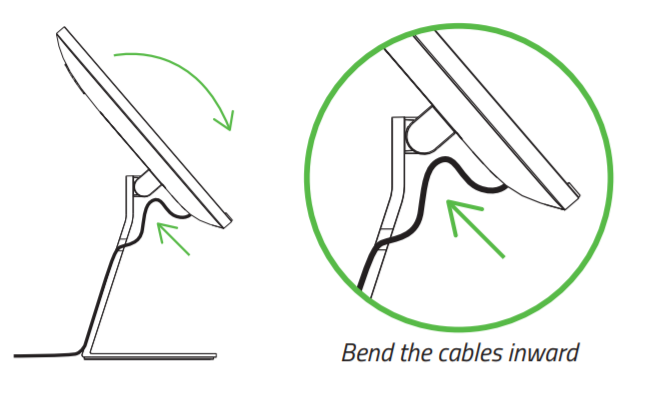
Tilt the screen upright while bending the cables inwards for a cleaner aesthetic.
-
Plug the adapter to an outlet using the provided power cord.
-
Connect the HDMI, DisplayPort, or Type C to a video source. The Type C port supports DisplayPort 1.4 protocol and can also support power delivery. Connecting the Type C cable to your computer will allow you to customize the Razer Chroma underglow of your device via Razer Synapse.


