The Razer Raptor 27 is not just the ultimate esports monitor. Because of its multiple input support, the Raptor is also suitable for power users whose workload may involve using two or more systems concurrently in a limited workspace.
To do this setup, follow the steps below:
-
Gripping the display firmly on both sides, lift the screen and tilt it backward for easy access to the ports. Connect the included flat cables to the HDMI, DisplayPort, and Type C.

-
Connect your systems to the Raptor via the included flat cables. Make sure to leave some slack on the cables before tilting the display back to avoid straining the cables.

-
Power up the Raptor and the systems and let it detect the signals. The Raptor will detect inputs from the ports in the following order: HDMI, DisplayPort, and Type C.
Note: If you want to use the Raptor’s USB-A ports, you must connect one of your systems via Type-C. Functionality for USB peripherals such as keyboards and mice will be available only for the system connected via Type-C.
-
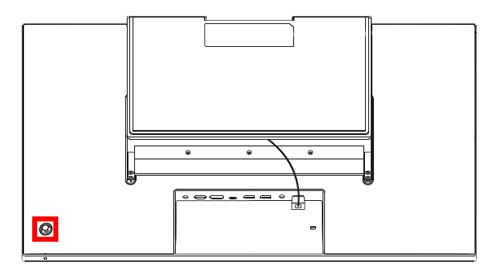
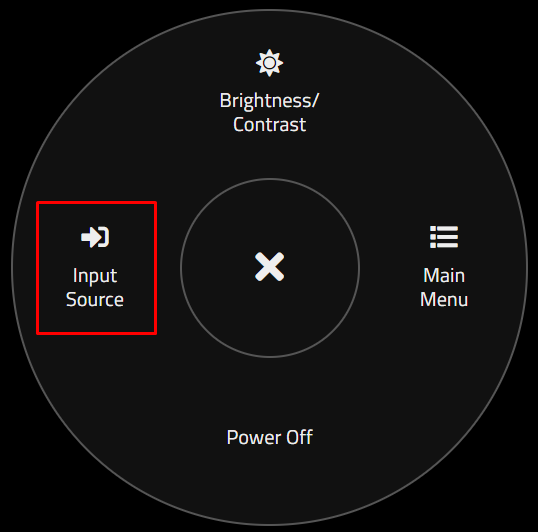
Press the joystick on the right-hand bottom backside of the Raptor to trigger the On-Screen Display controls.
-
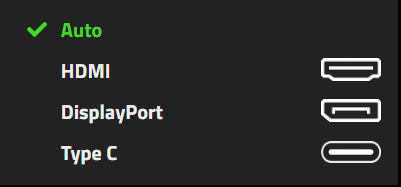
Switch between your connected systems by choosing between the ports. If you leave the setting on Auto, it will stay on HDMI.