
Note: The Razer Sila app will no longer be usable after the 16th of October 2024. Live support for Razer Sila is no longer available. Please refer to our knowledge base or Insider Forum for support.
Port forwarding allows a client device on your home network to be accessible to computers on the internet, even though the device(s) are behind a router and its firewall. It is important to set up a static IP address in the device that you are forwarding a port to. This ensures that your ports will remain open even after your device reboots.
Follow the steps below to open the ports to the internet.
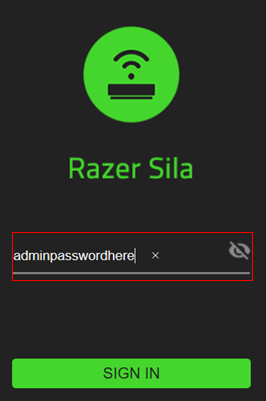
- Access the admin menu at "sila.razer.com" or "192.168.8.1".
- Enter your admin credentials and click "SIGN IN". We recommend using sila.razer.com as it offers better security.
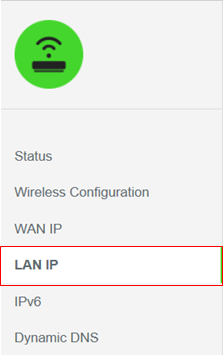
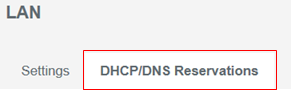
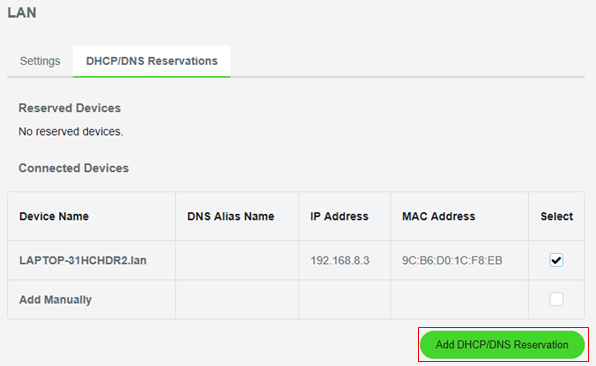
- Select LAN IP > DHCP/DNS Reservations.
- Under "Connected Devices", check the box under "Select" on the device that you wish to open ports to.
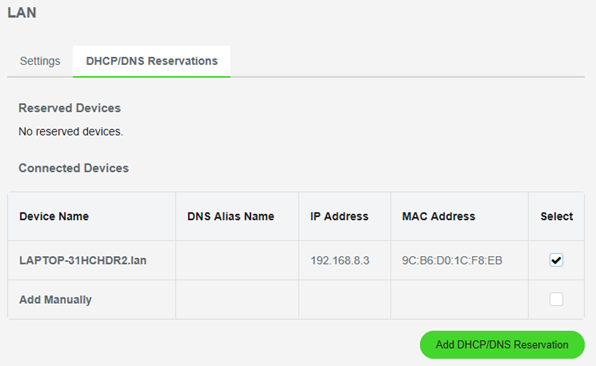
- Click on "Add DHCP/DNS Reservation".
- Open your Razer Sila App.
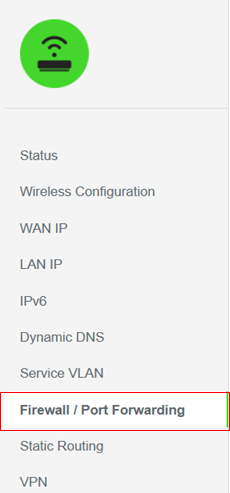
- Click "Firewall / Port Forwarding" under the Status page.
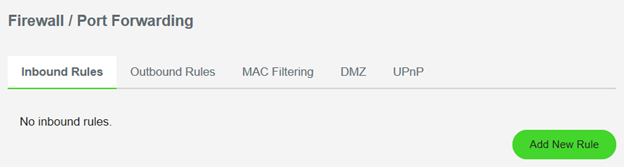
- Select "Inbound Rules" and click on "Add New Rule".
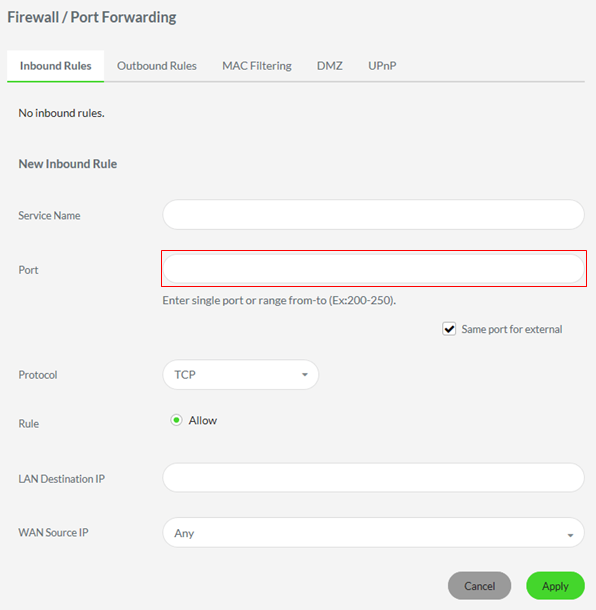
- Create a name for this forward in the "Service Name" box. The name is only used as a reminder and has no effect on the port forward.
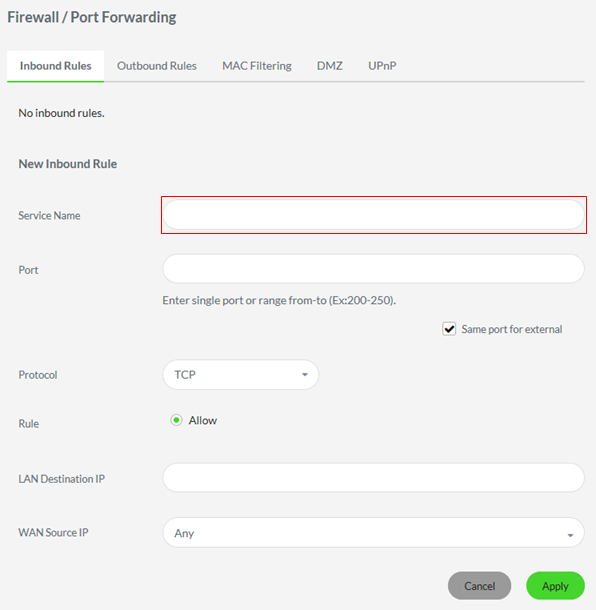
- In the Port box, type the port number/s to forward.
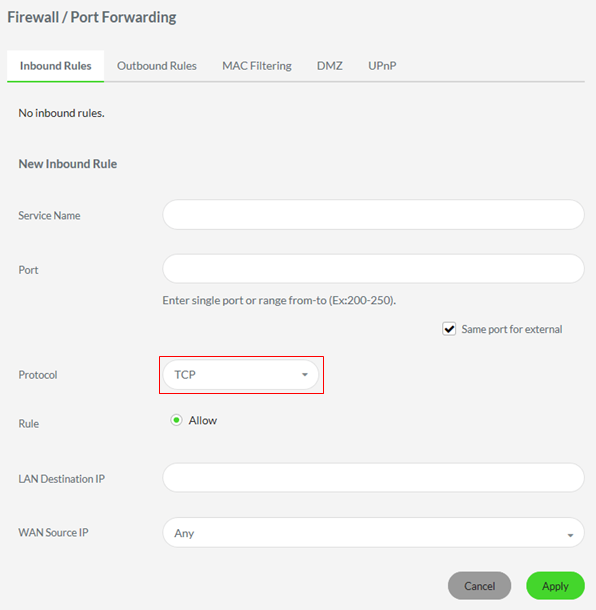
- Select the protocol for the port/s that you want to forward from the Protocol drop-down menu.
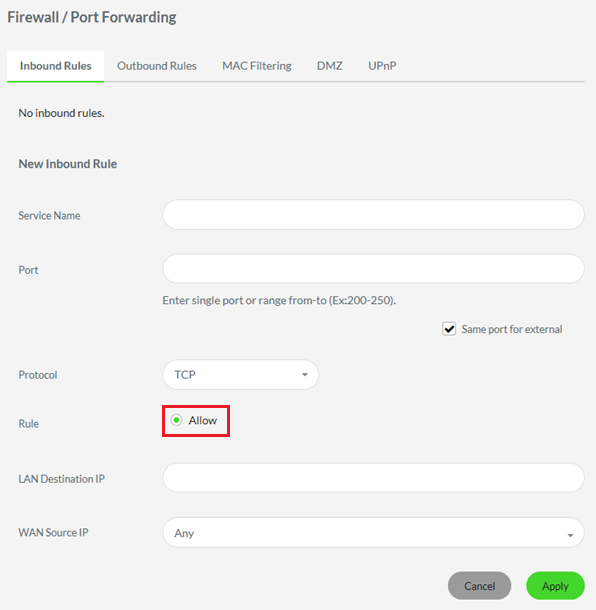
- Pick the "Allow"radio button.
- Enter the IP address that you are forwarding ports to in the "LAN Destination IP" box. This is either the IP address of a computer or of another device on your network.

- Leave the "WAN Source IP" box blank.
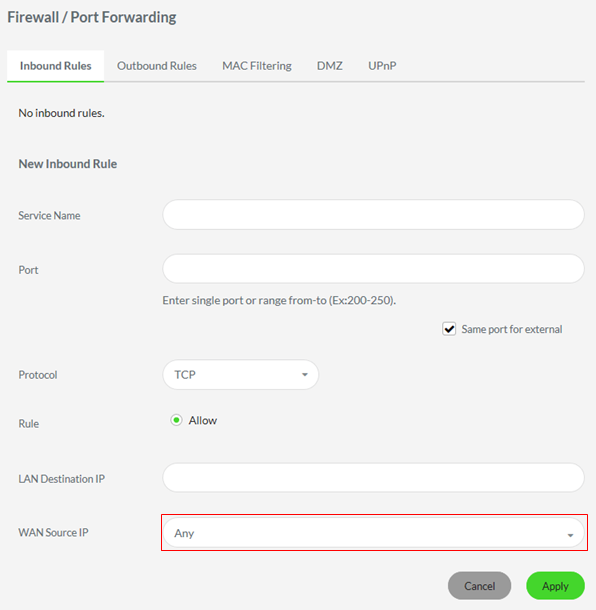
- Click the "Apply" button to save settings.

Note: Outbound traffic is allowed by default unless it matches a rule that prohibits the traffic. To block outbound network traffic on a specified TCP or UDP port number, create a rule using the Outbound Rule tab.
You can test to see that the ports are open by using a free port checker tool such as https://portforward.com/help/portcheck.htm

