Razer Sila internet setup depends on the connection type required by the internet service provider (ISP). Incorrect PPPoE credentials, DNS entries, or bridge mode settings interrupt internet access for all devices on the network.
Follow the detailed instructions below to set up the internet connection and network options on Razer Sila.
Select a setup option
Set up a PPPoE connection with ISP credentials
Note: Connect the PC directly to Razer Sila with an Ethernet cable before starting.
-
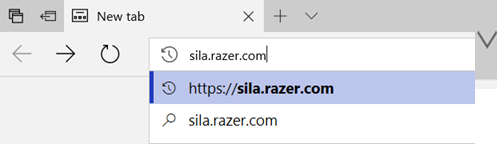
Enter "sila.razer.com" or "192.168.8.1" in the address bar of a web browser.
Note: Use "sila.razer.com" for better security.
-
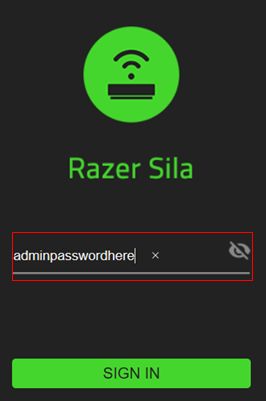
Enter the admin password and click "SIGN IN".
Note: The default password is "password".
-
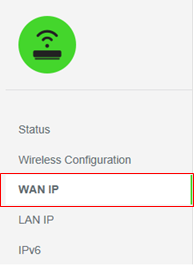
Select "WAN IP" from the menu on the left.
-
Toggle "Get Dynamic IP Address" on.

-
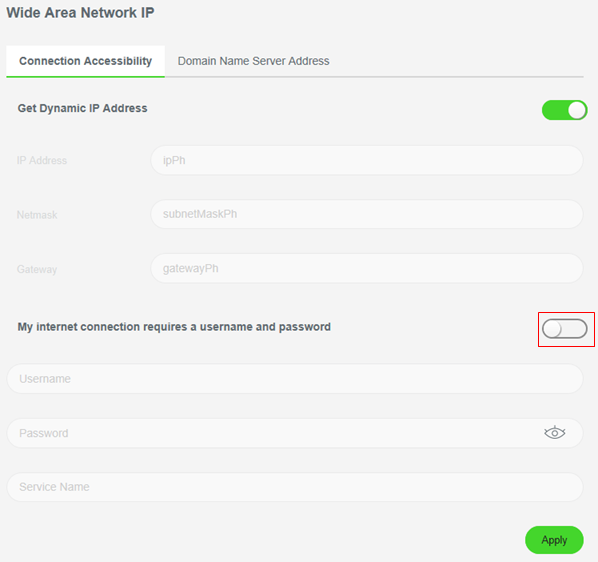
Toggle "My internet connection requires a username and password" on under the "Connection Accessibility" tab.
-
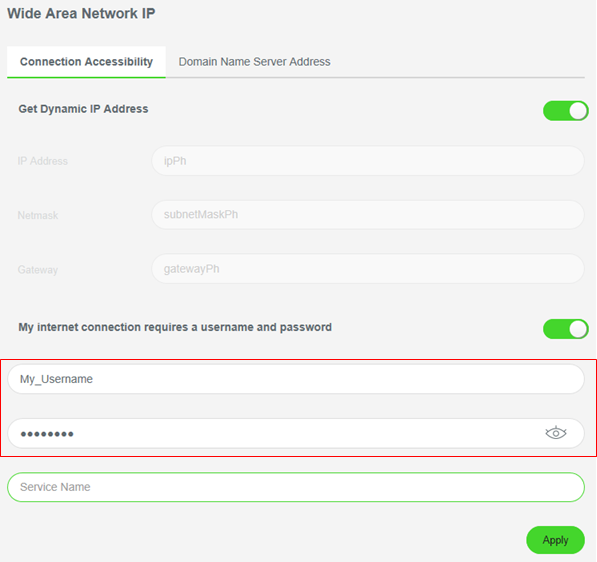
Enter the username and password provided by the ISP.
Note: Click the eye icon to show the password and confirm it is correct.
-
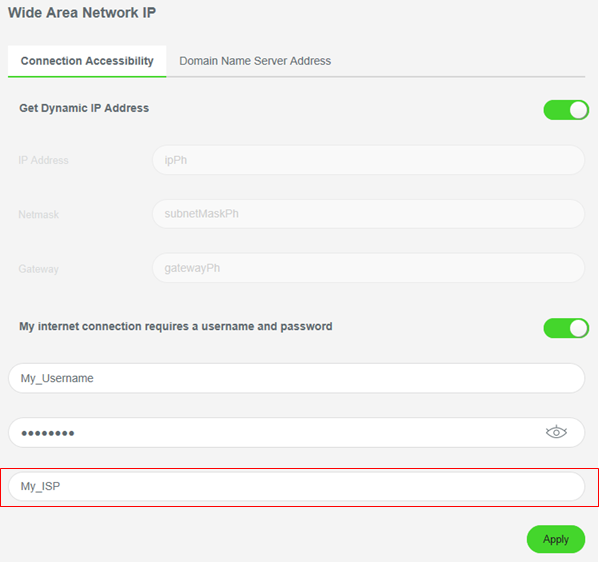
Enter a service name if required.
Note: The service name is a label for reference only. The ISP does not use it to grant access.
-
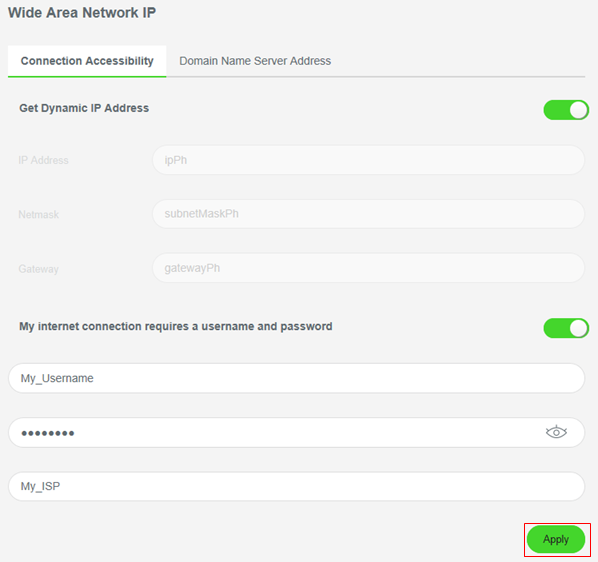
Click "Apply".
-
Connect Razer Sila to the modem and check the internet connection.
Configure DNS settings
Replace the ISP-assigned DNS server with a manual DNS server.
-
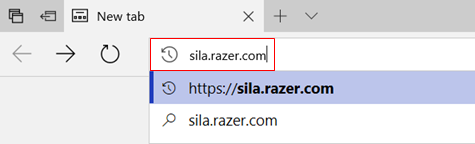
Enter "sila.razer.com" or "192.168.8.1" in the address bar of a web browser.
Note: Use "sila.razer.com" for better security.
-
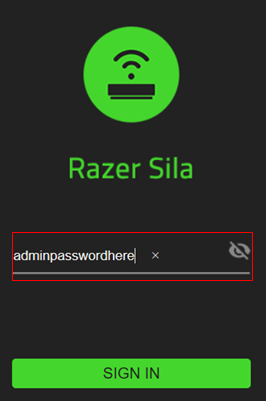
Enter the admin password and click "SIGN IN".
-
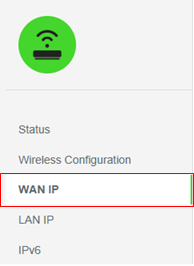
Select "WAN IP" from the menu on the left.
-
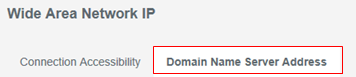
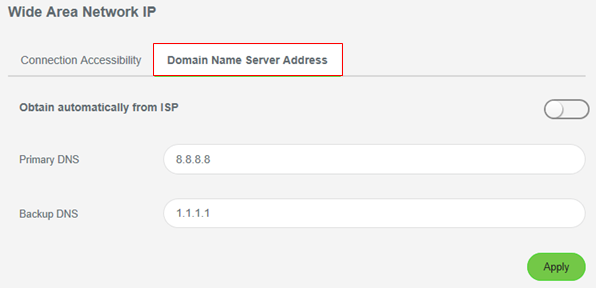
Select "Domain Name Server Address".
-
Enter the "Primary DNS" and "Backup DNS" server IP addresses.
-
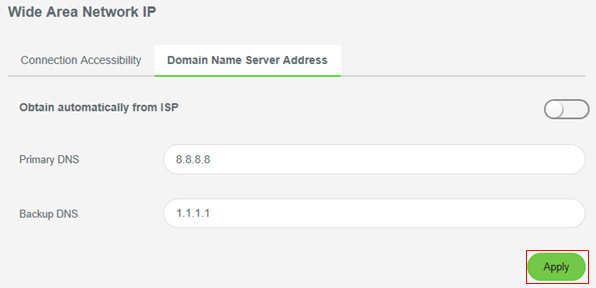
Click "Apply".
Reserve a static IP address for a device
Reserve a fixed IP address for a device with a DHCP/DNS reservation.
-
Enter "sila.razer.com" or "192.168.8.1" in the address bar of a web browser.
Note: Use "sila.razer.com" for better security.

-
Enter the admin password and click "SIGN IN".

-
Select "LAN IP" from the menu on the left.

-
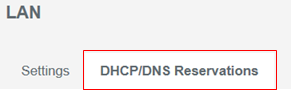
Select the "DHCP/DNS Reservation" tab.
-
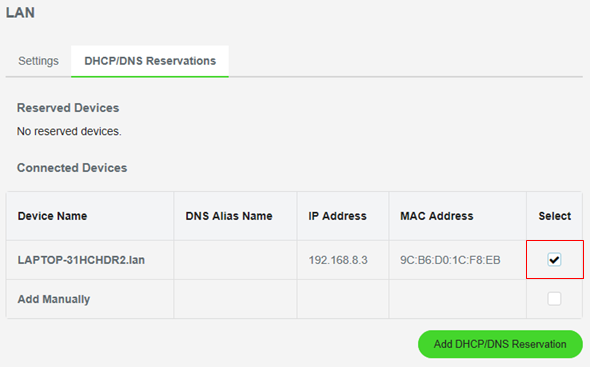
Select the checkbox next to the device that requires a fixed IP address.
-
Click "Add DHCP/DNS Reservation".

Connect Razer Sila to a gateway
-
Enable bridge mode on Razer Sila. See How to operate the Razer Sila router in bridge mode for instructions.
Note: In bridge mode, QoS, guest networking, and other Razer Sila features are not available.
-
Enable bridge mode on the gateway. Refer to the gateway manual for instructions.
Note: Some ISPs, such as Verizon Fios, do not allow bridge mode on their gateway for all internet protocol television (IPTV) services.
-
Add a demilitarized zone (DMZ) on the gateway.
-
Assign Razer Sila to the gateway DMZ.
Configure bridge mode
Bridge mode turns off the router services of Razer Sila to prevent conflicts with another router.
In bridge mode, Razer Sila does not provide the following services:
NAT
DNS caching
DHCP
Application-aware QoS
UPnP
Port Forwarding/Port Triggering
Remote Management
Guest Network
Parental Controls
Block Sites
Block Services
VPN service
VLANs
Enhanced security
Important: Confirm that another router on the network provides these services.
Select a method
Enable bridge mode from the mobile app
-
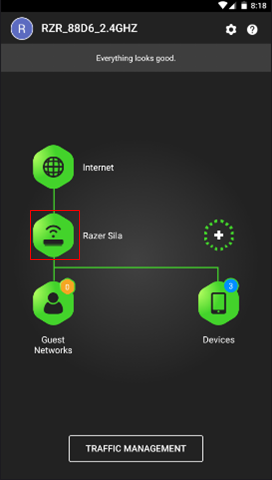
Tap "Razer Sila" on the main page.
-
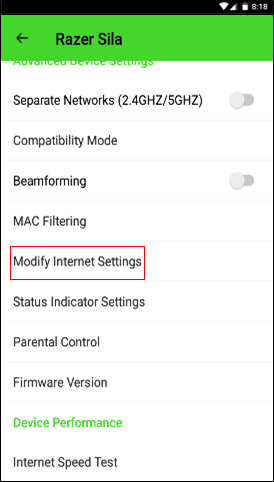
Tap "Modify Internet Settings".
-
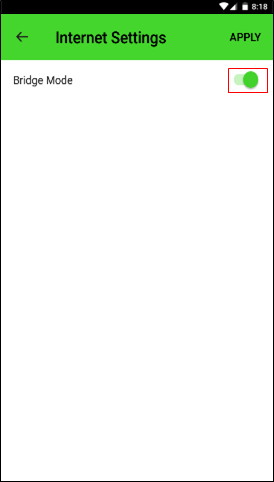
Toggle "Bridge Mode" on and tap "Apply".
Enable bridge mode from a web browser
-
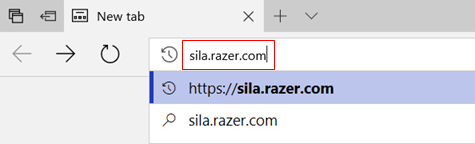
Enter "sila.razer.com" or "192.168.8.1" in the address bar of a web browser.
-
Enter the admin password and click "SIGN IN".

-
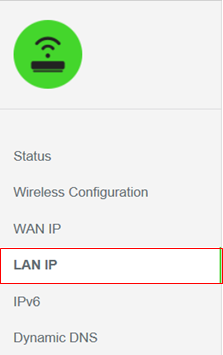
Select "LAN IP" from the menu on the left.
-
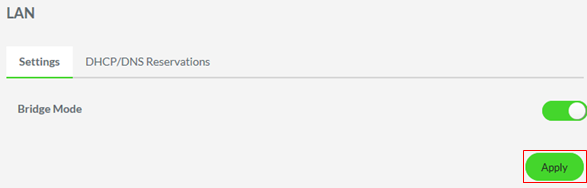
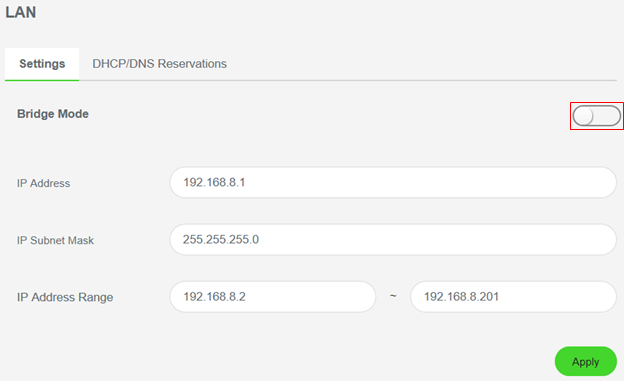
Toggle "Bridge Mode" on.
-
Click "Apply".