
Select a Razer Sila Configuration
Change the SSID password
Increase the security of your network from hackers or intruders by changing your SSID password.
Follow the steps below to change your SSID password via the Razer Sila Web UI.
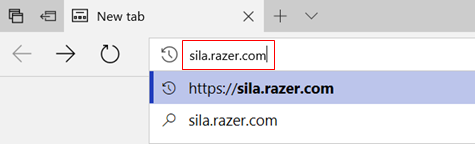
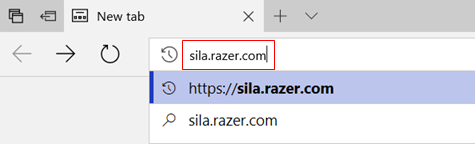
- Open a browser and search for sila.razer.com.
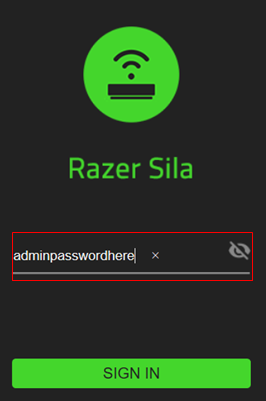
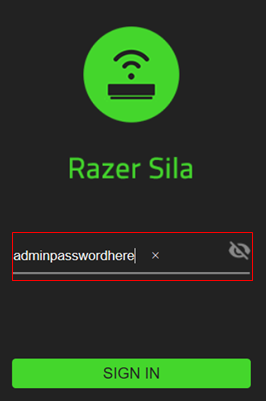
- Enter your admin password.
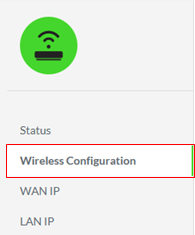
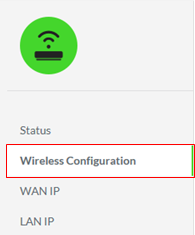
- Click “Wireless Configuration” from the menu on the left.
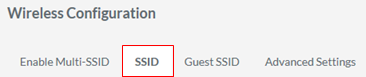
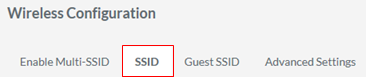
- Select the “SSID” tab from the options on the center of the screen.
- Click the password input field and replace it.
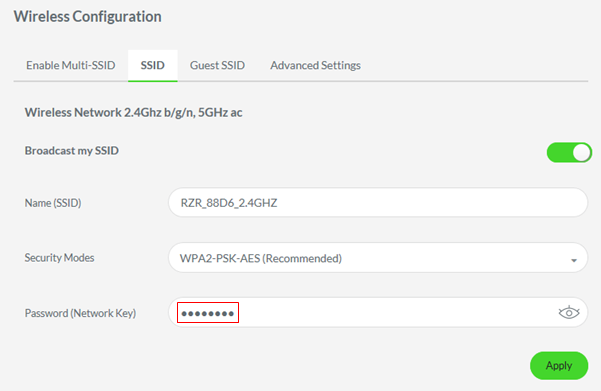
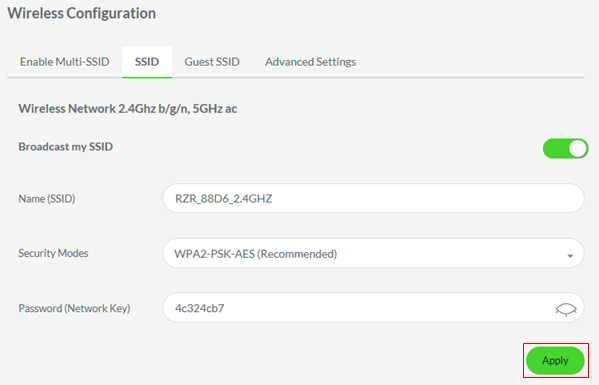
- Click “Apply” to save changes.
View or recover the network password
- Open a browser and type in "192.168.8.1" or "sila.razer.com" on the address bar. Please note that sila.razer.com offers better security.
- Enter your admin password.
- Select “Wireless Configuration” from the menu on the left, then select the “SSID” tab from the options on the center of the screen.
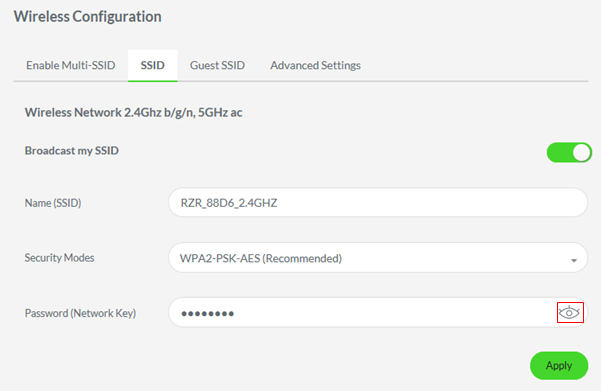
- Click the “opened eye” icon to display the password.

Configure and recover administrator password
The Administrator password is the password that you need to enter to have access to the web UI of the Razer Sila router and manage its settings. It is important to set up an administrator password to the router so that your network’s configuration and all devices connected to it are protected against unauthorized access.
The Razer Sila’s default administrator password is “password” and can be seen at the bottom sticker of the device itself. You can change or delete the administrator password on the router by accessing its web UI.
Note: For lost passwords, the only way to recover is to reset the Razer Sila to its factory default settings.
This article will guide you on how to set up or change an administrator password on the Razer Sila. Follow the steps below to learn how:
- Access the web UI of the Razer Sila and go to “Admin Password”.

- Enter the password that you want to use to access the web UI of the Razer Sila and confirm it in the fields provided. This password should only be given to those who are authorized to access the router and manage the settings.
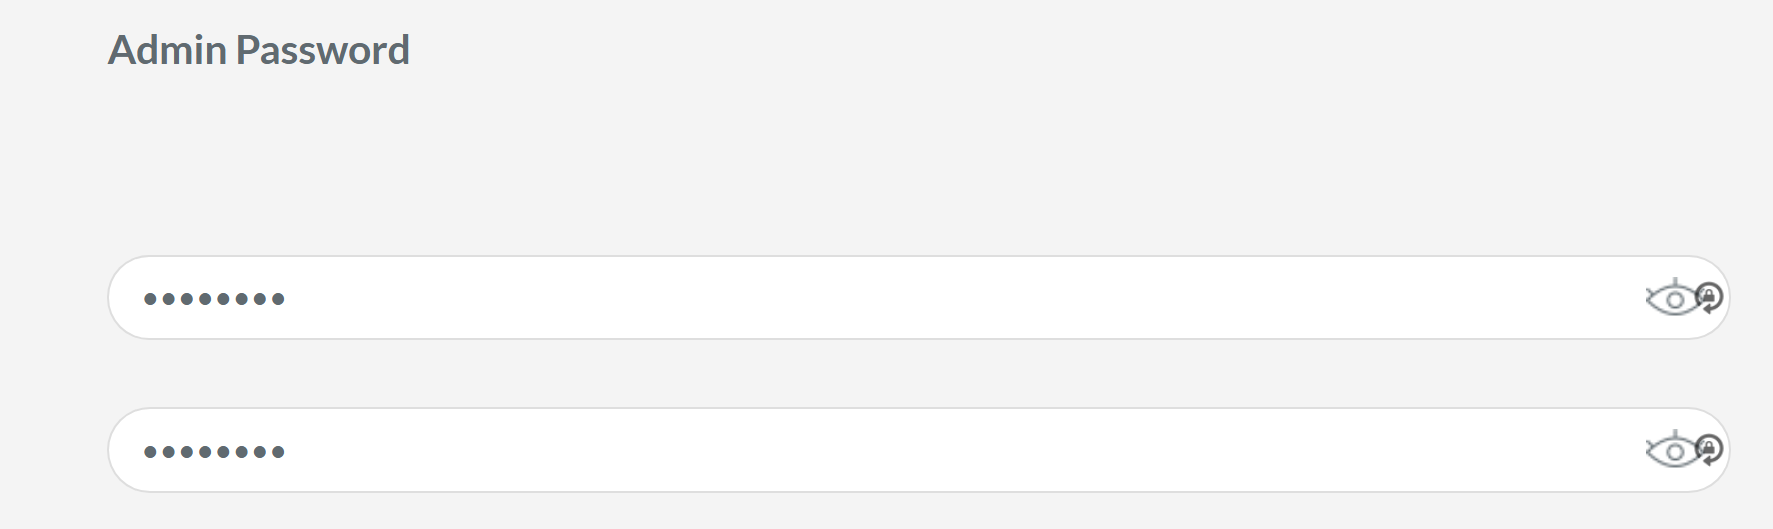
- Click “Save New Password”.

You have now set up a new password on the Razer Sila. The next time you access the web UI, it will be requiring you to enter this new password.
Configure wireless security settings
The wireless security settings on your Razer Sila should be properly configured to make sure that no unauthorized wireless devices will be able to connect to your network and take advantage of the wireless internet connection. Since the Razer Sila is a dual-band router, wireless security should be implemented for both bands, the 2.4 GHz and the 5 GHz.
Follow the detailed instructions below to configure the wireless security settings on the Razer Sila.
Important: Use a computer that is hardwired to the Razer Sila. This will allow an uninterrupted connection to the router and continuous access to its web UI during and after the configuration.
-
Access the web UI of the Razer Sila.
-
Click on “Wireless Configuration”.

-
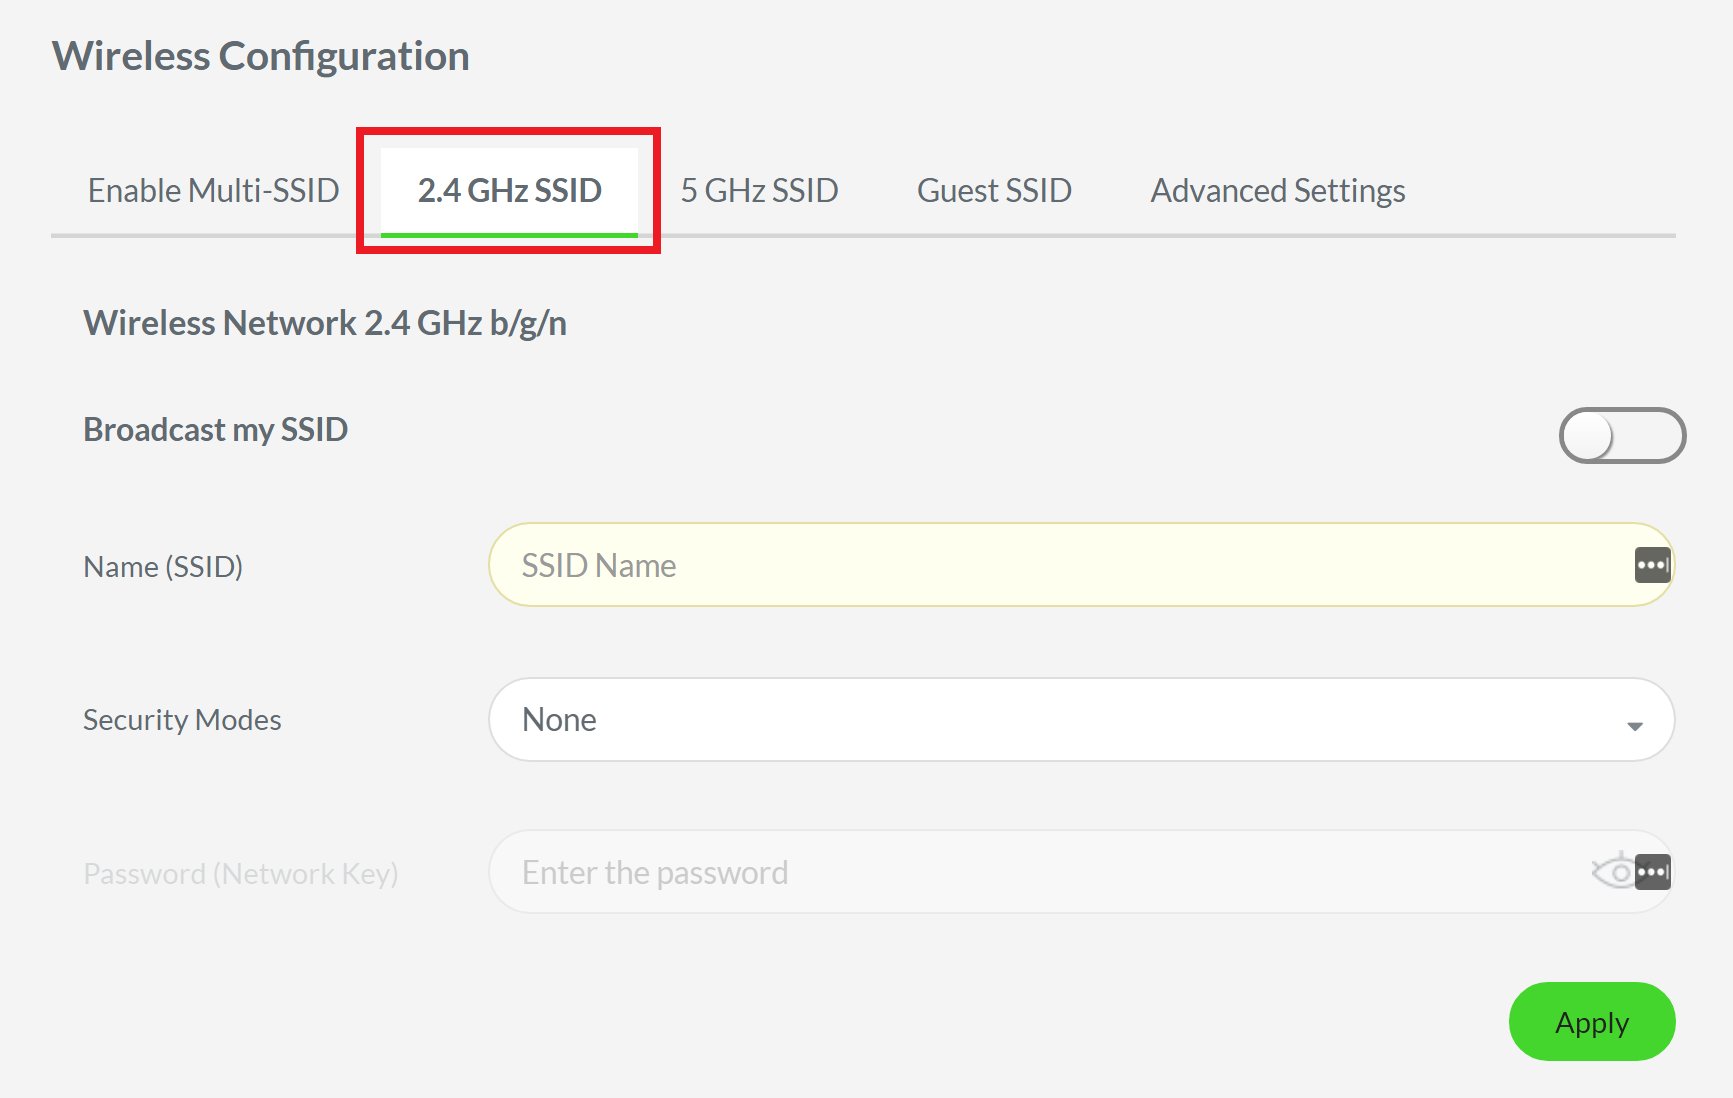
Click “2.4 GHz SSID”.
-
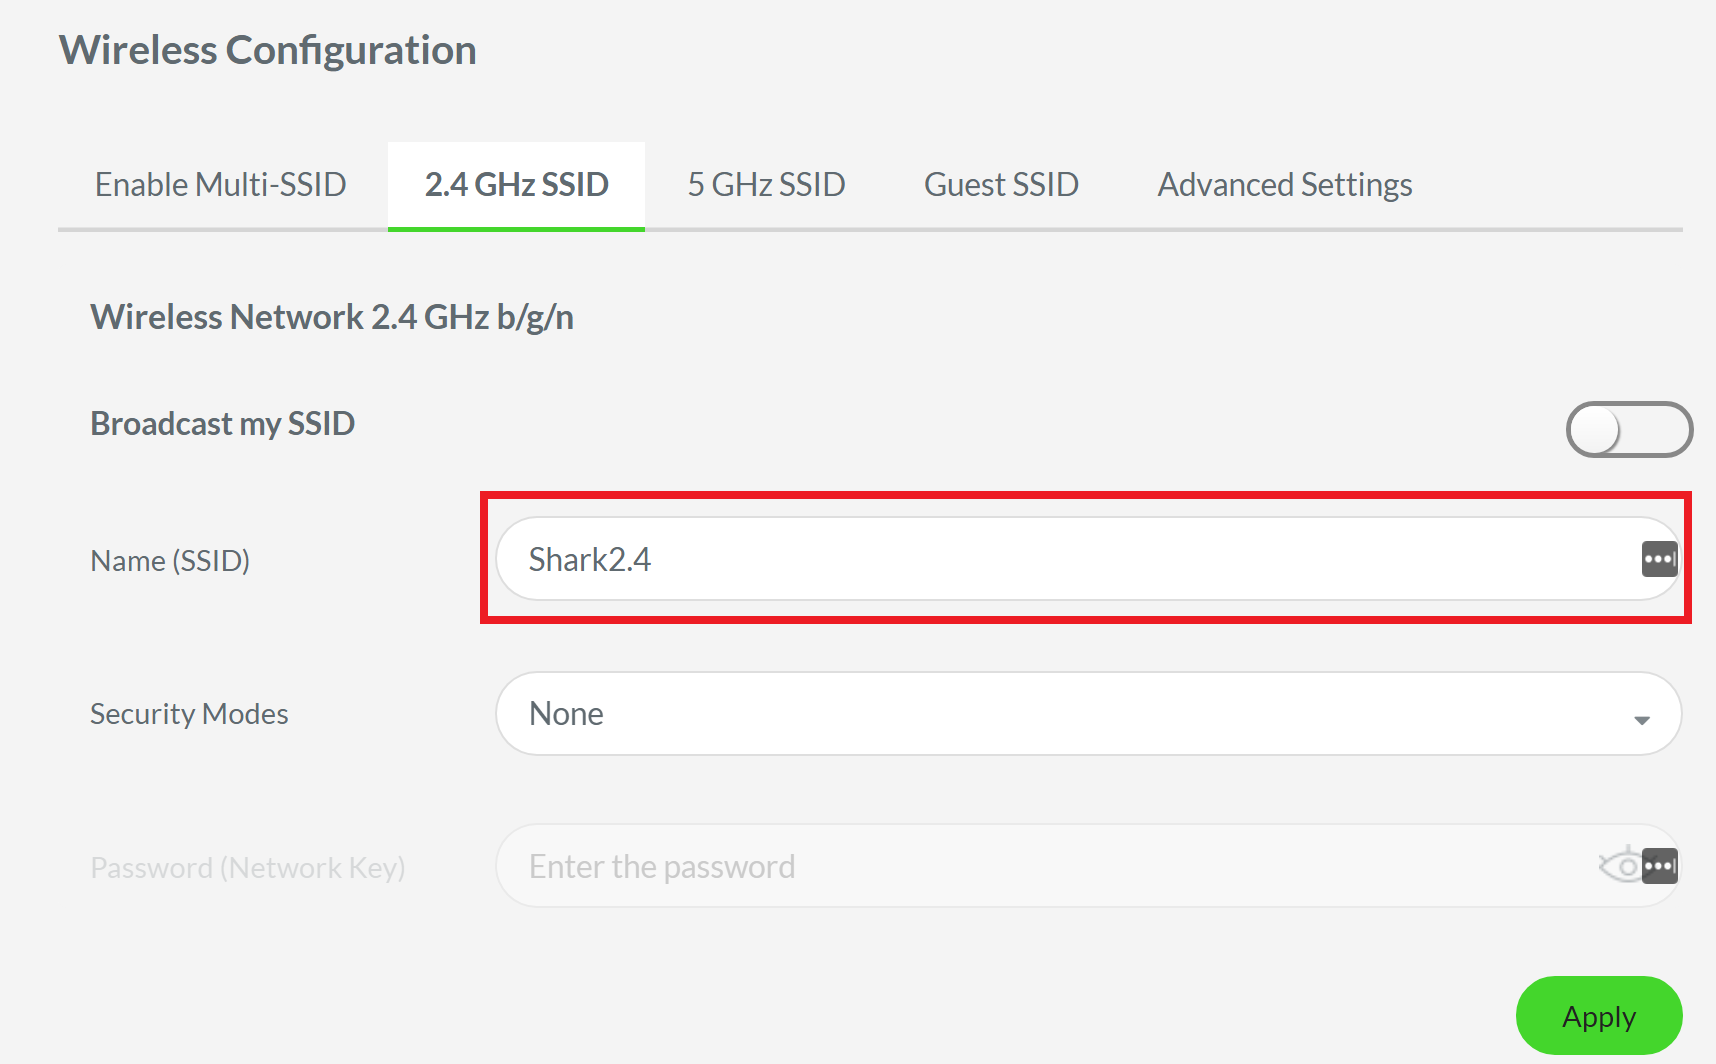
Enter the name that you want for your 2.4 GHz network. This will be the network where all your 2.4 GHz wireless devices will connect to.
-
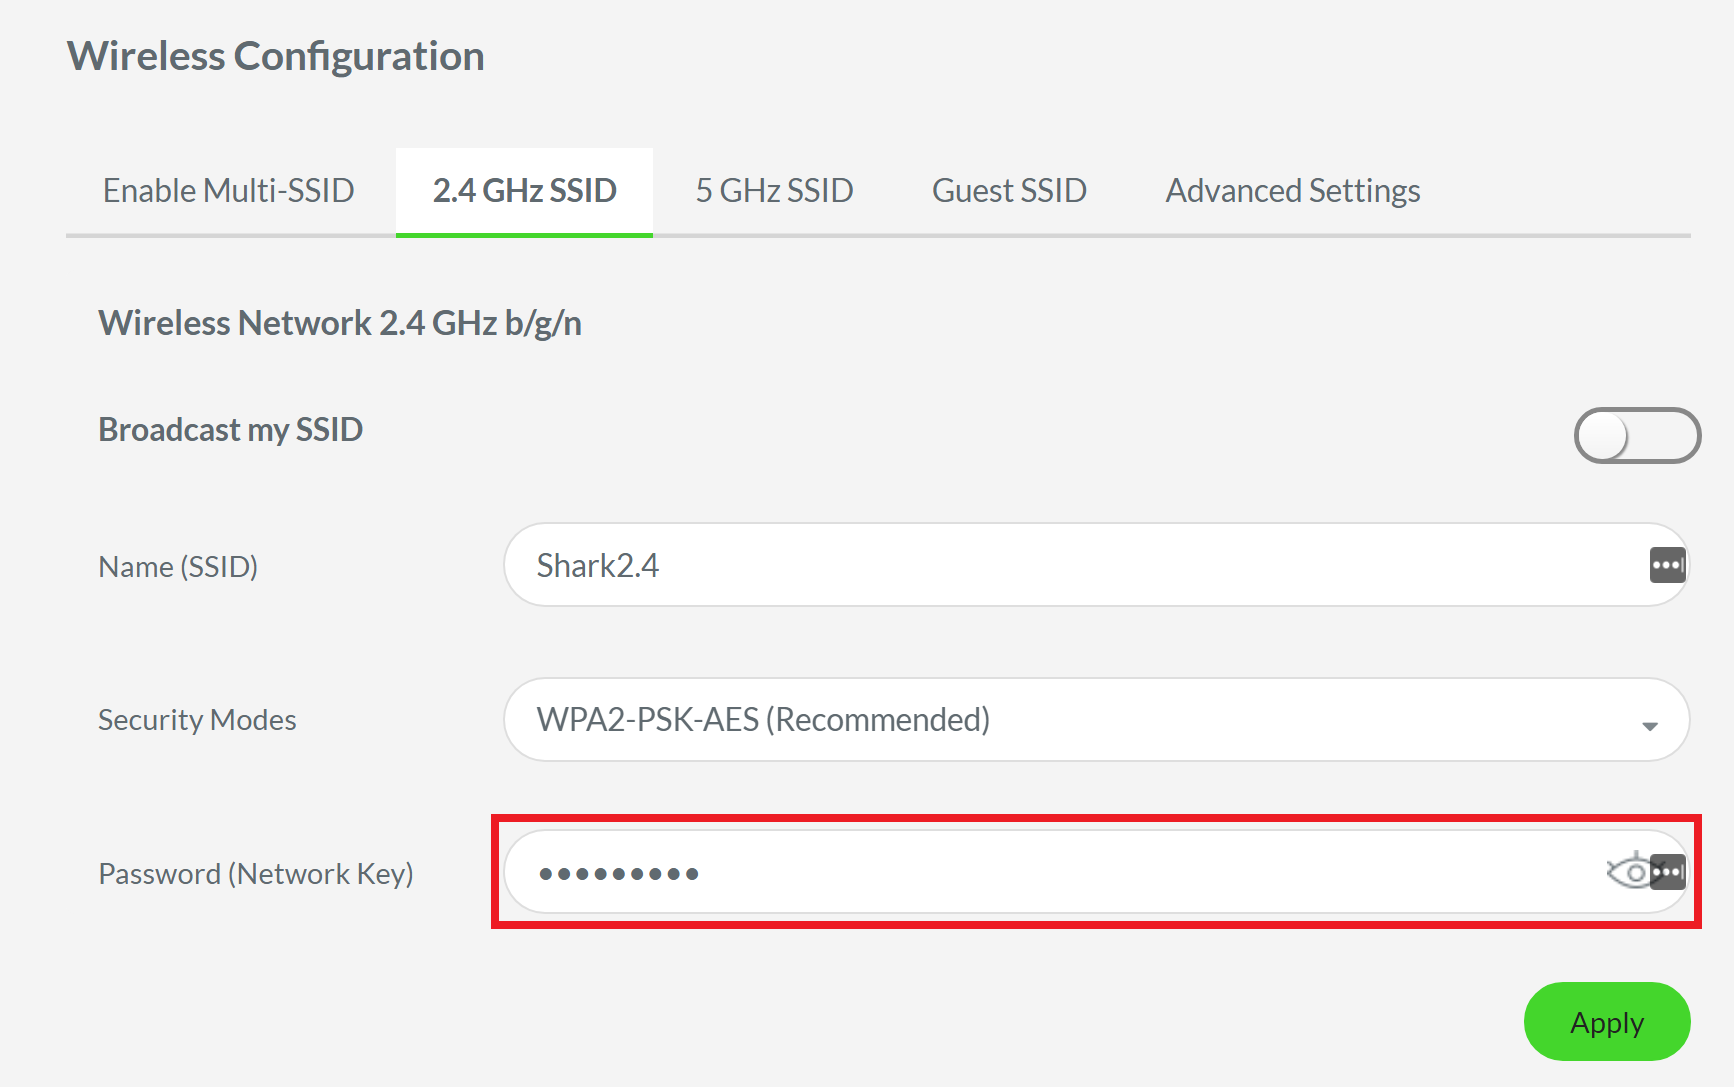
Choose the Security Mode. In this example, WPA2-PSK-AES is chosen. This is the most recommended mode for having the latest encryption standard and the latest encryption protocol combined, resulting in more enhanced security over the wireless network.

-
Enter a password for this wireless network in the Password (Network Key) field. This will be the password that wireless devices need to enter to successfully connect to this wireless network.
-
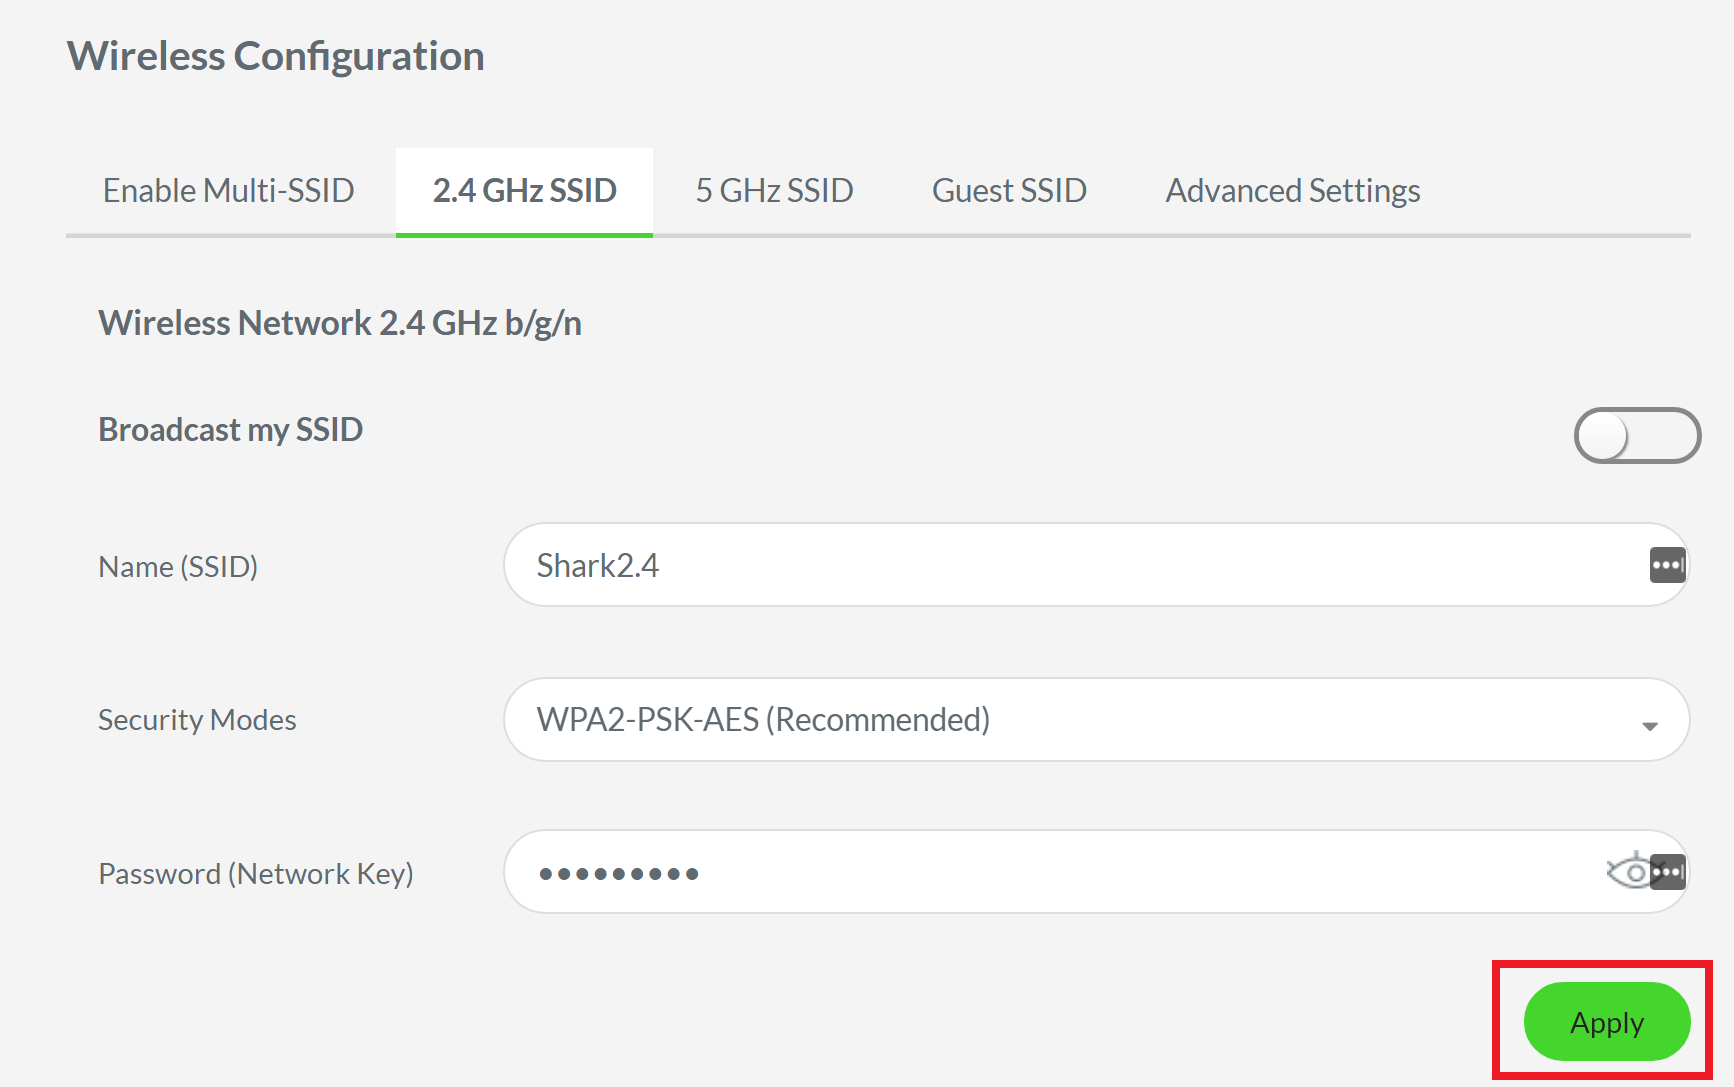
Click “Apply”.
-
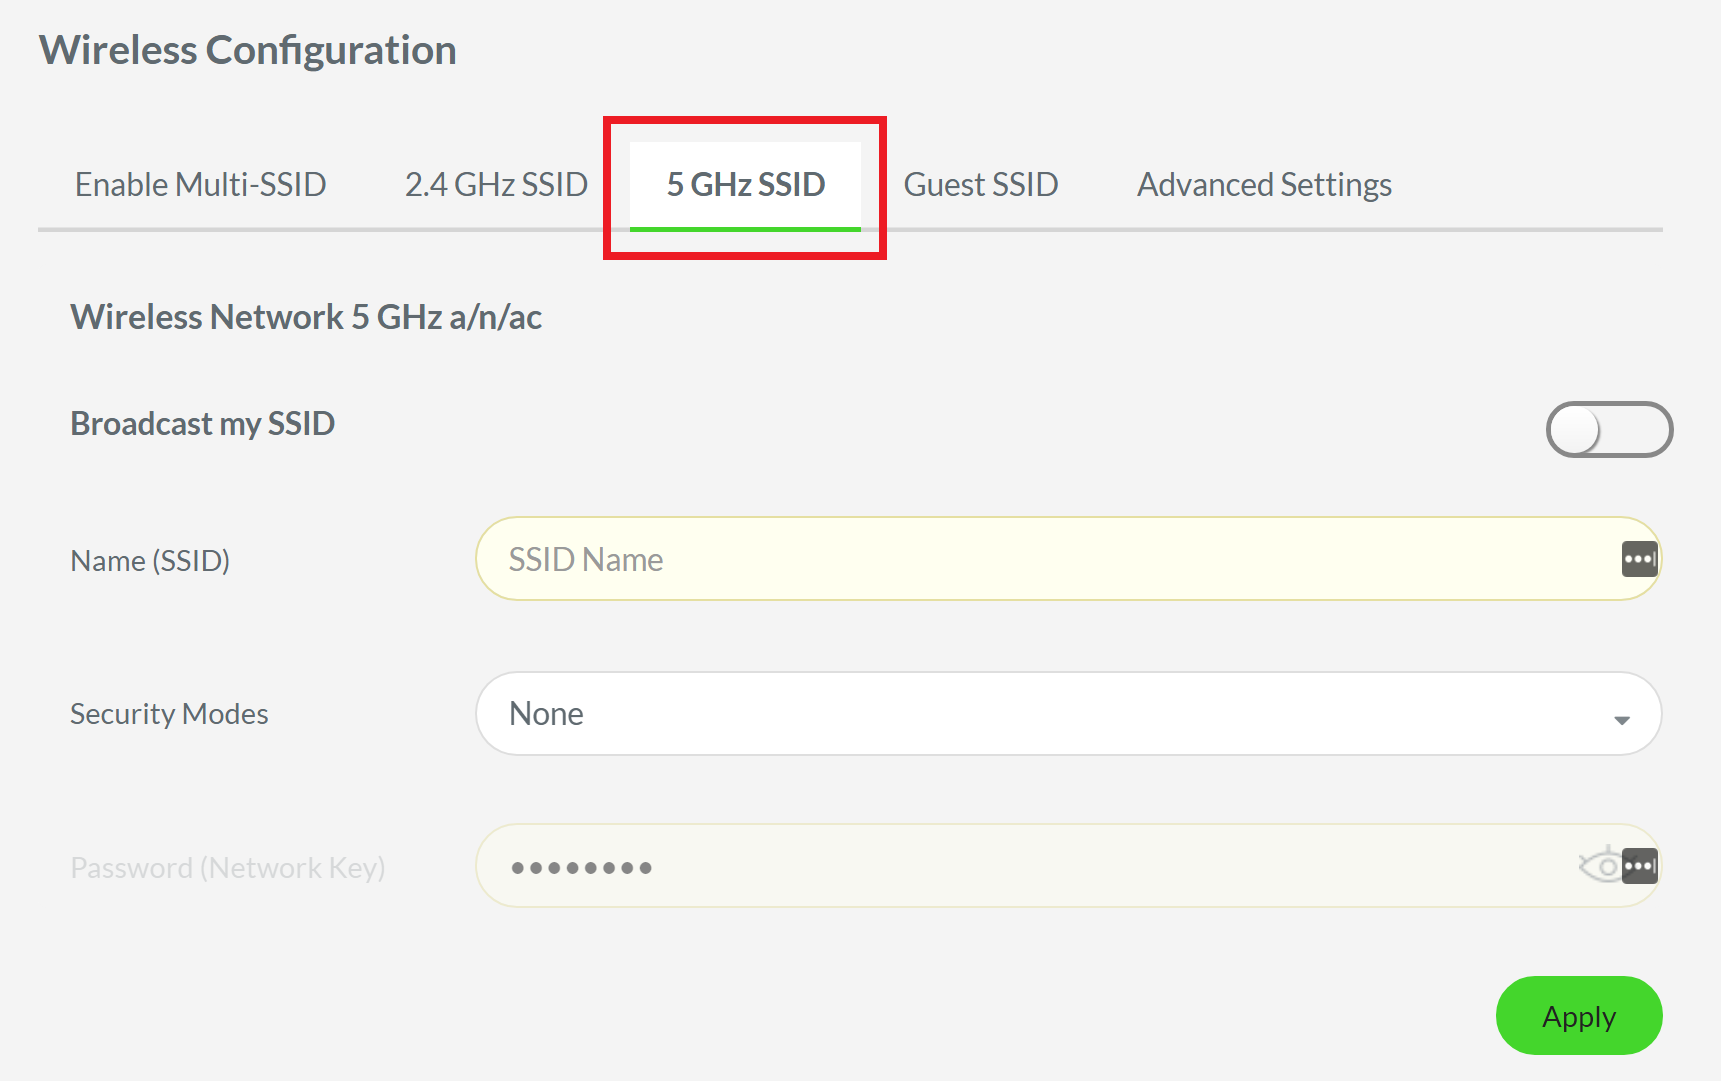
Click on “5 GHz SSID”.
-
Repeat steps 3-6 above to configure the wireless settings for this network.
You should now have successfully configured wireless security on both 2.4 GHz and 5 GHz networks on your Razer Sila.

