
A system recovery stick is used to restore the Razer Blade to its original state.
Note: Your download and use of this system recovery image is governed by the Razer Services & Software – General Terms of Use.
You can view the video below for instructions or review a copy of the video transcript.
See instructions below on creating a system recovery stick for the Razer Blade.
Preparations
Take note of the following before performing system recovery:
-
This process removes all data, files, settings, games, and applications. Back up your blade.icm file in “C:\Windows\System32\spool\drivers\color” and all other data to an external drive. To backup and restore a custom color profile, see How to backup and restore custom color profile on the Razer Blade.
-
Once system recovery is successful, Windows, Razer Synapse updates, and other software installations are required.
-
If your Razer Blade was upgraded to a different OS other than the one it shipped with, the recovery partition will revert it to the original OS.
-
Ensure the Razer Blade is connected to a power supply. This may take a few hours to complete and may require several system updates and restarts.
-
Check the Power Settings to ensure the Razer Blade will not go to sleep during the process.
-
Go to “Settings” > “System”.

-
Ensure “Sleep” is set to “Never” under “Power & sleep”.

-
System recovery stick creation
-
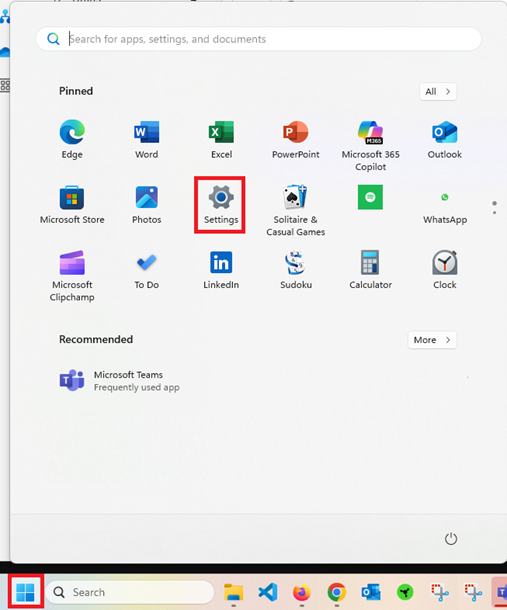
Click the Windows logo, then go to “Settings”.
-
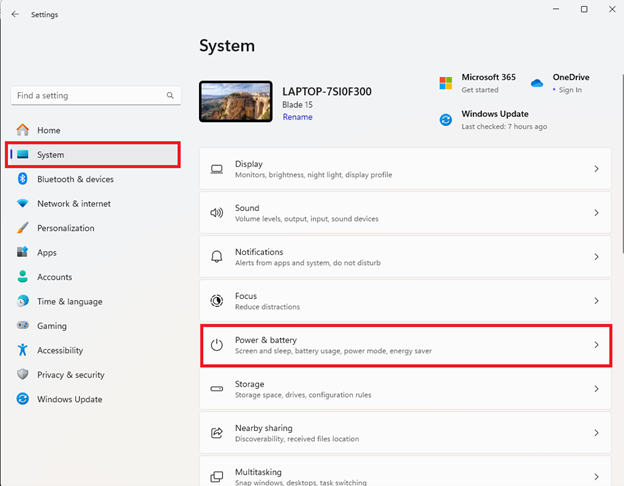
Click “System” > “Power & battery”.
-
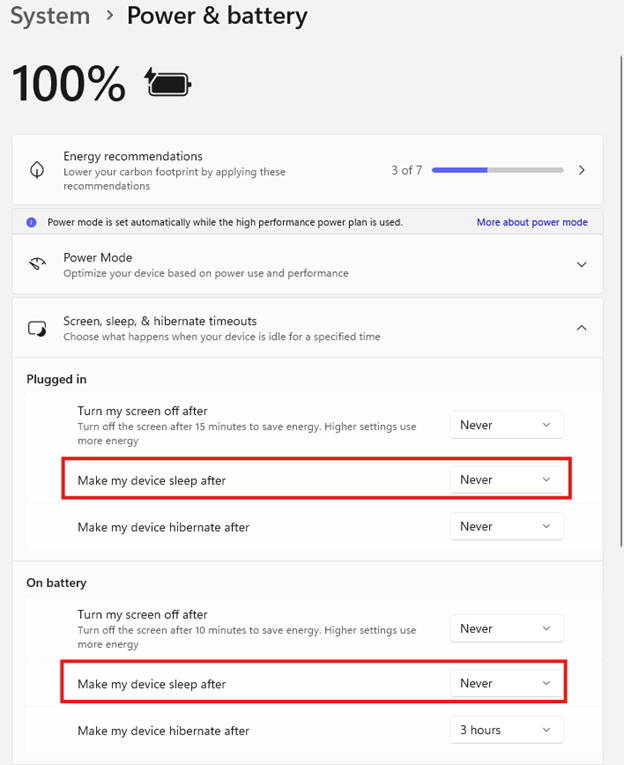
Ensure “Make my device sleep after” is set to “Never” under “Power & battery”.
Note: You have the option to create a recovery stick from your existing system using the Recovery Drive app or by downloading the original recovery image.
Using the original recovery image
-
Download the system recovery files to create a system recovery stick from the link provided by Razer Support. See How to download the recovery image for instructions. If the file download is interrupted, click on “Resume” to continue downloading. However, if system recovery files from Razer Support are unavailable, use the Recovery Drive app method instead.
-
Insert a USB drive with at least 32 GB capacity directly into your computer. Use a USB 3.0 drive to shorten the duration of the recovery process. Do not use a switch or USB hub.
-
If the USB drive is not detected, insert it into a different USB port.
-
If the USB drive is still not detected, use another USB storage device.
-
-
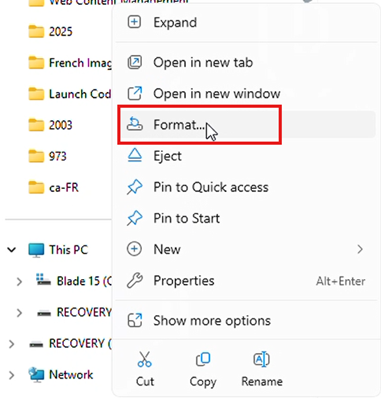
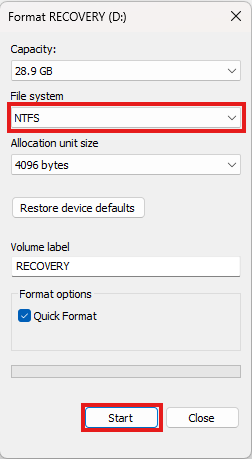
Format the USB drive to NTFS (New Technology File System).
-
Right-click on the USB drive and select “Format”.
-
Select “NTFS” as the file system then click “Start”.
-
Locate the downloaded system recovery image zip file and extract it to the prepared USB drive.
-
Using the Recovery Drive app
-
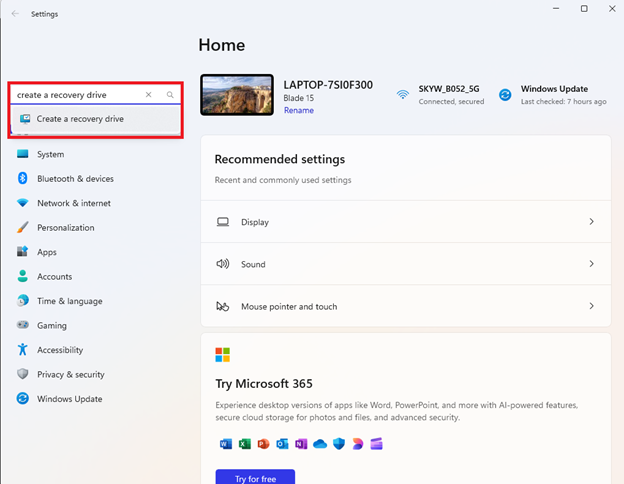
Go to “Settings”, search for “Create a recovery drive”.
-
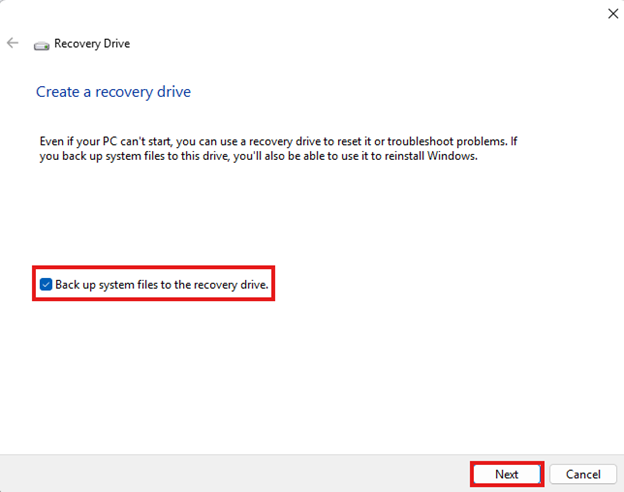
Ensure “Backup system files to the recovery drive” is selected then click “Next”.
-
Follow the on-screen instructions and plug in the USB drive to proceed.
To create and use a system recovery stick for the Razer Tomahawk Gaming Desktop, see the answers below:
System recovery process
-
Shut down the Razer Blade, then unplug all devices except for the power adapter.
-
Connect the recovery stick directly to the Razer Blade. Do not use a USB hub, as this may cause the recovery process to fail.
If the recovery stick is not detected or not working, perform the following:
- Transfer the USB drive to a different USB port. Ensure it is properly inserted.
- If the recovery stick is still not working, try creating another recovery stick using a different USB drive.
-
Power on the Razer Blade and repeatedly press “F12” to go to the boot menu.
-
Select “UEFI: USB DISK 3.0 PMAP, Partition 1” then follow the on-screen instructions until the process is completed.


