
THX Spatial – Razer Synapse comes free with the purchase of any THX Spatial-enabled headset and will be added to Razer Synapse once the device is detected. The THX Spatial Audio (standalone version) is acquired by purchasing via the 7.1 Surround update or directly from our website.
Follow the detailed instructions below to use the THX Spatial as a playback device.
Select an action
Setting THX Spatial – Razer Synapse 4 as the playback device
-
Plug your THX Spatial-enabled Razer headset into your PC.
Your system will automatically detect the headset and prompt you to download Razer Synapse 4.
- Download and install Razer Synapse 4.
- Open Razer Synapse.
-
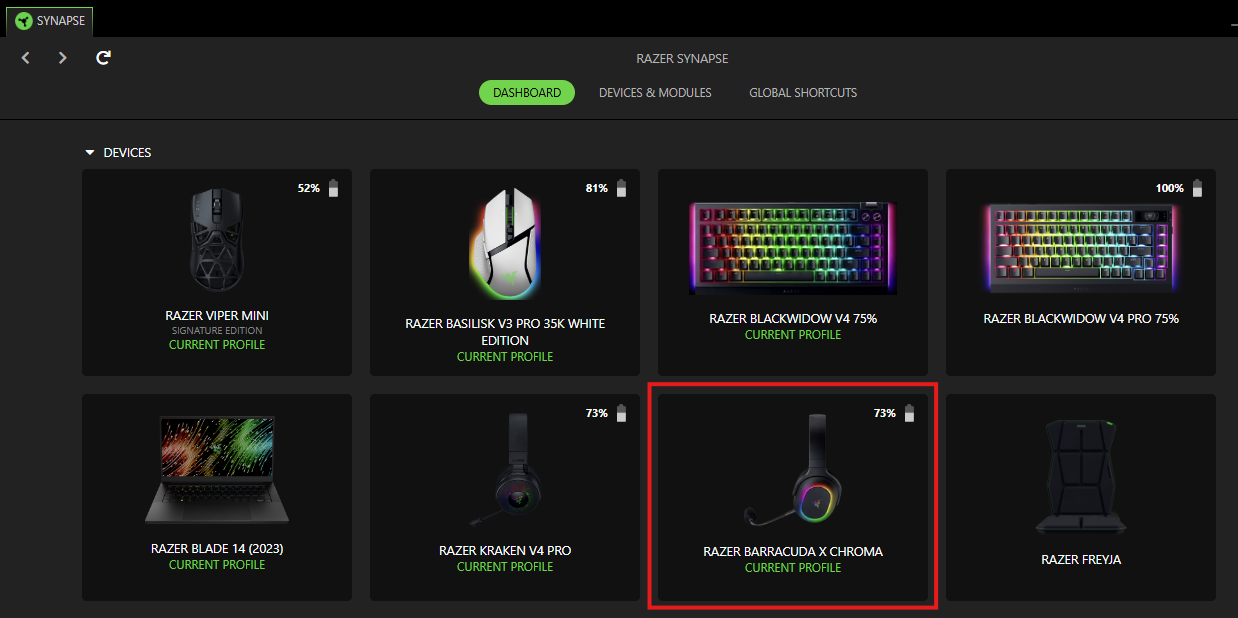
Select your headset from the list of devices.
- Navigate to the “SOUND” tab. You will be prompted to set your default device.
-
Click “Set as Default”.

-
Toggle to “THX Spatial Audio”.

Setting THX Spatial Audio as the playback device
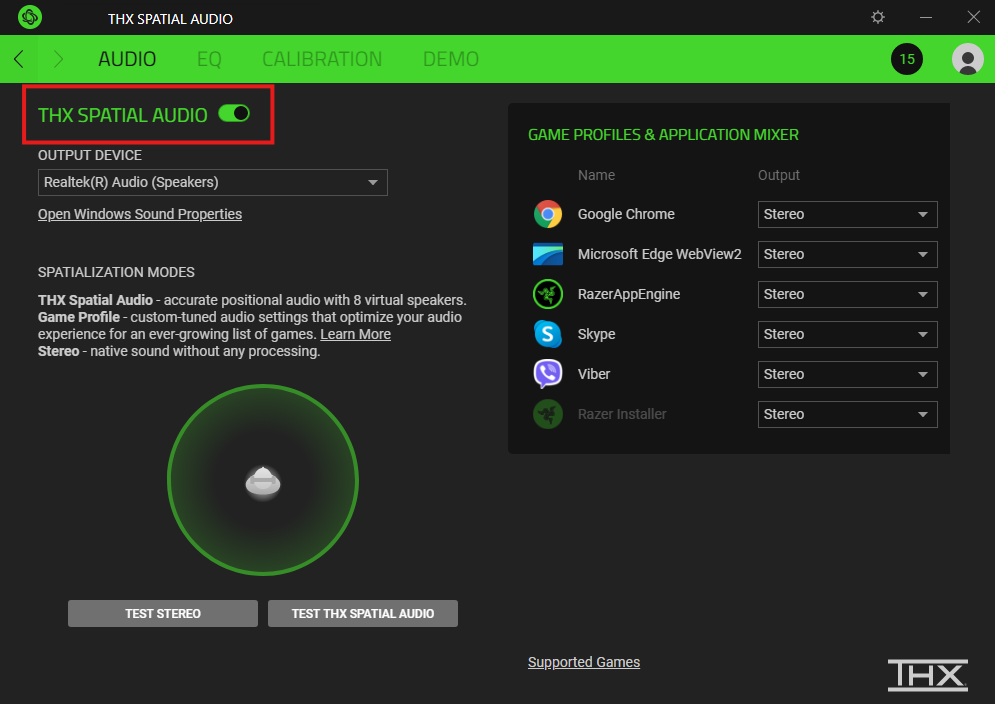
- Open the THX Spatial Audio app.
-
Toggle “SPATIAL AUDIO” under the “AUDIO” tab.
-
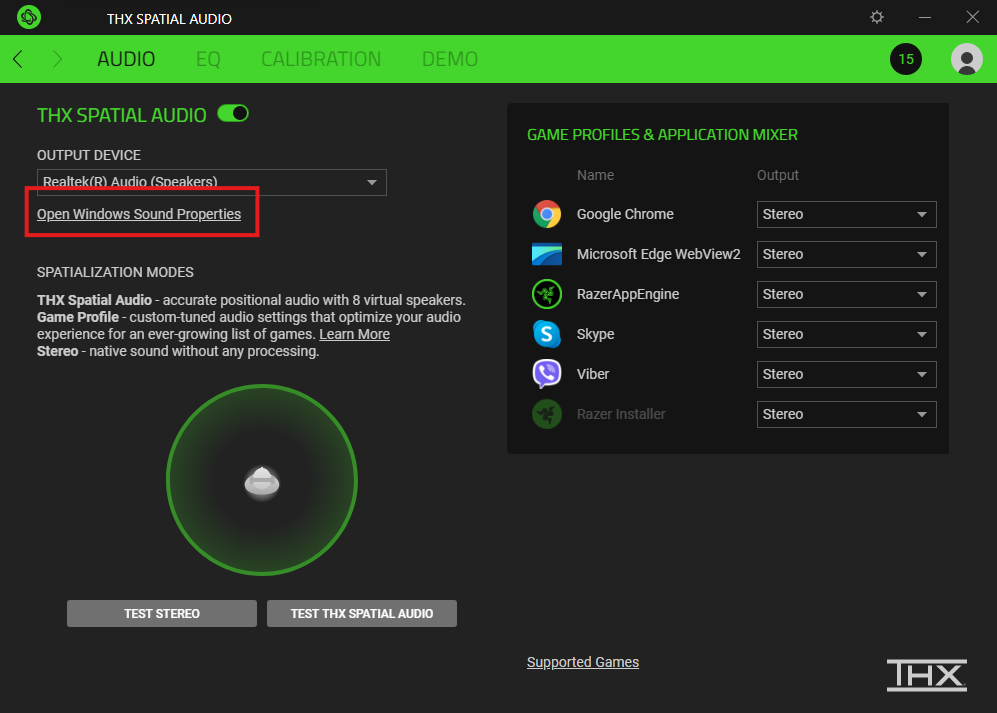
Click on “Open Windows Sound Properties”.
- Right-click on “Speakers (THX Spatial)”.
-
Select “Set as Default Device”.
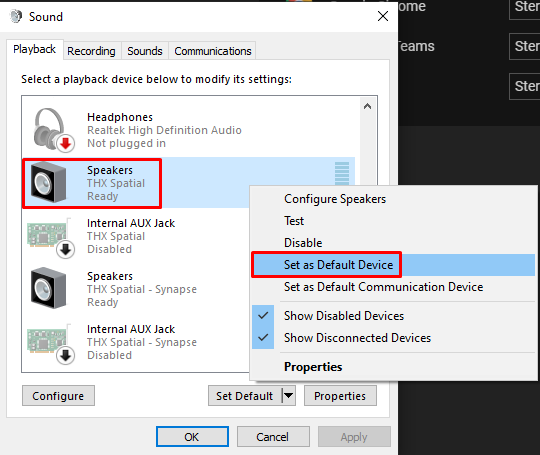
- Click “OK”.
-
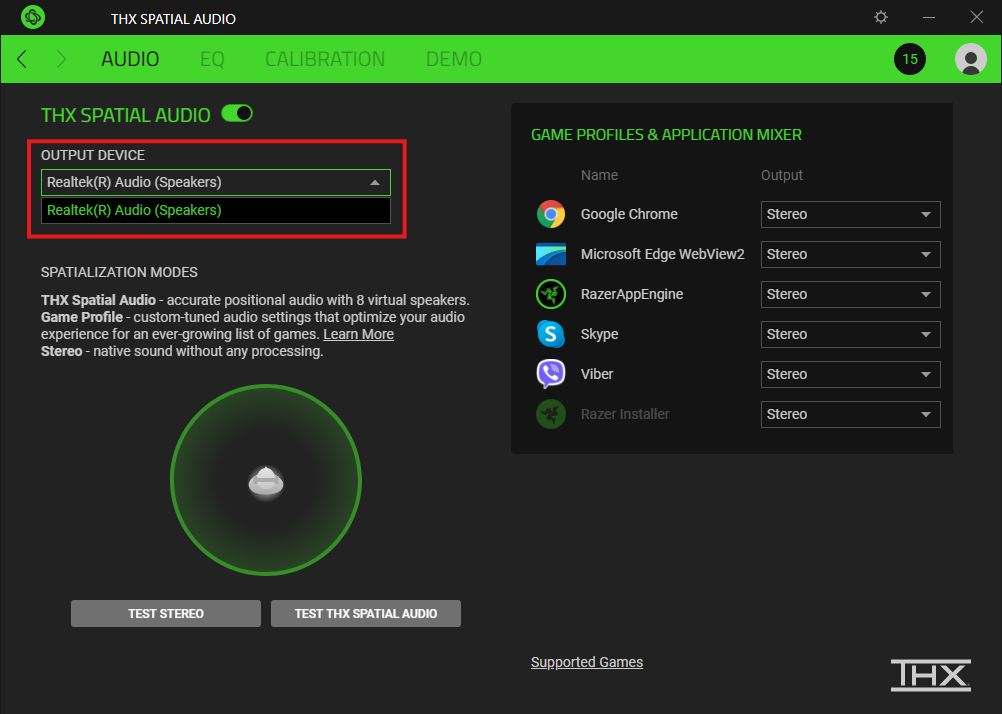
Select the output device.
Note: If you are using analog headsets or speakers, you will need to select the output device where you plugged the 3.5 mm connector. Usually, it is the computer’s sound card. For example, Realtek Audio.
-
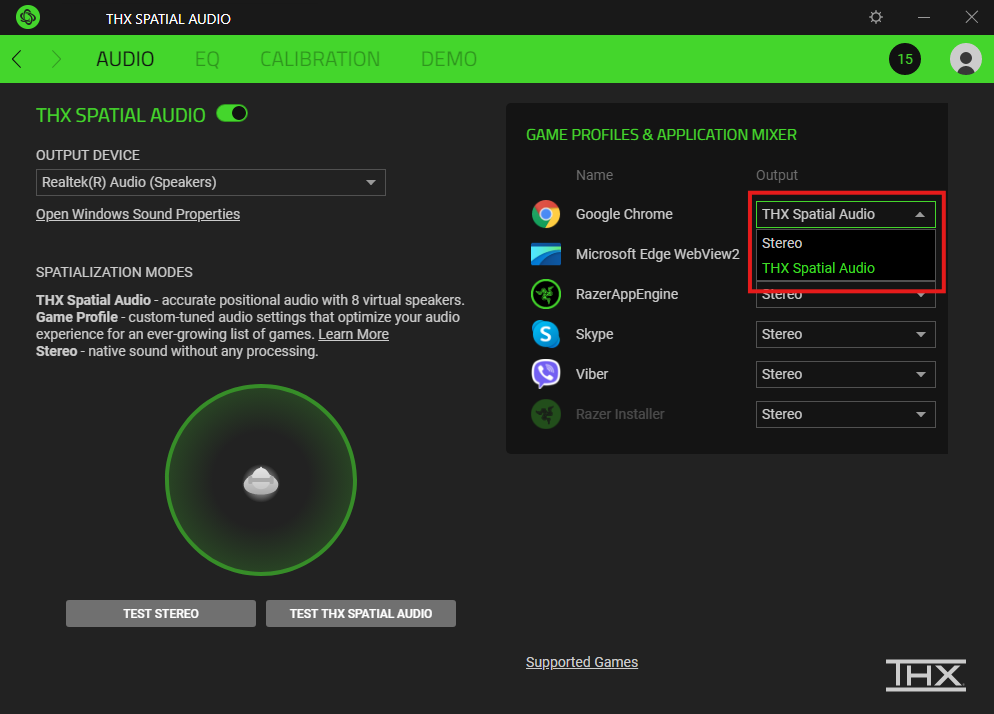
Select “THX Spatial Audio” as output in the “GAME PROFILES & APPLICATION MIXER” section.
You can now enjoy the THX Spatial feature on your audio device.

