When your Razer Gaming Chair sinks every time you sit on it or you can no longer adjust the height, it has a faulty chair cylinder that needs replacement.
Tools needed:
-
Rubber mallet
-
Hex key
-
Microfiber cloth
-
Penetrating lubricant
Important: Put the chair over a smooth work surface to protect it from scratch and any other types of damage during the process.
Note: Images used in this article are for Razer Iskur.
Step-by-step process
-
Remove the head cushion.
Note: Skip this step if your gaming chair has no head cushion.

-
Straighten the backrest.

-
Align both armrests straight.
-
Adjust both armrests height to lowest.

-
Set the chair to its lowest height.

-
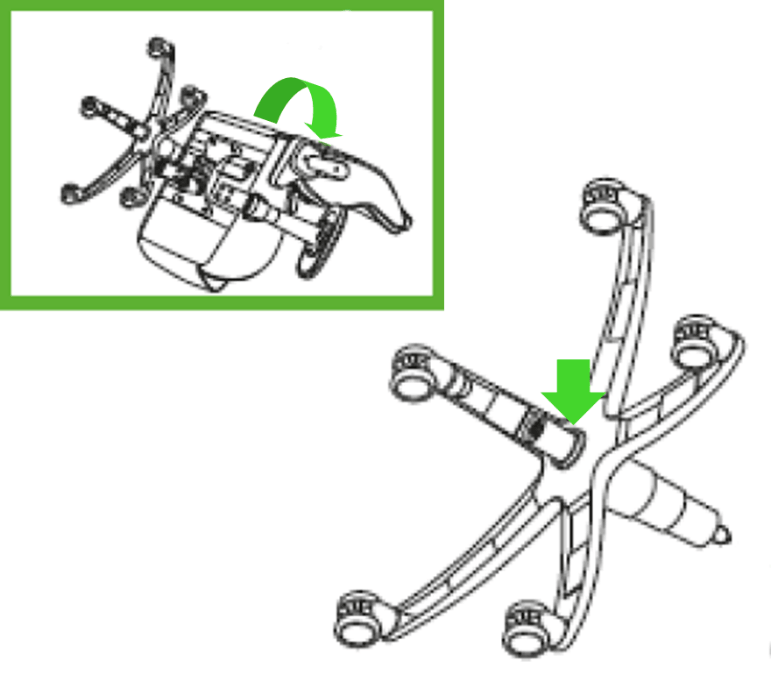
Turn the chair upside down.
-
Apply some penetrating lubricant between the gas lift cylinder and wheelbase.
-
Leave it for five minutes.
-
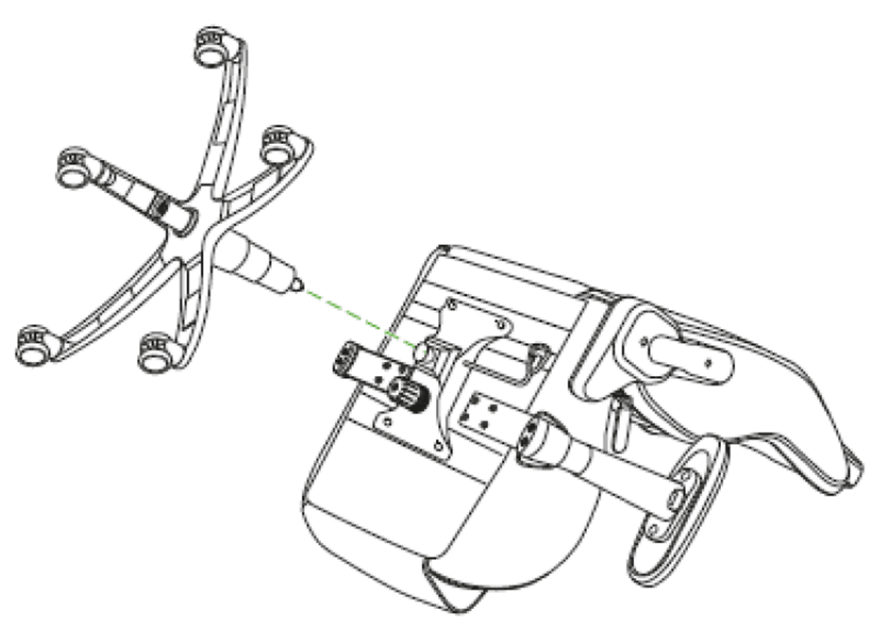
Dislodge the wheelbase by pulling it while hitting the cylinder with the rubber mallet wrapped in a microfiber cloth.
-
Make sure you hit only the outer rim of the gas lift cylinder and avoid using too much force when hammering.
-
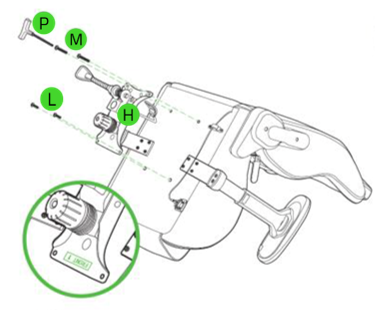
Unfasten the screws using the hex key to detach the tilt mechanism.
-
Apply some penetrating lubricant between the gas lift cylinder and the tilt mechanism. Leave it for five minutes.
-
Grip the gas lift cylinder firmly and hit the tilt mechanism with the rubber mallet wrapped in a microfiber cloth to separate.
-
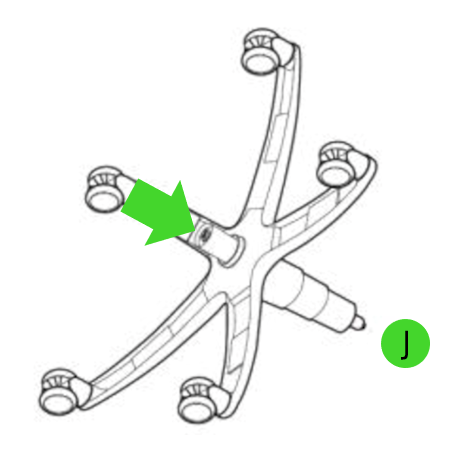
Separate the cylinder cover from the cylinder.
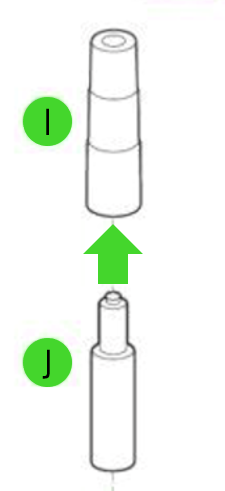
-
Insert the replacement cylinder into the center of the base then place the cylinder cover on top.
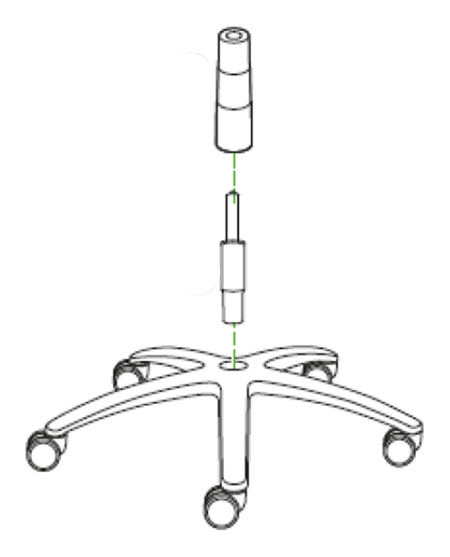
-
Connect base assembly to the chair by inserting the cylinder into the mechanism.
-
Secure the tilt mechanism with screws.