
For a complete list of applicable models, see Razer Blades with two storage drive slots.
Redundant Array of Independent Disks (RAID) allows users to increase data reliability and/or performance across multiple physical storage drives. This is achieved by striping, mirroring, or using parity to create a reliable backup in case of drive failure and increase read/write performance.
There are several levels of RAID that can be applied to any system with respect to the number of physical drives installed. Since the Razer Blades and Blade Pros typically only have two internal storage drive slots, we can only use RAID 0 or RAID 1. You can configure both levels of RAID using Intel® Optane™ Memory and Rapid Storage Technology.
-
RAID 0 – splits or stripes data equally between two or more disks without redundancy. If the two disks are of equal size, this will give your system the storage equivalent to only one of the drives, but the read and write speed of the two drives. This results in better performance but less reliability since the failure of one drive will cause the failure of the whole array. This setup is usually used to increase speed, such as in gaming systems.
-
RAID 1 – will copy or mirror your data to two or more drives. You opt for this setup if data reliability is your utmost concern. Because your data is duplicated across your drives, your data will remain safe even if one of the drives fails. Since there is no striping or parity of data involved, there will be no significant improvement in the read and write speeds of your array.
Important:
-
This process requires a fresh installation of Windows. Back up all your files before proceeding.
-
Any modification done to the Razer Blade is not covered by our Warranty Policy.
Follow the detailed instructions below to set up RAID using Intel® Rapid Storage Technology on the Razer Blade.
Step-by-step Process
Prepare your Razer Blade
Retrieve Windows 10 license key
RAID setup requires a fresh installation of Windows. Retrieve your Windows 10 license key by following the steps below:
-
Press the Windows key and search for "CMD".
-
Run CMD with Administrative rights.
-
Right-click on Command Prompt and select "Run as administrator".

-
-
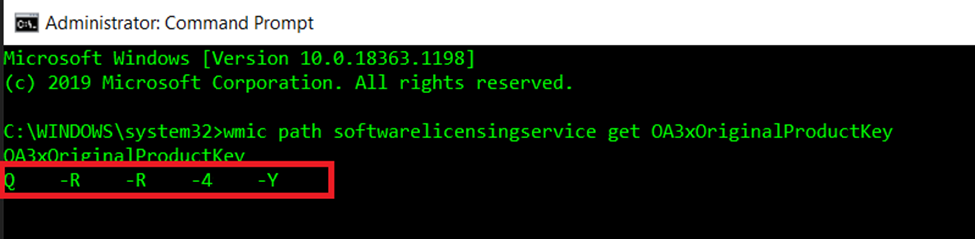
Enter "wmic path softwarelicensingservice get OA3xOriginalProductKey" in the Command Prompt window.
-
Take note of your product key.
Create Windows 10 installation media
-
If you do not have a Windows 10 installation media ready, see Create Windows 10 installation media to download the tool and get instructions on how to create a Windows installation media.
Create Windows 11 installation media
-
If you do not have a Windows 11 installation media ready, see Create Windows 11 installation media to download the tool and get instructions on how to create a Windows installation media.
Install Storage Module
-
RAID requires at least two storage drives installed in the Razer Blade. We recommend using drives with identical storage space, speed, and formatting.
-
Refer to your Razer Blade’s User Manual or Support page to check for supported storage drives.
Note: If you have no experience installing a physical drive on your system, it will be best to consult a qualified technician.
-
Begin configuring your array once you have installed the compatible storage drive.
Configure your Razer Blade (with Intel 10th gen and below)
Configure BIOS
-
Go to BIOS by pressing "F1" or "del" while the system is booting up. See How to access the BIOS settings on the Razer Blade.
-
Go to Chipset > SATA and RST Configuration.
-
Select "Intel RST Premium With Intel Optane System Acceleration" under "SATA Mode Selection".
-
Set all available storage drives to "RST Controlled".

Reinstall Windows 10
-
Turn off the Razer Blade and insert the Windows 10 installation USB media.
-
Turn on the Razer Blade and press F12.
-
Select the USB media as the boot device.
-
Follow on-screen instructions to complete Windows 10 installation.
Configure RAID
-
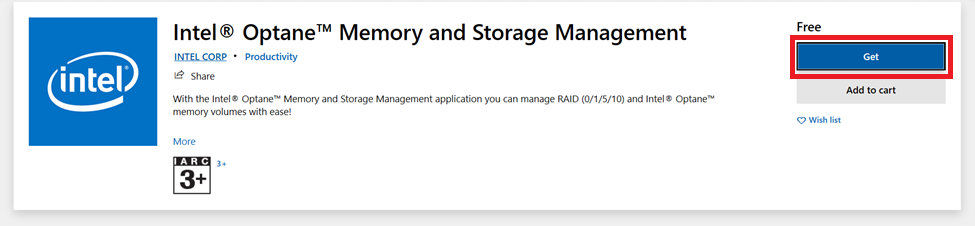
Go to Microsoft Store and install Intel® Optane™ Memory and Storage Management.
-
Launch Intel® Optane™ Memory and Storage Management. Newly installed storage drives should be visible.

-
Select the controller (PCIe or SATA) and volume type (RAID 0 or RAID 1) then click "Next".

-
Select the disk for RAID Volume then click "Next".

-
Click "Create RAID Volume". This will take a few minutes to complete.

-
Once completed, the drives should now be displayed as a single volume with the RAID type as shown below.

Configure your Razer Blade (with Intel 11th gen and newer)
-
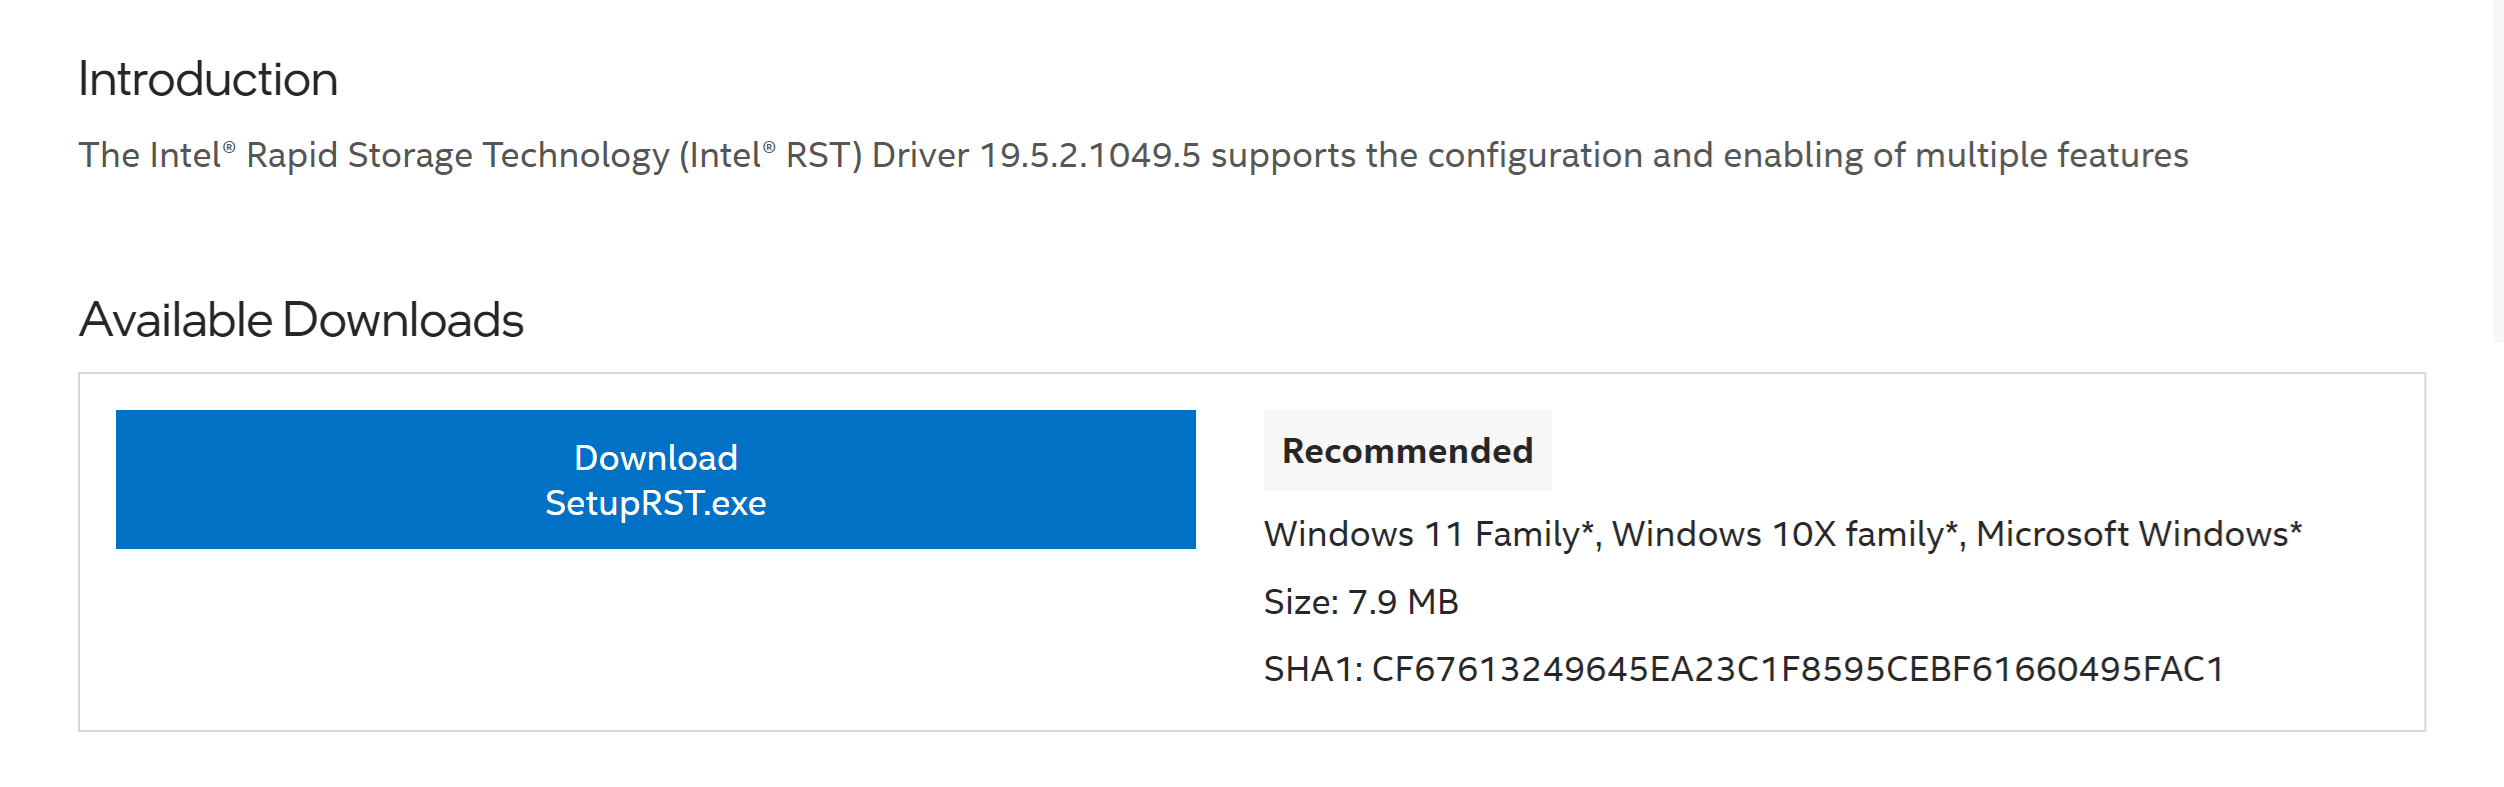
Download the file by visiting the Intel® Rapid Storage Technology Driver Installation Software with Intel® Optane™ Memory page.
- After downloading the file, follow the guide here to get the installation drivers How to Enable Intel® VMD Capable Platforms for RAID or Intel® Optane™ Memory Configuration with the Intel® RST Driver.
-
Unzip the driver and place its content in your Windows 10 or 11 installation USB media drive.
-
Enable VMD in BIOS.
-
Go to BIOS by pressing "F1" or "del" while the system is booting up. See How to access the BIOS settings on the Razer Blade.
-
Go to Chipset > Intel VMD Technology then set it to "Enabled".

-
Save changes and restart.
-
-
Go back to BIOS. Go to "Advanced" > "Intel(R) Rapid Storage Technology".

-
Create RAID Volume and select either "RAID0 (Stripe)" or "RAID1 (Mirror)".


-
Select the two SSD drives by having the "X" mark in their boxes.
-
Save changes and exit.

-
Turn off the Razer Blade and insert the Windows 10 or 11 installation USB media.
-
Turn on the Razer Blade and press F12.
-
Select the USB media as the boot device.
-
Follow on-screen instructions to set up Windows 10 or 11.
-
Select "Custom: Install Windows only (advanced)".

-
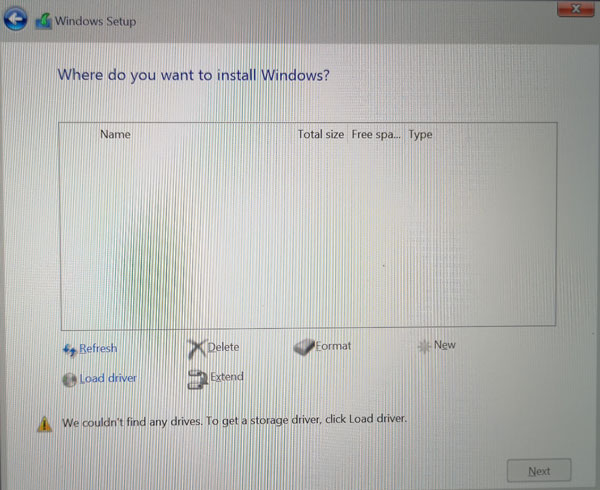
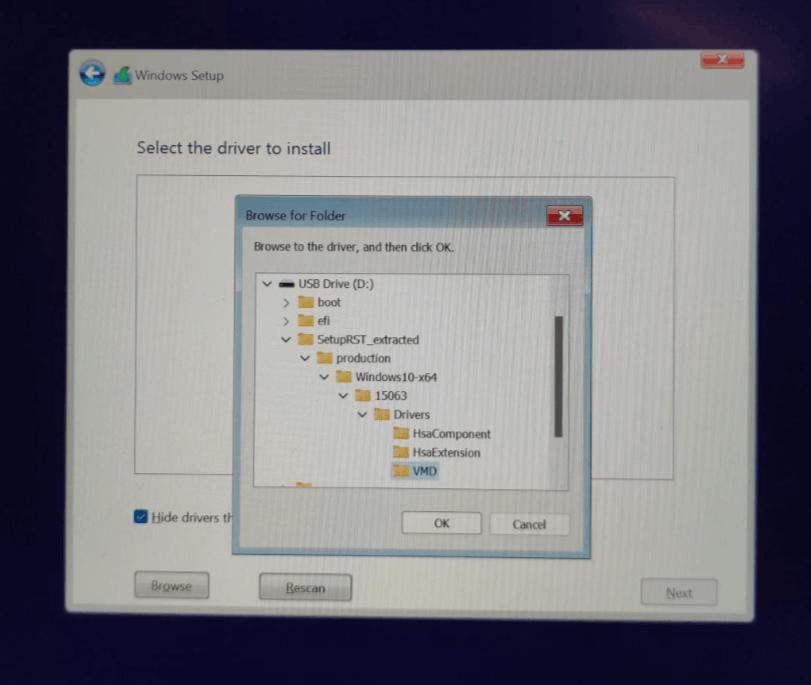
Select "Load driver".
-
Navigate to the Intel VMD driver that was downloaded earlier via the arrow keys and placed in the Windows 10 or 11 installation USB media.
-
Click "OK".
-
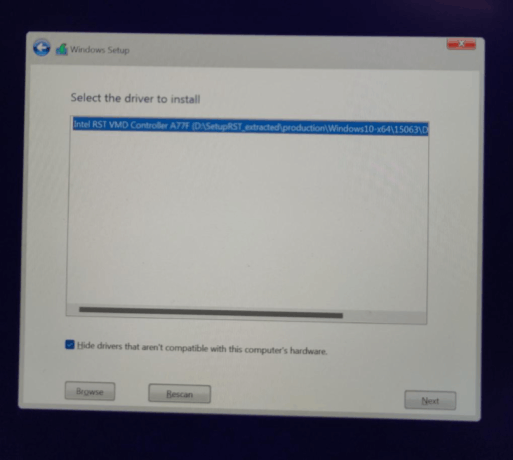
Select the driver to install.
-
Click "Next".
-
After the driver installation is completed, the drives should appear normally.
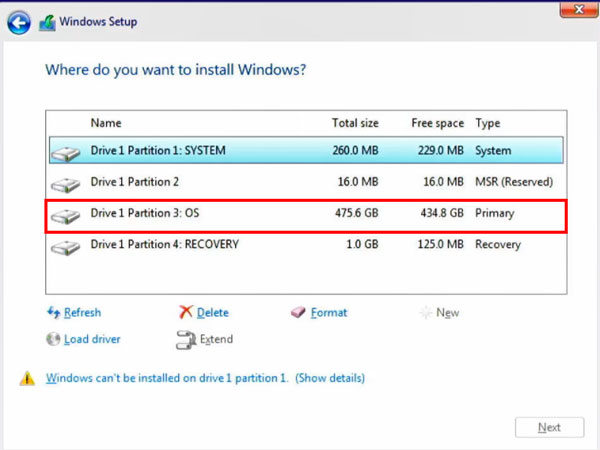
-
Select the appropriate primary drive then click "Next". Wait until the Windows installation process is completed.

