
Important - Review prior to upgrading:
- Review our warranty policy.
- Check the specifications on your Razer Blade for compatibility and supported upgrades.
- Place the laptop on a smooth surface for proper grounding.
You can view the video below for instructions or review a copy of the video transcript.
Needed tools and parts:
- T5 Screwdriver
- Compatible memory module
Follow the detailed instructions below to upgrade the RAM on a Razer Blade laptop.
Step-by-step Process
-
Power off the system then unplug all connections including the power adapter.
-
Flip the device over a flat surface.
-
Unscrew the T5 screws holding the bottom plate. Be careful with the amount of force you use.
Note: Do not use an electric screwdriver.
-
Pry the bottom plate with your fingers until it clicks off.
-
Locate the RAM slots under a ribbon tape.
-
Carefully tug at the two pieces of tape holding the ribbon tape down to reveal their socket and metal brackets.
-
Unlock the two metal brackets on the side of the RAM until it pops out.
Note: The RAM does not pop out for some Razer Blade models due to the thermal pad stuck underneath. In this case, you can use a spudger tool to gently push the RAM up while the metal brackets unlock.
-
Align the notches and insert the RAM at an angle, then push it down until it clicks.
-
Reconnect the ribbon tape.
-
Put the bottom plate back on and the screws back in place.
-
Once done, boot up the Razer Blade.
Note: By changing or upgrading the RAM, your Razer Blade will show up a blank screen for a few minutes while it is doing retraining.
-
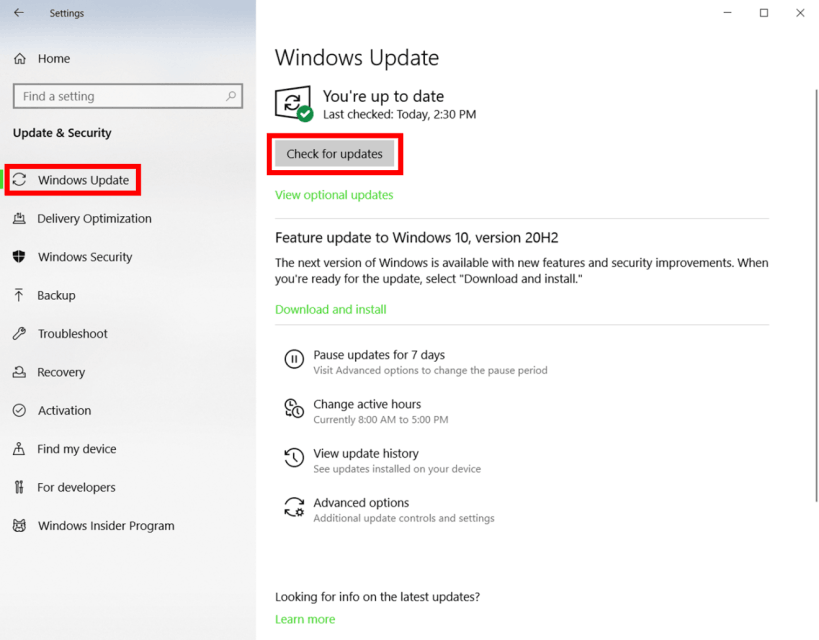
Go to "Settings" > "Update & Security", then download and install all available updates.
-
Go to Settings > System > About to check if the correct amount of RAM is showing.


