
This is a guide on how to apply the update to how to update the Trusted Platform Module (TPM).
Applicable product:
TPM Updater 1.0.6.6
Step-by-step Process
Before you start
-
Ensure Windows is up to date. See How to get the latest software and driver updates from Windows.
If you just updated Windows, please install the "Optional updates" under Settings > Windows Update > Advanced options.
-
Ensure your Blade is plugged into a wall outlet and not running on battery alone before proceeding.
-
Please save any open documents on your computer and close all other programs before attempting this update
Update process
Note: To run the TPM Updater, you will need to go to your Razer Blade BIOS Utility and temporally disable the current TPM platform. You will also need to re-enable it once you are done running the TPM Updater. By default, the Razer Blade’s TPM is enabled in your BIOS Utility – in case you may have disabled it on your own beforehand, you may skip step 1.
The TPM Updater will not allow you to continue until TPM is disabled in the BIOS Utility.
-
Disabling the TPM in your Razer Blade BIOS Utility.
-
Restart the laptop.
-
Tap the F1 key repeatedly once the “Razer logo” appears on the screen.
-
The BIOS Utility will launch.
-
From the main BIOS screen, go to “Advanced” tab.
-
Select “Trusted Computing” as shown below:

-
Under “Trusted Computing”, select “Security Device Support”, as shown below:

-
Under “Security Device Support” press the enter key once, select “Disable” and press the enter key again to confirm:

-
Once successfully disabled, “Security Device Support” should now show “Disable”.
-
Press the F4 key to save and exit.

-
The system should automatically restart.
-
Now that the TPM has been disabled, your system is ready to run the TPM Updater.
-
-
Running the TPM Updater.
-
Download the latest TPM firmware updater.
-
Double click on the executable file “RazerUpdater v1.06.6_TPM” to run the updater.
-
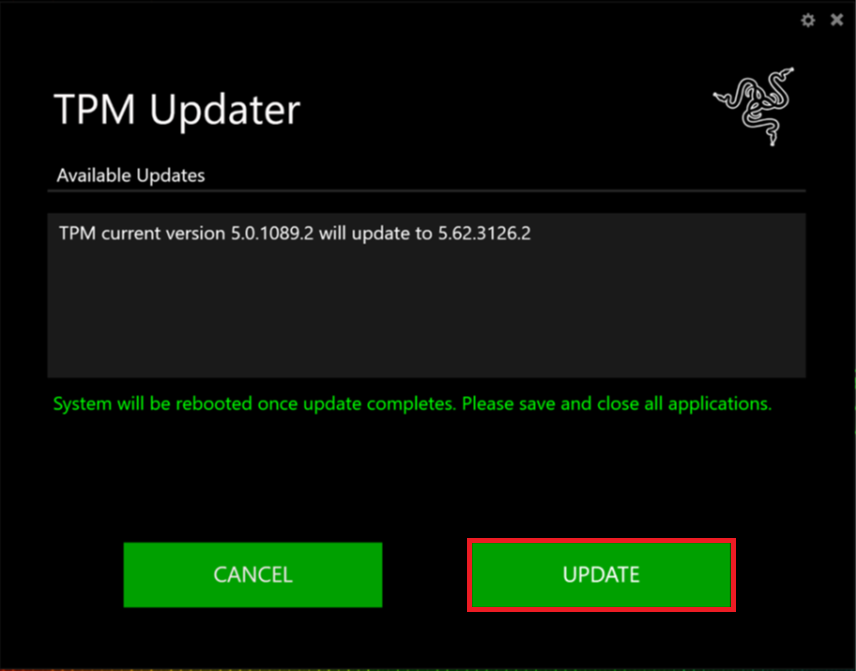
The TPM Updater will launch and display the current version of the TPM and the version it will update to.
-
Click on the “Update” button to proceed.
-
The green bar will show you the status as the system is updating.
-
The system should automatically restart.
-
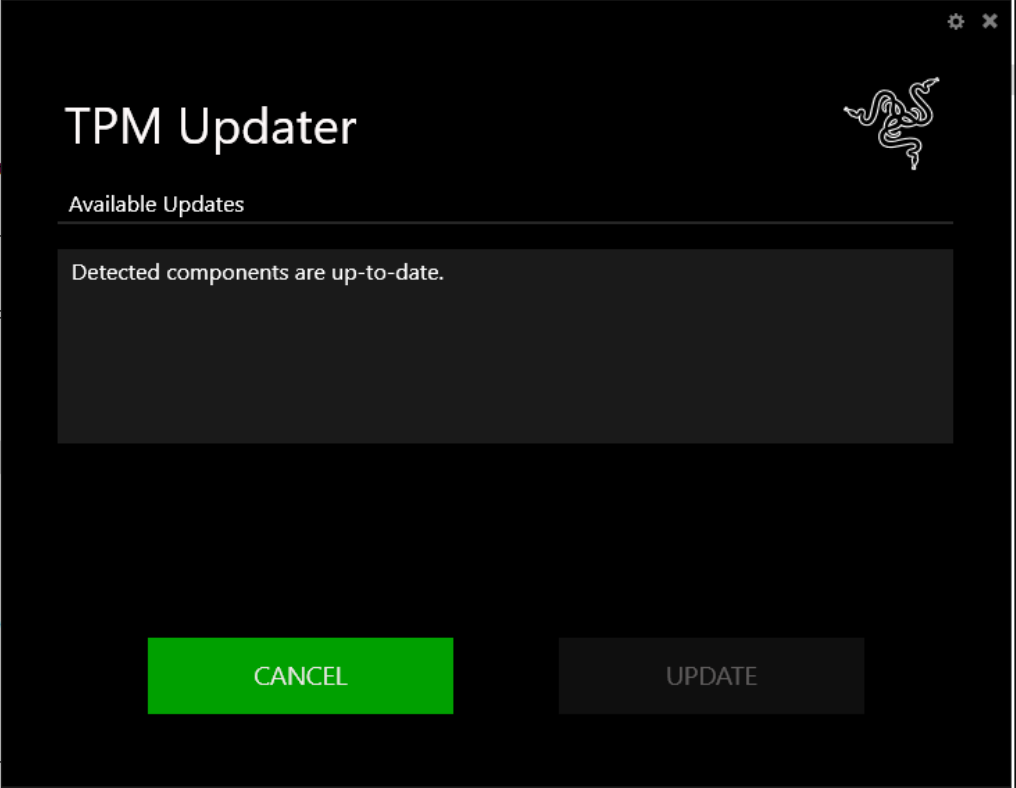
Log in back into your system and run the TPM Updater again.
-
The TPM Updater will launch and you should see the prompt below indicating the successful update, as shown below:
-
-
Re-enabling the TPM in BIOS Utility
Now that your system has been updated, be sure to go back to your Razer Blade BIOS Utility and re-enable the TPM, failure to do so may put your computer at risk.
-
Repeat step 1 - but this time, change the “Security Device Support” setting by selecting the “Enable” option.
-
Be sure to select “Save and Exit” to save the changes.
-

