Before you begin, download and install the latest version of Razer Streaming App or the Razer Synapse.
Note: It is recommended to use the Razer Streaming App to customize the Razer Key Light Chroma.
You can view the video below for instructions or review a copy of the video transcript.
Important:
-
Make sure your PC or mobile device is in the same Wi-Fi network when customizing the Razer Key Light Chroma.
-
If your router is with Delivery Traffic Indication Message or DTIM, change the default DTIM value which is three to one. This is to ensure timely message delivery to connected devices. Refer to your router’s manual for a guide in changing DTIM values.
Follow the detailed instructions below to customize the Razer Key Light Chroma.
Select preferred method
Via the Razer Streaming App
-
Ensure you have already installed the Razer Streaming App on your mobile device.
-
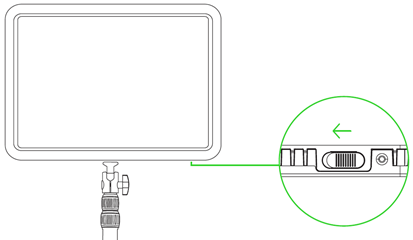
Switch on the Razer Key Light Chroma.
-
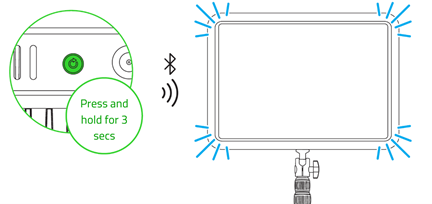
Press and hold the reset button for three seconds to activate pairing mode.
Note: The Razer Key Light Chroma will flash in blue to indicate that the pairing mode is active.
-
Launch the app and follow the onscreen instructions.
The Razer Key Light Chroma will light up in solid white to indicate that it is now connected to your network.

-
Tap on “Razer Key Light”.
-
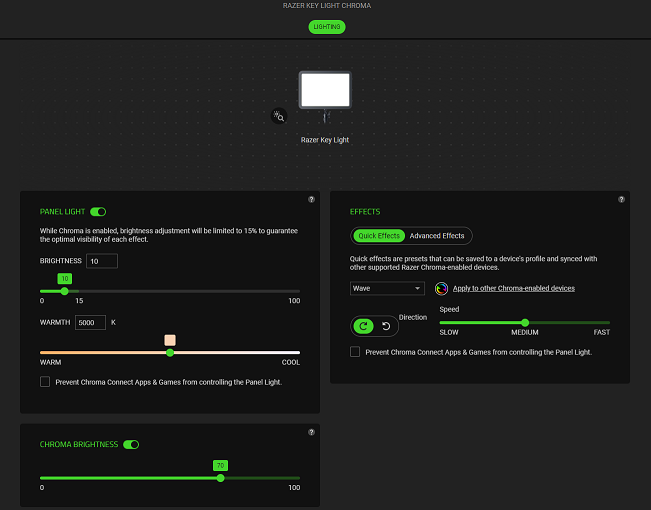
To adjust brightness or warmth:
-
Ensure “Brightness” is toggled on.
-
Tap on the property to adjust.
-
Drag the slider to your preferred level.

-
-
To add or customize a Chroma effect:
-
Ensure “Chroma Effect” is toggled on.
-
Tap on “Chroma Effect”.
-
Select your preferred effect and color.

-
Adjust the properties to your liking.
-
Via Razer Synapse 4
-
Switch on the Razer Key Light Chroma.

-
Press and hold the reset button for three seconds to activate pairing mode.
Note: The Razer Key Light Chroma will flash in blue to indicate that the pairing mode is active.

-
Open Razer Synapse 4.
-
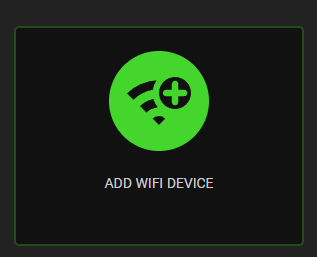
Click on “ADD WIFI DEVICE” from the Razer Synapse dashboard.
-
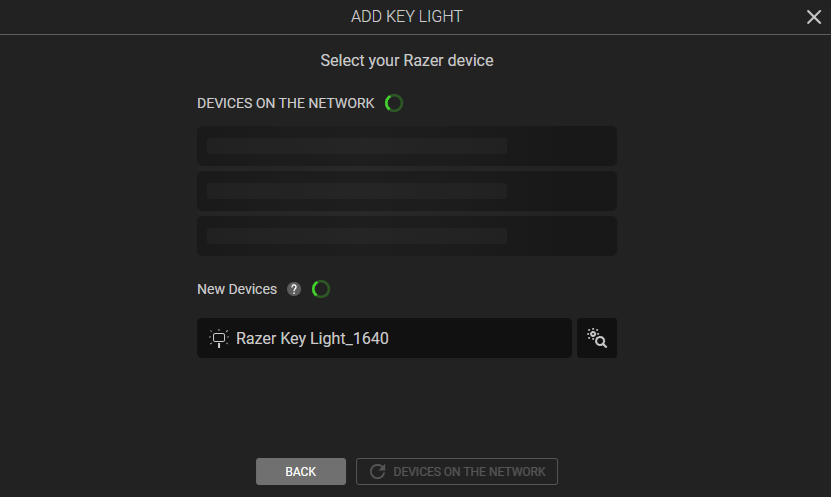
Click on the Razer Key Light Chroma once it appears.
-
Select the WiFi network that you want to connect to and enter the password. Ensure that you are connecting to a 2.4 GHz network.
-
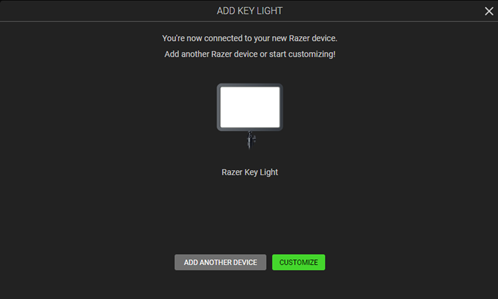
Once done, you can either add another device or go straight into customizing the lighting on your Razer Key Light.