How to add Wi-Fi devices on Razer Synapse

| Answer ID: 6194

This answer will show you how to add other Wi-Fi devices on Razer Synapse 3.

Effective February 3, 2026, Razer Synapse 3 will no longer receive updates or support cloud services. After this date, cloud syncing of configurations across PCs using the same Razer ID will be disabled.

Note: Your installed devices will continue to be configurable in Razer Synapse 3. However, if you uninstall these devices completely, you will need to upgrade to Razer Synapse 4 to continue customization.

Download Razer Synapse 4 and migrate your existing Razer Synapse 3 profiles using the Profile Migration Tool to retain access to your configurations. See How to migrate your Razer Synapse 3 Profile to Razer Synapse 4 for instructions.

Add your Razer Wi-Fi device in Razer Synapse to customize your Wi-Fi device and maximize your experience.


Compatible device:

Select Razer Synapse version

Razer Synapse 4

  1. Switch on the device.

  2. Activate the device's pairing mode.

  3. Open Razer Synapse 4.

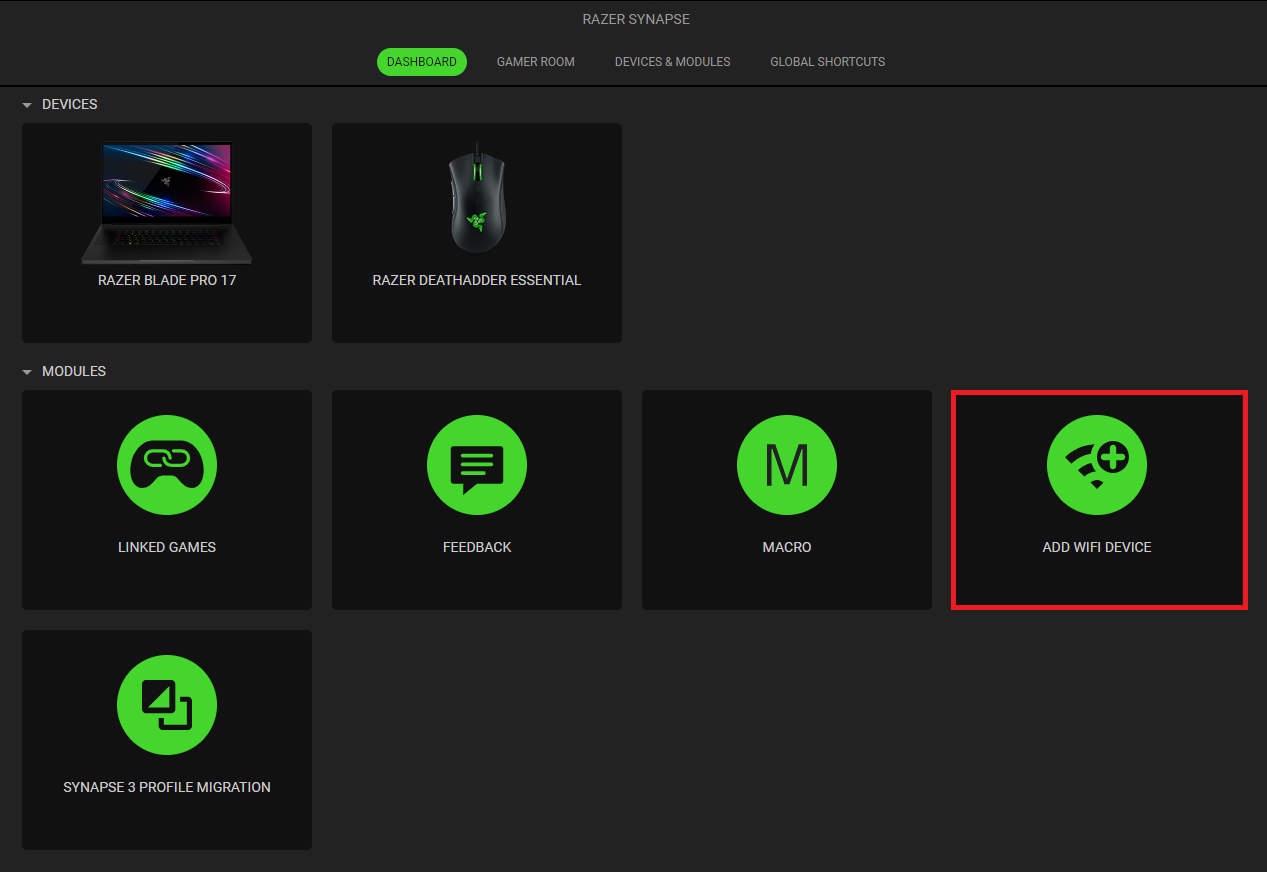
  4. Click on “ADD WIFI DEVICE” under “MODULES”.

    Razer Synapse 4 Dashboard

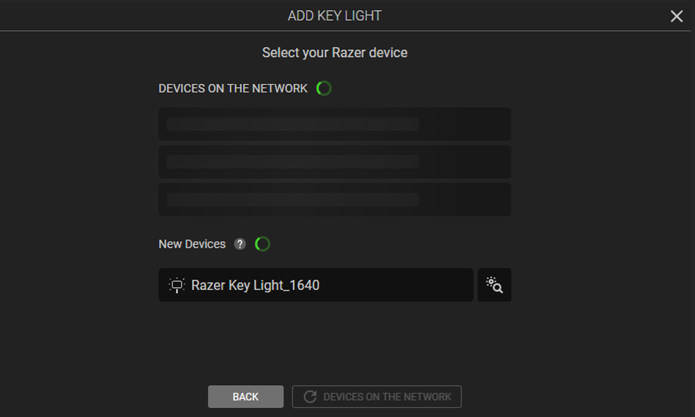
  5. Select the type of device you wish to add on the window that appears.

    Select Wi-Fi device window

  6. Select the Wi-Fi network and password that you want to connect to. Ensure you are connecting to a 2.4 GHz network.

  7. Wait for Razer Synapse 4 to set up the device. The device will then appear in the "DASHBOARD".

    Connected message window

Razer Synapse 3

  1. Switch on the device.

  2. Activate the device's pairing mode.

  3. Open Razer Synapse 3.

  4. Click on your avatar.

  5. Select "Add Other WiFi Device" and follow the onscreen instructions.

    Add Other WiFi Device button location.

    Synapse window for adding a WiFi device.

  6. Update when prompted.

  7. Wait for Razer Synapse 3 to set up the device. The device will then appear in the "DASHBOARD".

Is this answer helpful?