Before attempting any fixes, ensure the issue is not with the general settings or hardware.
- Ensure your microphone has app permissions.
- Go to Windows Settings > Privacy > Microphone.
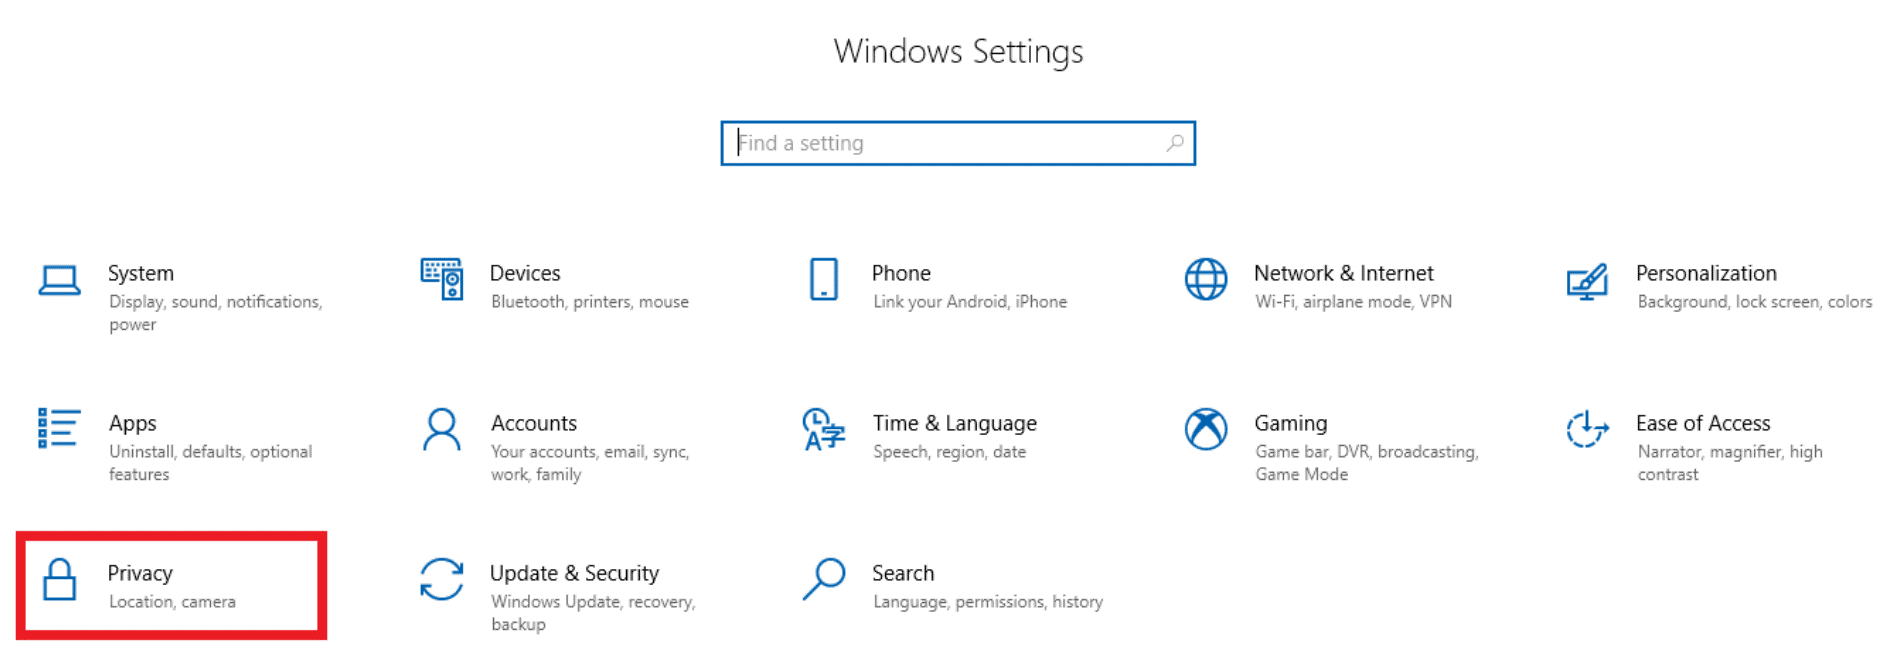
- Toggle on “Allow apps to access your microphone”.

- Go to Windows Settings > Privacy > Microphone.
- Plug the headset with the included 3.5 mm audio cable.
- Take note of the events before the issue occurred. If the microphone stopped working right after Windows Update, do the following troubleshooting steps.
Set the Razer Nari as the default recording device
- Ensure your Razer Nari is plugged into your PC.
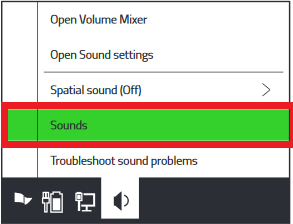
- Right-click on the speaker icon in the system tray.
- Select “Sounds”.
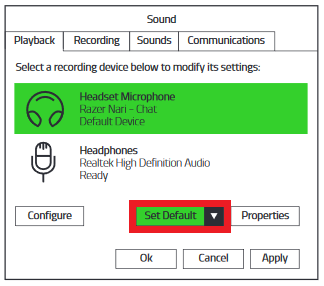
- Go to “Recording”.
- Select “Razer Nari – Chat”.
- Click “Set Default”.
- Go to Start > Settings > Sound.
- Scroll down to the “Input” section and click “Troubleshoot”.
- Select “Razer Nari – Chat” from the list.
- Click “Next” and let Windows identify the problem.
- Accept the recommended settings change and try again.

Ensure the microphone is not muted in Razer Synapse.
- Launch Razer Synapse.
- Select the Razer Nari Ultimate on the “DASHBOARD” tab.
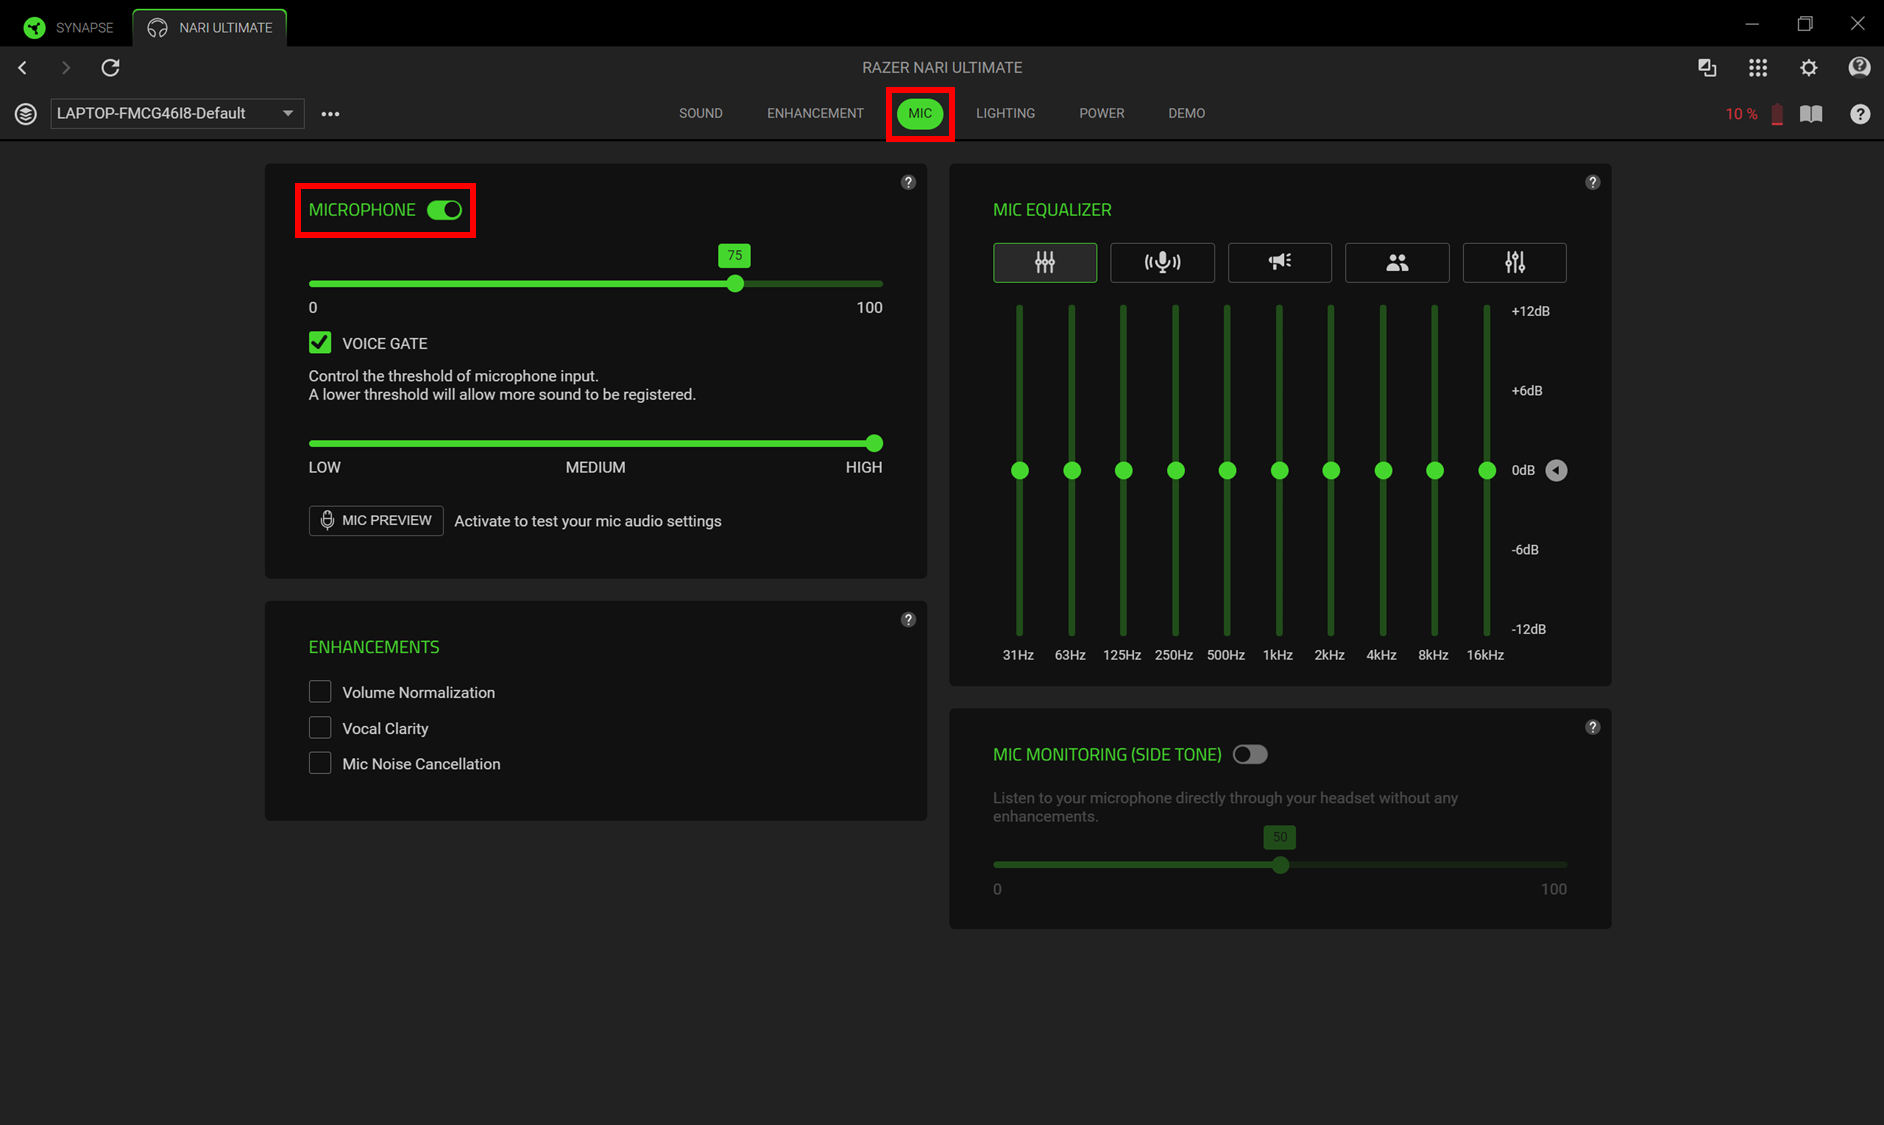
- Navigate to the “MIC” tab.
- Ensure “MICROPHONE” is toggled on.
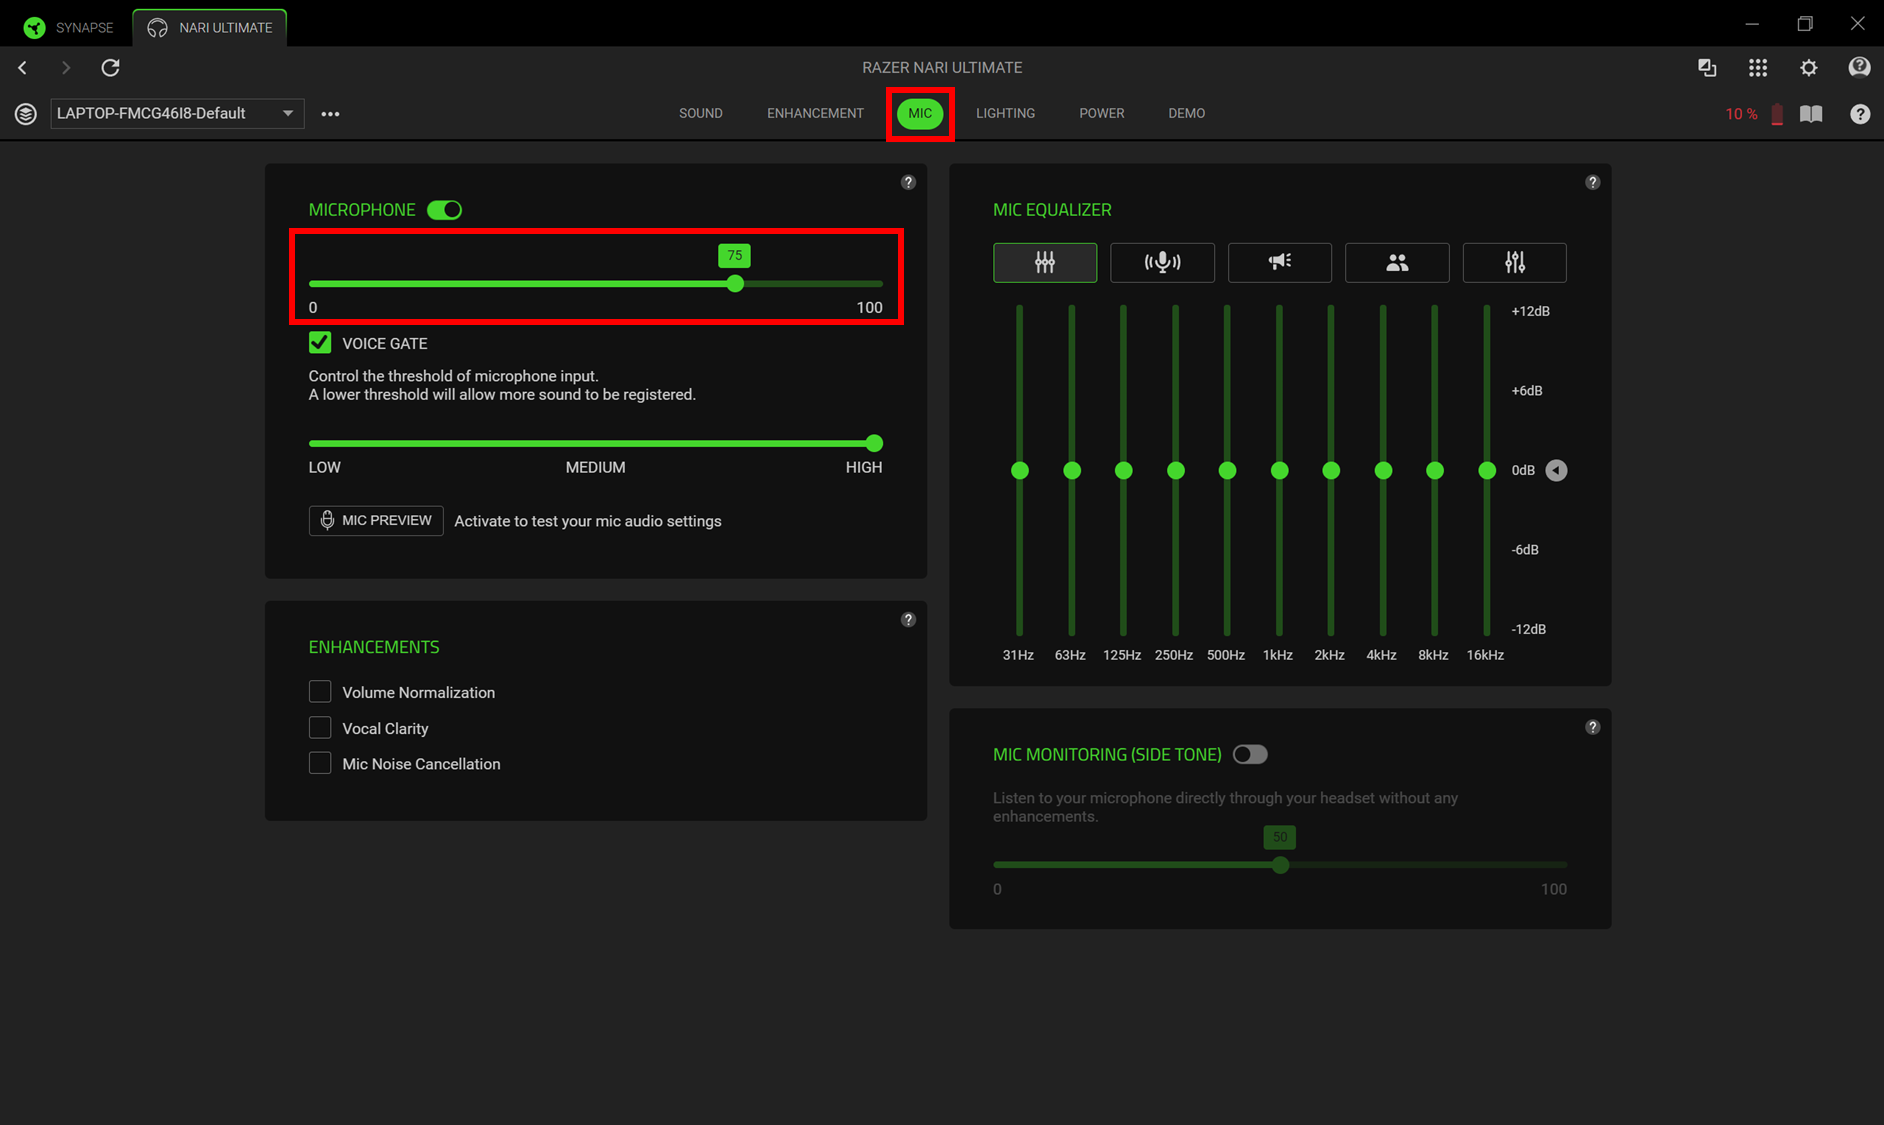
- Move the volume slider to 100.
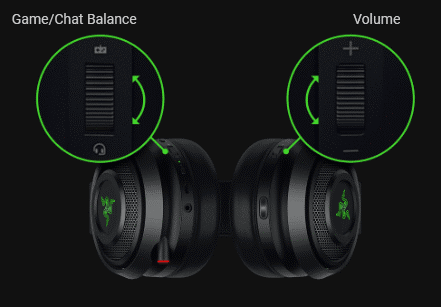
- Adjust the Game/Chat balance. Test the mic when setting from one extreme to another.
- Test the microphone when the knob is turned all the way down to Chat.
- Test the microphone when the knob is turned all the way up to Game.