
Note: Razer Synapse for Mac only supports Apple silicone chip-based Mac that is running macOS Ventura 13 and above.
Follow these steps to install Razer Synapse for Mac.
-
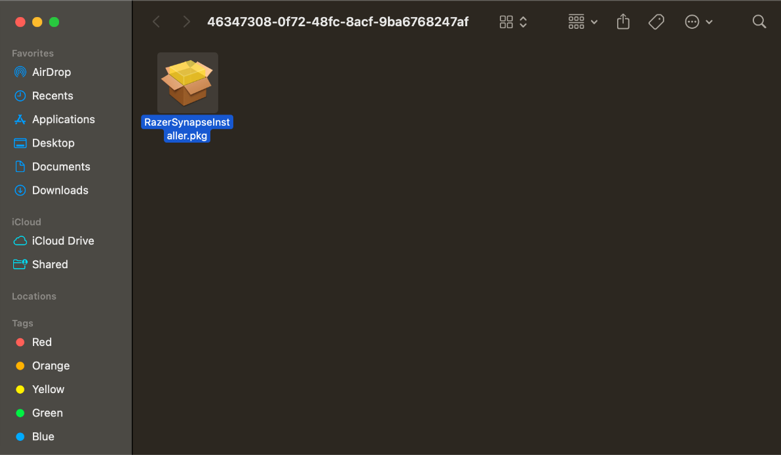
Download the Razer Synapse for Mac installer.
-
Double-click the installer.
-
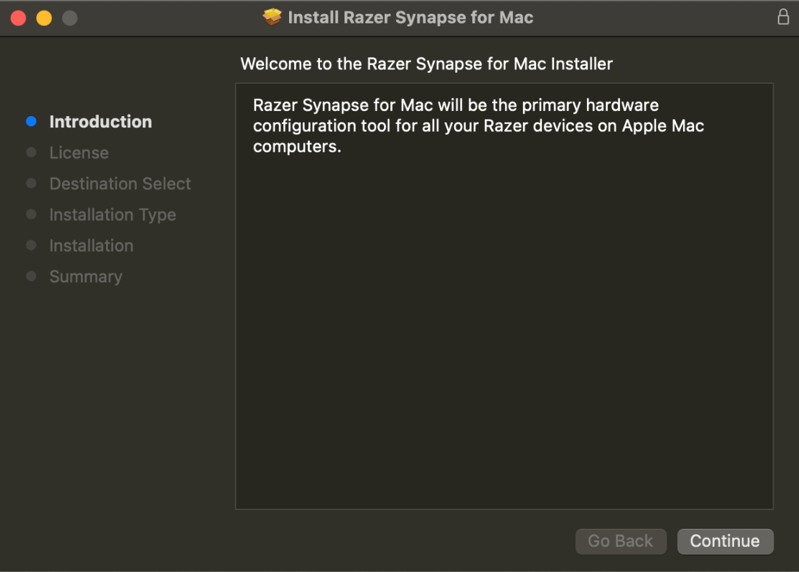
Click “Continue”.
-
Click “Continue”.

-
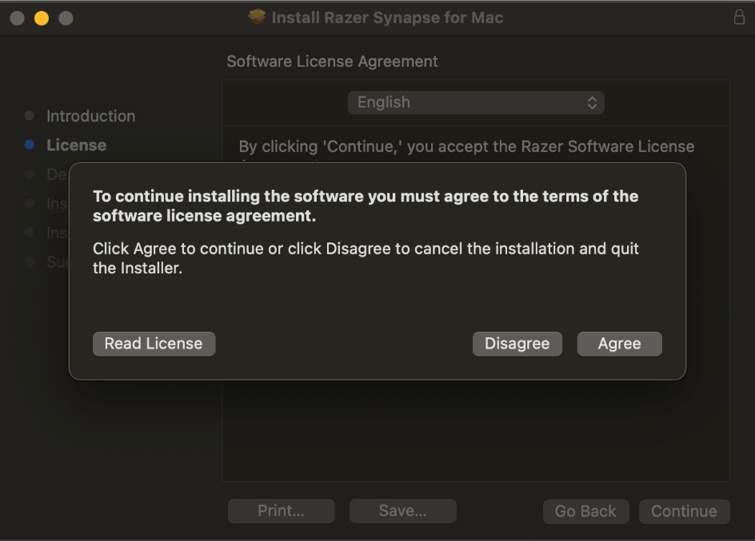
Click “Agree”.
-
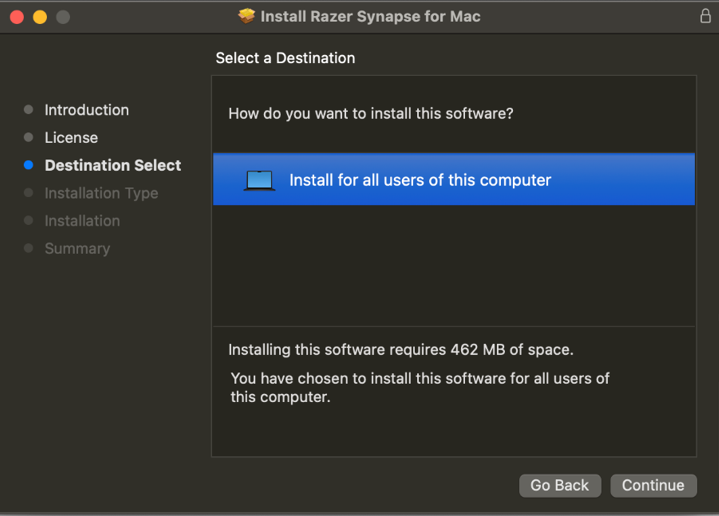
Click on “Continue”.
-
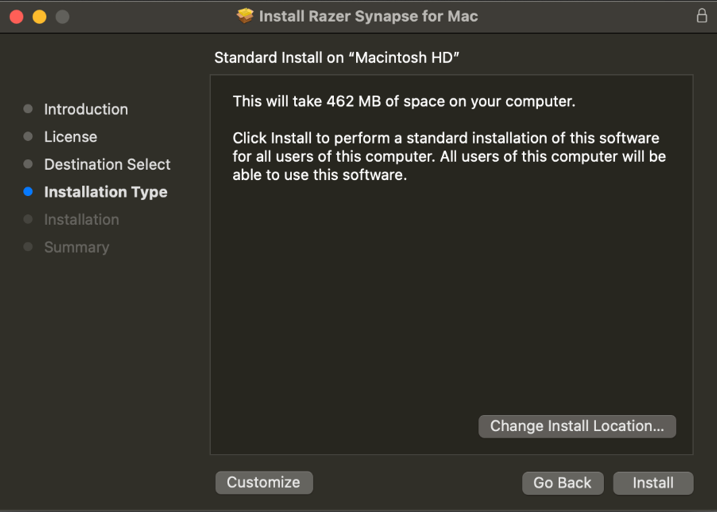
Click “Customize” to install on a different drive, or click “Install” to use the default location.
-
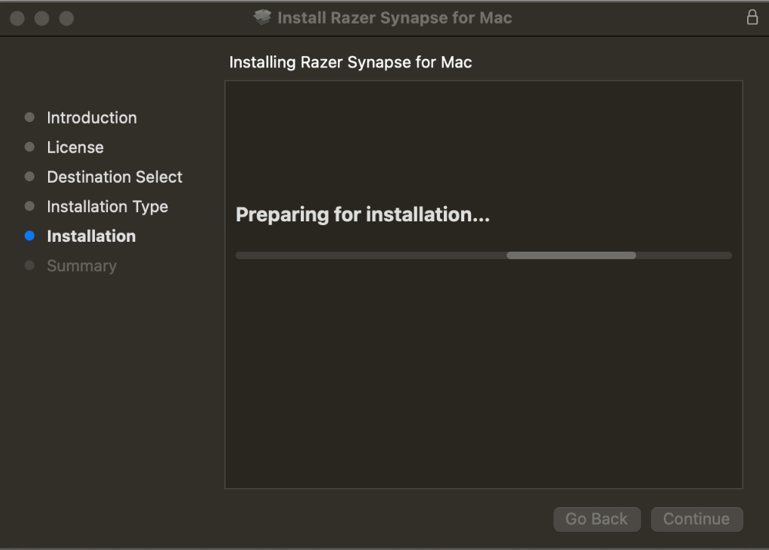
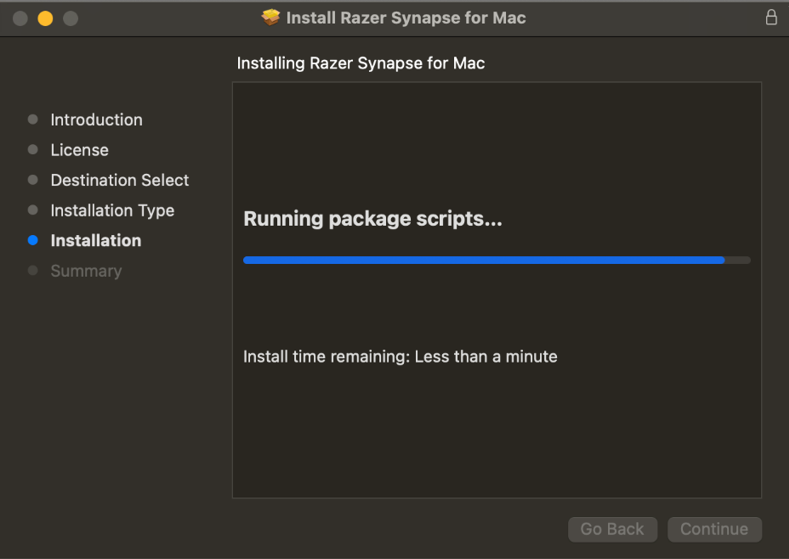
Type your password or use your fingerprint to grant permission and wait for it to install.
-
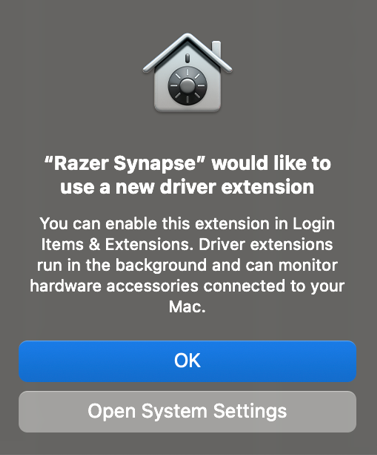
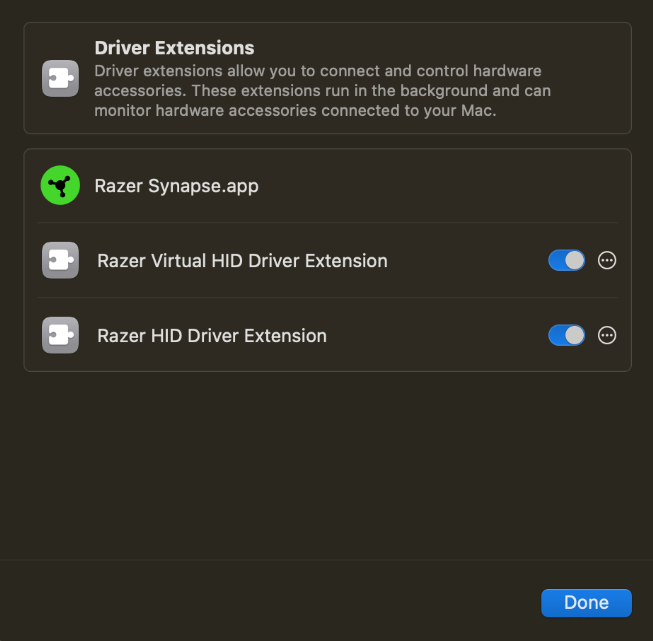
A prompt will pop-up, click “Open System Settings” and ensure that both driver extensions are enabled. If not, go to Settings > General > Login Items & Extension > scroll down and click on “Driver Extensions” to enable.
-
Once enabled, wait for the installation to be completed.
Congratulations, you have now completed the installation of Razer Synapse for Mac.
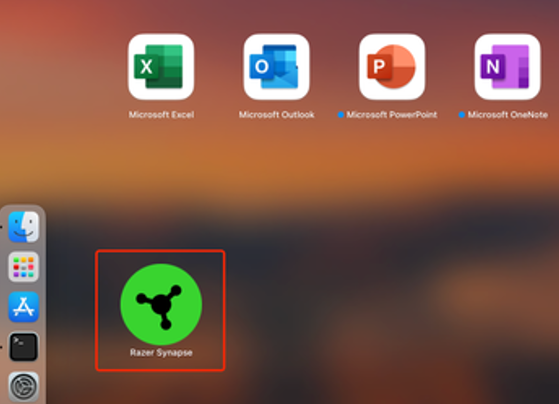
Launch Razer Synapse for Mac by clicking the Razer Synapse for Mac icon to start using the app.
Notes:
- Ensure that all the System permissions are enabled. Otherwise, your device will not work or be detected. See How to enable system permissions for Razer Synapse for Mac for instructions.
- Check if your device is supported in Razer Synapse for Mac. Refer to Razer Synapse for Mac supported devices.
- Refer to Razer Synapse for Mac Support & FAQs for more information.

