
Effective February 3, 2026, Razer Synapse 3 will no longer receive updates or support cloud services. After this date, cloud syncing of configurations across PCs using the same Razer ID will be disabled.
Note: Your installed devices will continue to be configurable in Razer Synapse 3. However, if you uninstall these devices completely, you will need to upgrade to Razer Synapse 4 to continue customization.
Download Razer Synapse 4 and migrate your existing Razer Synapse 3 profiles using the Profile Migration Tool to retain access to your configurations. See How to migrate your Razer Synapse 3 Profile to Razer Synapse 4 for instructions.
The “Lighting” setting in the Razer Synapse is different from the Chroma Studio settings. The Chroma Studio controls lighting effects and colors, while the lighting settings adjust brightness and when the lighting turns off.
Note: These steps apply to Razer Synapse 3 and Razer Synapse 4-enabled devices. This example uses a mouse.
To adjust brightness:
-
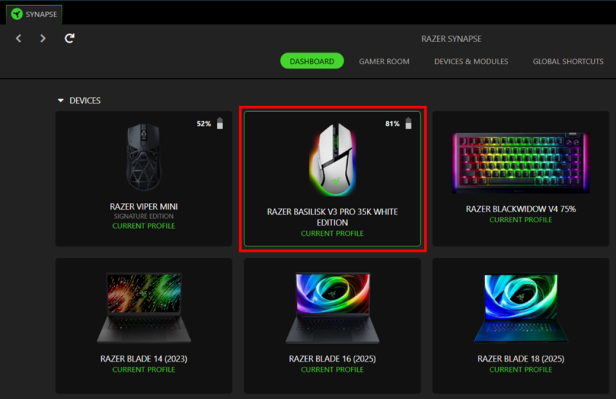
Open Razer Synapse and select your device.
-
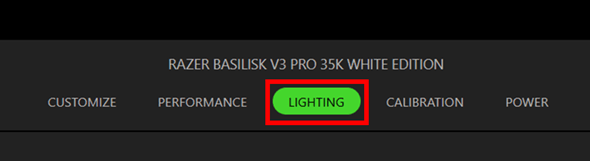
Go to the “LIGHTING” tab.
-
In the “BRIGHTNESS” section, move the slider to adjust the lighting.

To control when the mouse lighting switches off:
-
Open Razer Synapse and select your device.

-
Go to the “LIGHTING” tab and find the “SWITCH OFF LIGHTING” section.
-
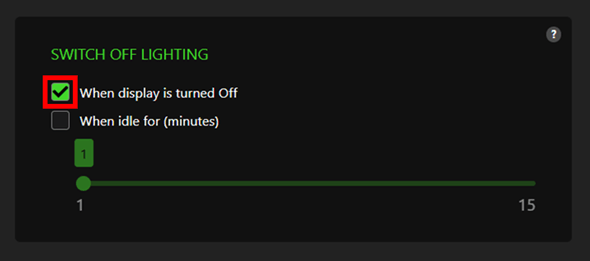
To turn off mouse lighting when your screen turns off, check "When display is turned off".
-
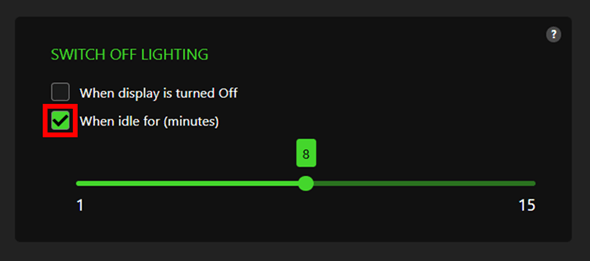
To turn off mouse lighting after being idle, check "When idle for (minutes)". Use the slider to pick a time between 1 and 15 minutes.
-

