
Effective February 3, 2026, Razer Synapse 3 will no longer receive updates or support cloud services. After this date, cloud syncing of configurations across PCs using the same Razer ID will be disabled.
Note: Your installed devices will continue to be configurable in Razer Synapse 3. However, if you uninstall these devices completely, you will need to upgrade to Razer Synapse 4 to continue customization.
Download Razer Synapse 4 and migrate your existing Razer Synapse 3 profiles using the Profile Migration Tool to retain access to your configurations. See How to migrate your Razer Synapse 3 Profile to Razer Synapse 4 for instructions.
You can utilize the Sensitivity Clutch to temporarily switch between predefined DPI levels, allowing you to seamlessly return to your original DPI setting without cycling through all sensitivity stages. By default, these stages increase in increments of 800 DPI, up to a maximum of 16,000 DPI in a standard configuration.

You can easily switch from 1,800 DPI directly to 16,000 DPI without passing through the intermediate levels of 4,500 DPI and 9,000 DPI by setting 16,000 DPI as your Sensitivity Clutch value on your Razer mouse.
See the step-by-step instructions below on how to enable the Sensitivity Clutch on a Razer mouse.
Choose an option
Razer Synapse 4
Launch Razer Synapse.
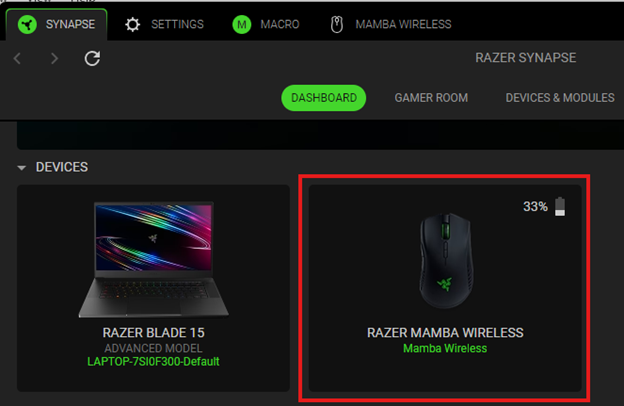
Select your mouse from the DASHBOARD.
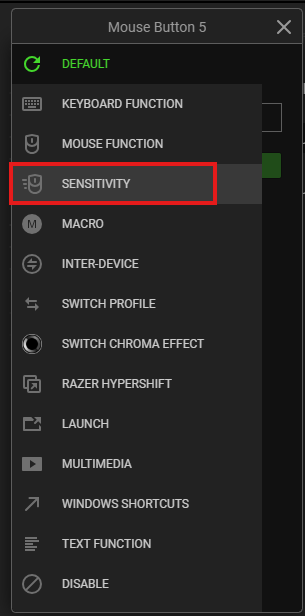
Select a button you want to customize.

Click “SENSITIVITY”.
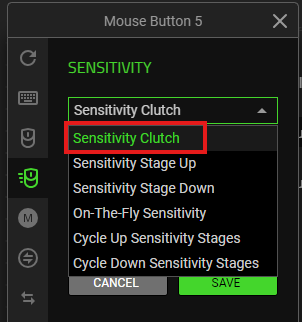
Choose “Sensitivity Clutch” from the SENSITIVITY dropdown list.
Set the DPI value for the clutch:
Note: Some mice may have varying settings.
Manual Input – Manually enter the figures of your desired value to set the DPI level.
Single Slider – Slide the DPI button left to right to increase or right to left to decrease the DPI level.
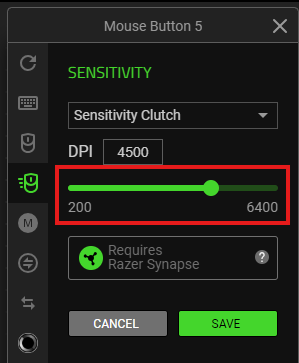
X and Y Sliders – Enable the X and Y axis and adjust the same way as the single slider to set the DPI level.
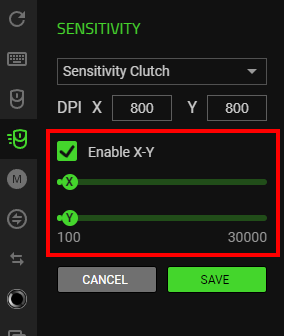
Click “SAVE” to complete the process.

Note: Keep Razer Synapse running in the background to use this function.
The programmed button is displayed after the shortcut on your device layout.
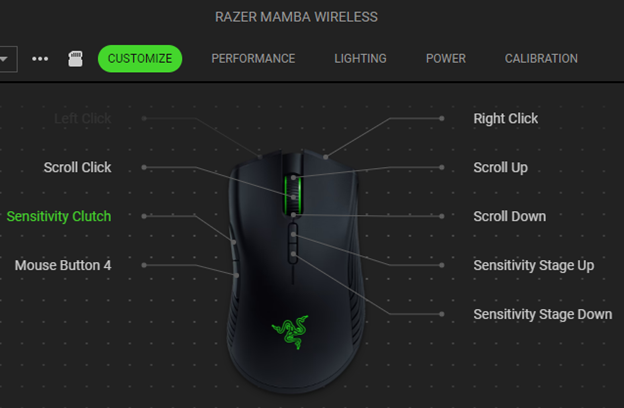
To use the Sensitivity Clutch, hold down the assigned button and release it to revert to your original DPI setting.
Razer Synapse 3
Launch Razer Synapse.
Click on your mouse.

Click the “CUSTOMIZE” tab.
Click on the name of the button you want to program Sensitivity Clutch to.

Click on “SENSITIVITY”.
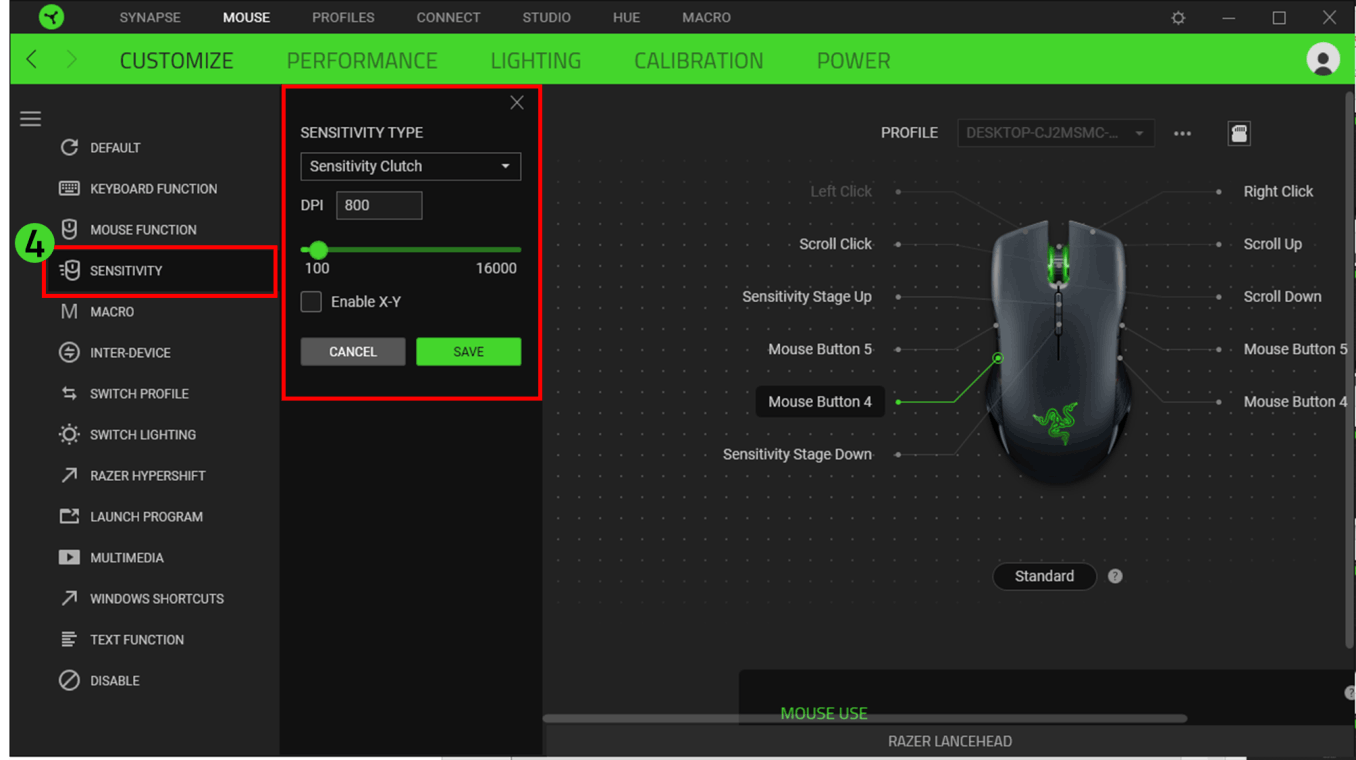
Click the dropdown box under “SENSITIVITY TYPE” menu and select “Sensitivity Clutch”.

Set the DPI value for the clutch:
Manual Input – Manually type the figures of your desired value to set the DPI level.
Single Slider – Slide the DPI button left to right to increase or right to left to decrease the DPI level.
X and Y Sliders – Enable the X and Y axis and adjust the same way as the single slider to set the DPI level.

- Click “SAVE” to complete the programming process.

The selected or programmed button will now appear as “Sensitivity Clutch” on the device layout of your mouse.You can now use Sensitivity Clutch by holding down the assigned button and release it to return to your original DPI.

