
Effective February 3, 2026, Razer Synapse 3 will no longer receive updates or support cloud services. After this date, cloud syncing of configurations across PCs using the same Razer ID will be disabled.
Note: Your installed devices will continue to be configurable in Razer Synapse 3. However, if you uninstall these devices completely, you will need to upgrade to Razer Synapse 4 to continue customization.
Download Razer Synapse 4 and migrate your existing Razer Synapse 3 profiles using the Profile Migration Tool to retain access to your configurations. See How to migrate your Razer Synapse 3 Profile to Razer Synapse 4 for instructions.
The Razer mouse allows you to switch between Razer Chroma lighting effects with a single click.
See the step-by-step instructions below on how to assign Switch Chroma Effect function on your Razer mouse.
Choose an option
Razer Synapse 4
-
Customize a Chroma effect on your mouse using the Razer Chroma App. See How to customize a Chroma effect on Razer Chroma App for more details.
-
Launch Razer Synapse 4.
-
Select your mouse from the DASHBOARD.
-
Select a button you want to customize.
-
Click “SWITCH CHROMA EFFECT”.
-
Choose a Chroma effect from the dropdown list.
-
Click “SAVE” to complete the process.
Note: Keep Razer Synapse and Razer Chroma running in the background to use this function.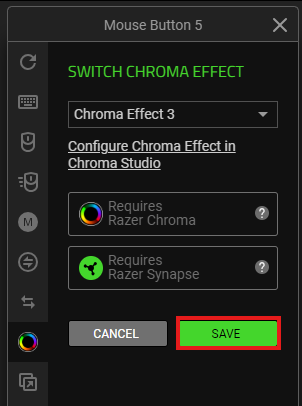
The assigned button is displayed after the shortcut on your device layout.
Razer Synapse 3
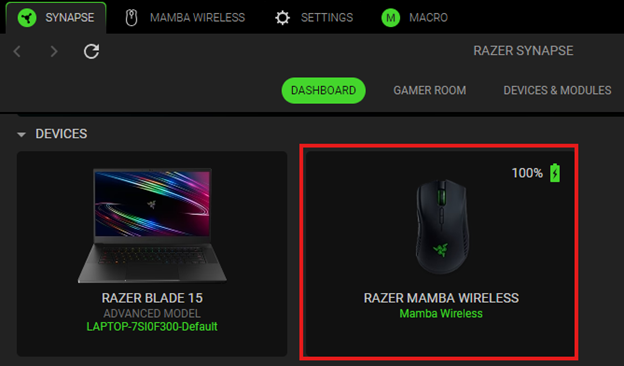
- Start by creating multiple Chroma Effects on your Razer Mouse. Open Razer Synapse and click on the Razer Mouse on the Synapse homepage.

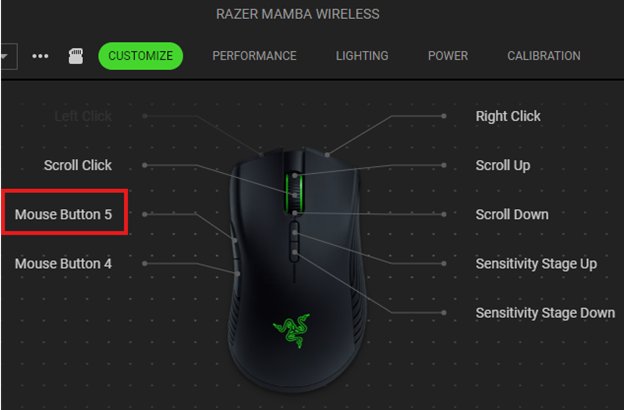
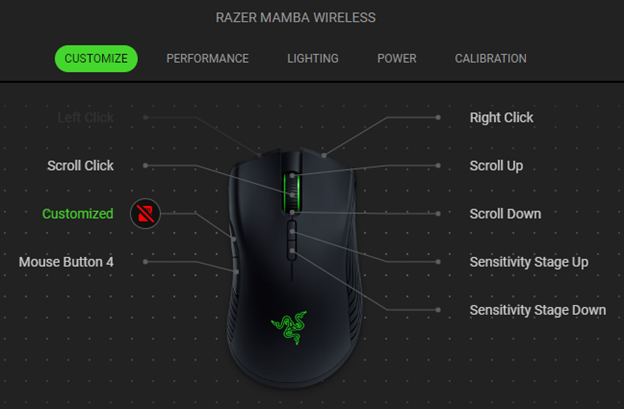
- Once you’re in the mouse menu, go to the “CUSTOMIZE” tab.
- Select which button you wish to program with a Windows shortcut and click on it.

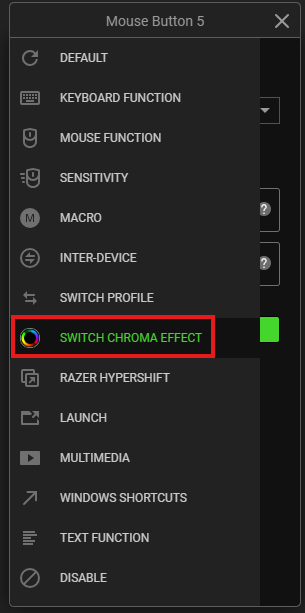
- The customization menu will appear on the left side of the window. Click on “SWITCH LIGHTING”.

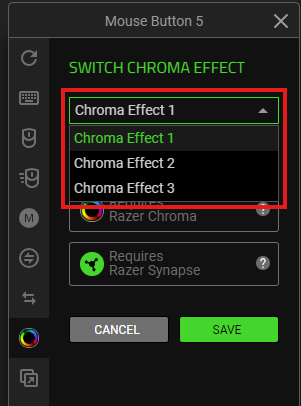
- Open the dropdown box and select the lighting effect you want to program.
- Click “SAVE” to complete the process. Your button will appear with the Chroma effect’s name on your device layout.


