Important - Review prior to upgrading:
- Review our warranty policy.
- Check the specifications on your Razer Blade for compatibility and supported upgrades.
- Place the laptop on a smooth surface for proper grounding.
You can view the video below for instructions or review a copy of the video transcript.
Needed tools and parts:
- T5 screwdriver
- Philips screwdriver
- Generic USB thumb drive
- External drive for backup
- Compatible storage module
- D Cover (back cover) - M2×L3.5
- SSD - M2 x L3 x D5
Below is the step-by-step process on how to upgrade the storage on the Razer Blade.
-
Create a system recovery stick for the Razer Blade. See the answer below for more details.
-
Create a backup of all of your files with the external drive. If the Razer Blade model comes with a single slot only for an SSD drive, reinstall Windows on the new drive after swapping.
-
Ensure that the Razer Blade will not go to sleep during the process.
- Click the Windows logo, then go to “Settings”.
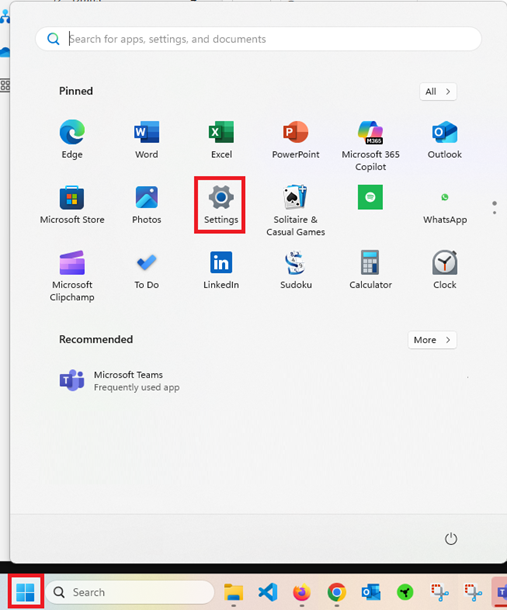
- Click “System” > “Power & battery”.
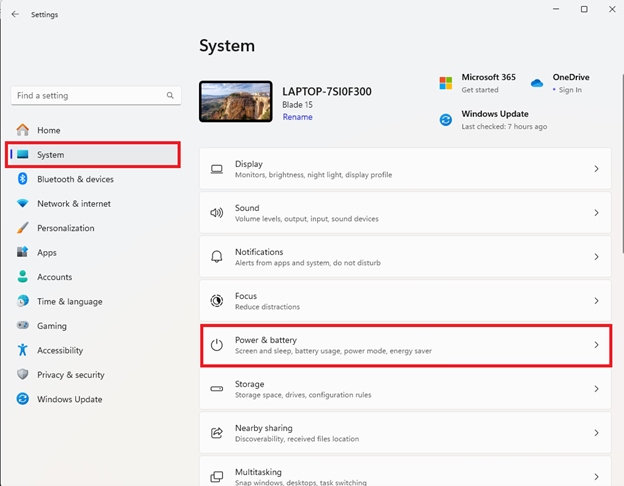
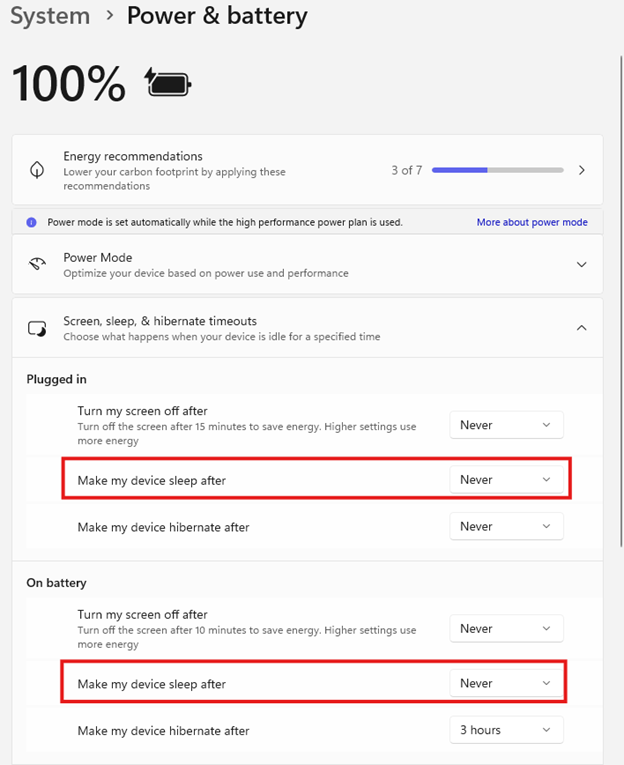
- Ensure “Make my device sleep after” is set to “Never” under “Power & battery”.
- Click the Windows logo, then go to “Settings”.
-
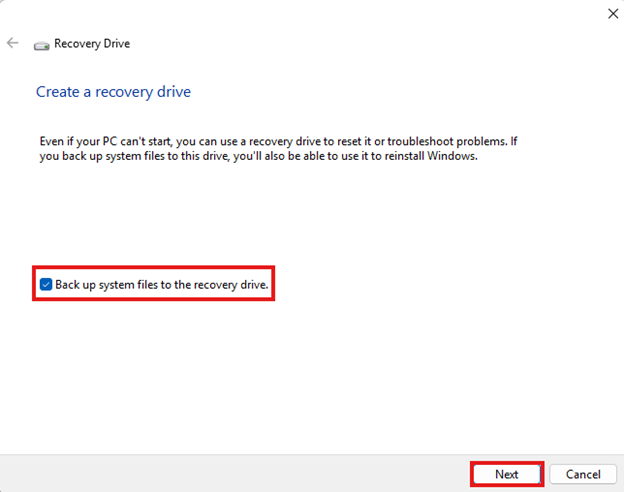
Create the recovery drive:
-
Go to “Settings”, then search for “Create a recovery drive”.

-
Ensure that the “Backup system files to the recovery drive.” is selected then click “Next”.
-
Follow the on-screen instructions and plug in the USB drive to proceed. Do note that this may take a while to complete.
-
-
Unplug the USB drive and let the device reboot and shut down.
-
Unplug all connections, including the power adapter.
-
Flip the device over a flat surface.
-
Unscrew the T5 screws while holding the bottom plate. Be careful with the amount of force you use. See How to loosen and tighten the D-cover screws of the Razer Blade for instructions.
Note: Using an electric screwdriver is not recommended.
-
Pry the bottom plate with your fingers until it clicks off.
-
Remove the existing storage.
-
Go over the SSD slot.
-
Unfasten the screw while holding it down, the SSD module will pop up, then slide it out.
-
-
Insert the new SSD into the available slot until it clicks in place.
Note: Remove the placeholder foam pad before inserting an SSD into an empty SSD slot.
-
Lock the new SSD with the screw.
-
Put the bottom plate back on and the screws back in place.
-
Plug in the recovery drive, then power up the Razer Blade.
If the recovery stick is not detected or not working, perform the following:
-
Transfer the USB drive to a different USB port. Ensure it is properly inserted.
-
If the recovery stick is still not working, try creating another recovery stick using a different USB drive.
-
-
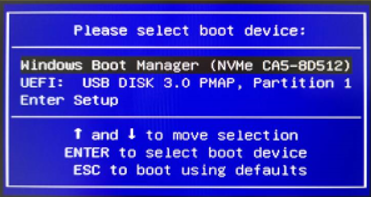
Power on the Razer Blade and repeatedly press “F12” to go to the boot menu.
-
Select “UEFI: USB DISK 3.0 PMAP, Partition 1” then follow the on-screen instructions until the process is completed.
-
Remove the boot drive once done.
-
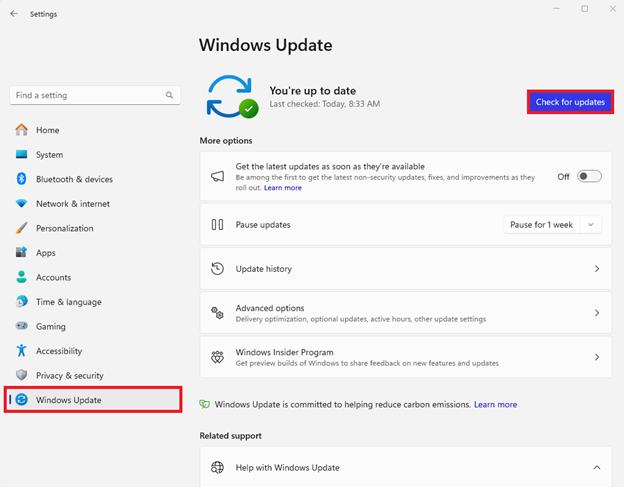
Go to “Settings” > “Windows Update”.
-
Download and install all available updates.
-
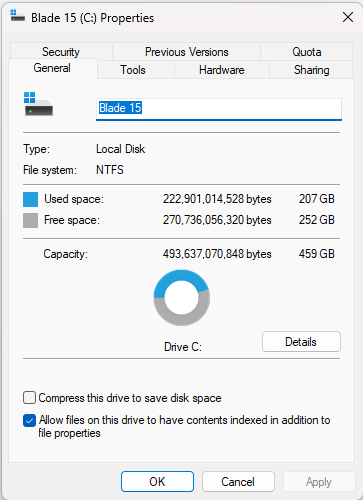
Go to “File Explorer”.
-
Right-click on drive “C:” and click “Properties” to check if the correct storage size is showing.