
Effective February 3, 2026, Razer Synapse 3 will no longer receive updates or support cloud services. After this date, cloud syncing of configurations across PCs using the same Razer ID will be disabled.
Note: Your installed devices will continue to be configurable in Razer Synapse 3. However, if you uninstall these devices completely, you will need to upgrade to Razer Synapse 4 to continue customization.
Download Razer Synapse 4 and migrate your existing Razer Synapse 3 profiles using the Profile Migration Tool to retain access to your configurations. See How to migrate your Razer Synapse 3 Profile to Razer Synapse 4 for instructions.
See the step-by-step instructions below on how to fix missing Razer Synapse profiles.
Select Razer Synapse version
Razer Synapse 4
-
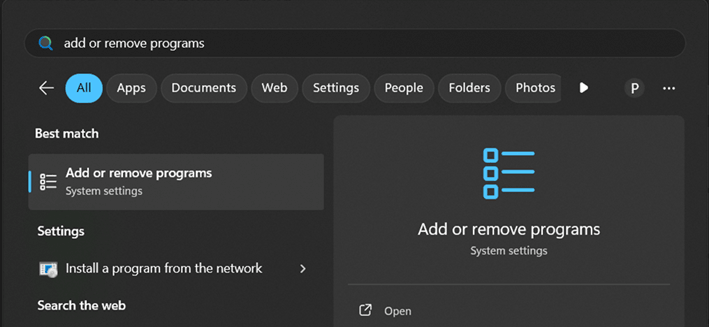
Click the “Start” menu and search for "Add or remove programs".
-
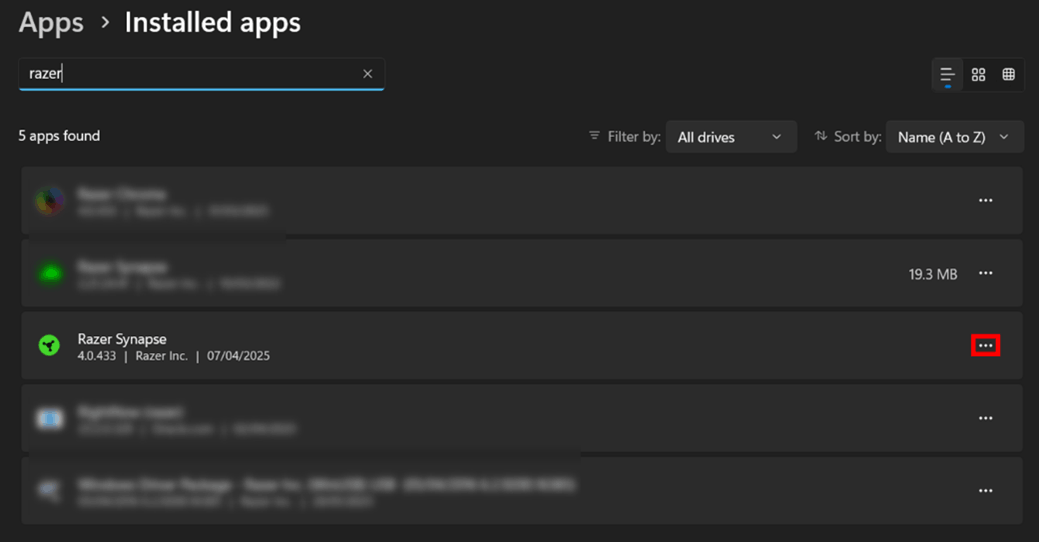
Locate Razer Synapse in the list and click the three-dot menu next to it.
-
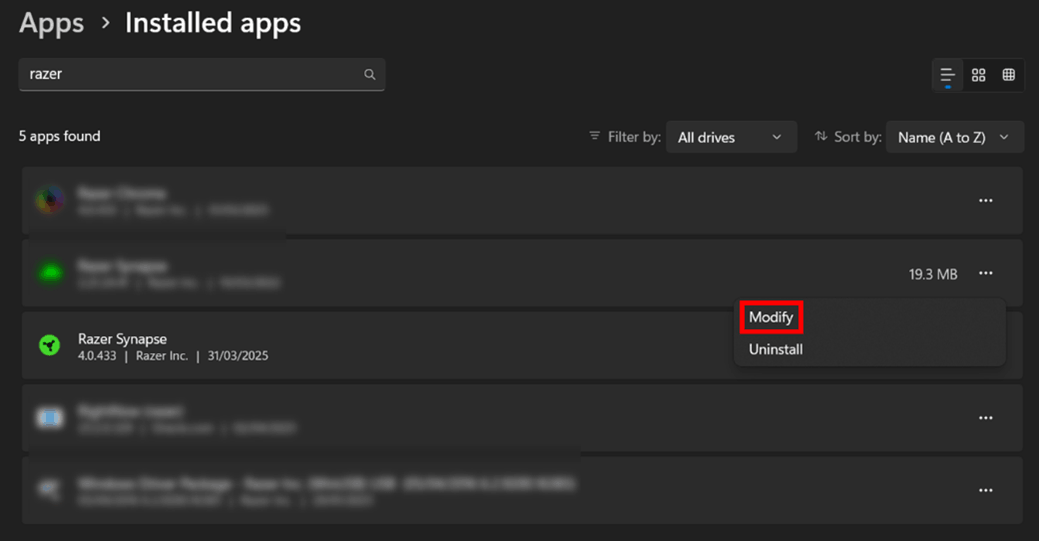
Select "Modify". Click “Yes” if prompted by User Account Control to continue.
-
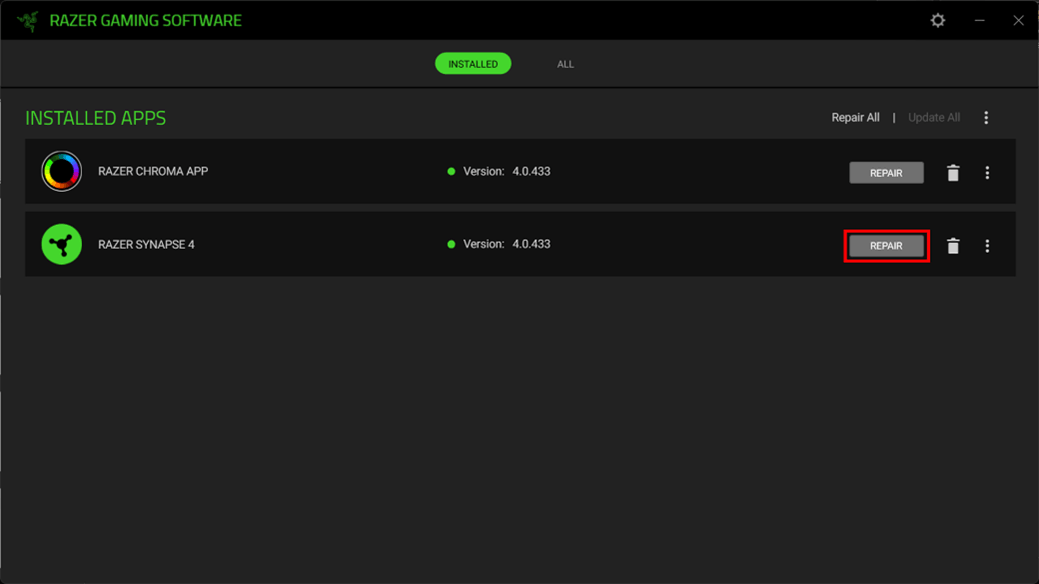
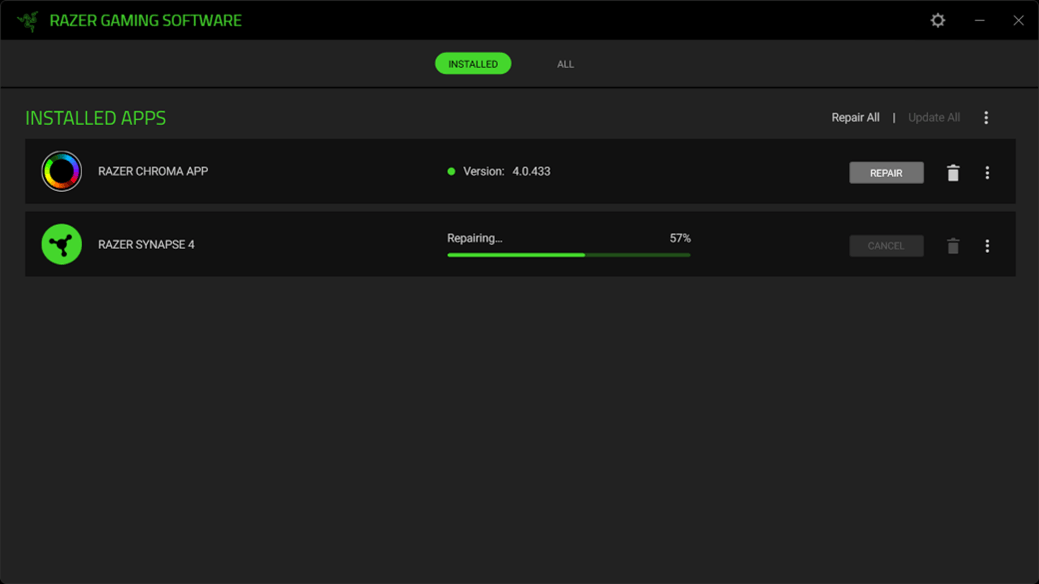
Click the “REPAIR” button in the Razer Gaming Software window that opens.
-
Wait for the repair process to finish.
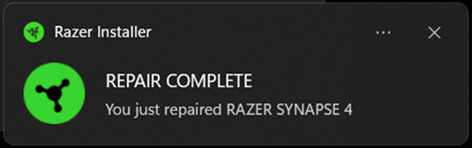
Once the process finishes, a “REPAIR COMPLETE” message will appear, and Razer Synapse will launch automatically.
Razer Synapse 3
-
Click the “Start” menu and search for “Apps and features”.

-
Locate Razer Synapse and click on it.
-
Select "Modify". Click “Yes” if prompted by User Account Control to continue.

-
Click the “REPAIR” button in the Razer Gaming Software window that opens.

-
Wait for the repair process to finish.

-
Restart your PC.

