
Effective February 3, 2026, Razer Synapse 3 will no longer receive updates or support cloud services. After this date, cloud syncing of configurations across PCs using the same Razer ID will be disabled.
Note: Your installed devices will continue to be configurable in Razer Synapse 3. However, if you uninstall these devices completely, you will need to upgrade to Razer Synapse 4 to continue customization.
Download Razer Synapse 4 and migrate your existing Razer Synapse 3 profiles using the Profile Migration Tool to retain access to your configurations. See How to migrate your Razer Synapse 3 Profile to Razer Synapse 4 for instructions.
Applicable Software:
Collecting Razer Synapse logs can help in troubleshooting any issues you may encounter with the software. Follow the steps below to download and collect the Razer Synapse logs.
Note: To collect Synapse 2.0 logs, see How to collect Synapse 2.0 logs.
Before you begin:
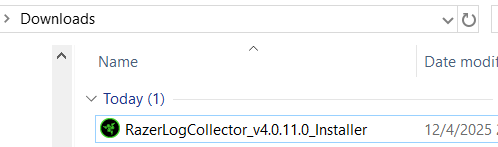
- Download the Razer Log Collector.
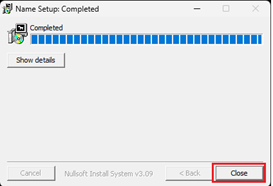
- Run the installer file with administrator rights.
- Click on "Close" to exit the installer after completion.
Launch the Razer Log Collector
Important: Ensure you have installed the Razer Log Collector before proceeding with the steps below.
- Check your email inbox for an email from Razer Support containing a unique link.
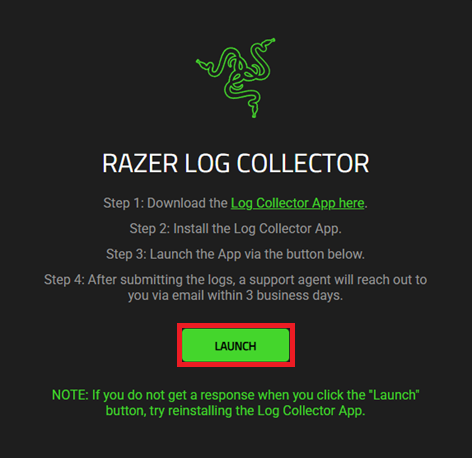
- Click on the unique link provided in the email. It will redirect you to the Razer Log Collector page on your web browser.
- Click on the “LAUNCH” button to launch the Razer Log Collector.
-
Click on the “Open Razer Log Collector” option if you see the following prompt.
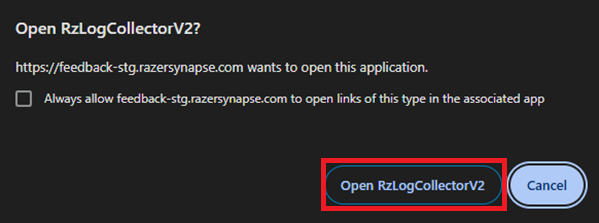
The Razer Log Collector will be launched.
Use the Razer Log Collector
Important: Ensure your device is connected to the internet and is using the latest version by downloading the Razer Log Collector software above.
- Launch the Razer Log Collector using the unique link provided in your email inbox.
- Replicate the issue and take note of the date and time of issue occurrence.
- Read and agree to the “Razer Log Collector terms and conditions”.
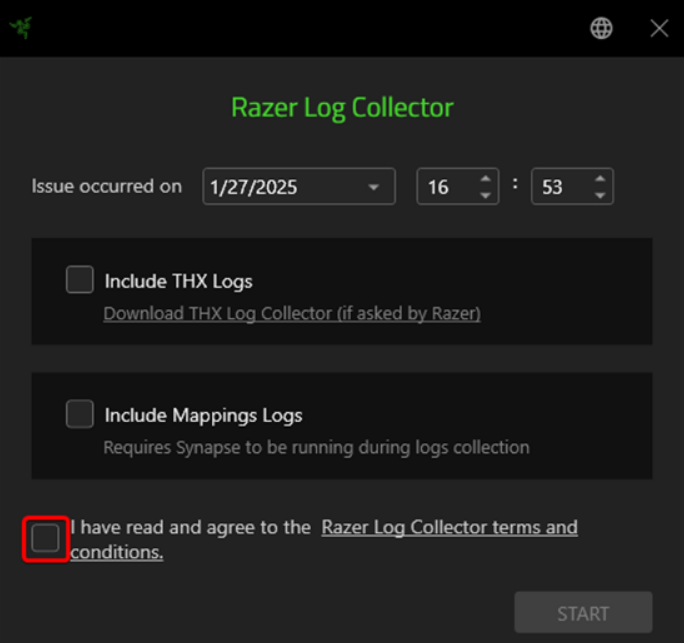
Note: To submit THX Logs, check the option for "Include THX Logs". See How to collect THX logs for more details.
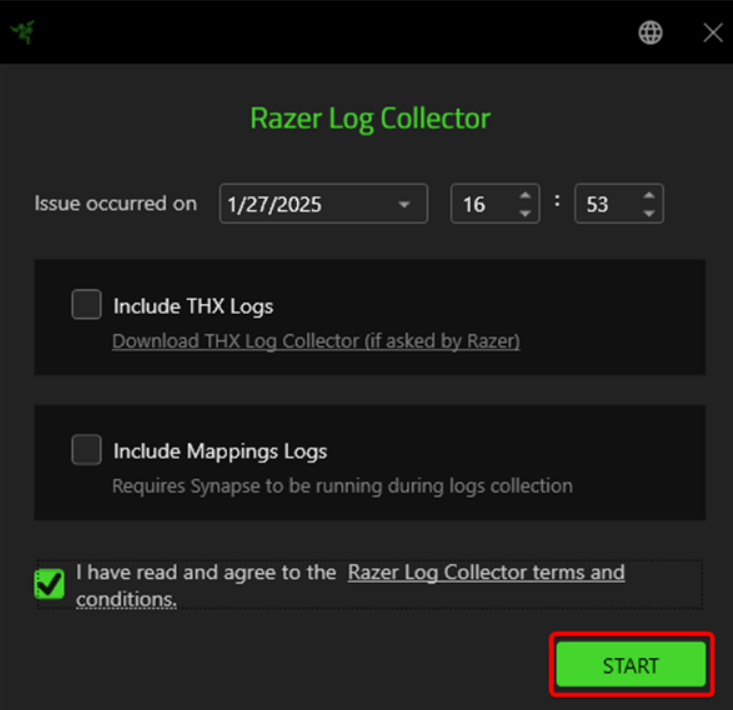
-
Click on the “START” button to begin the logs collection.
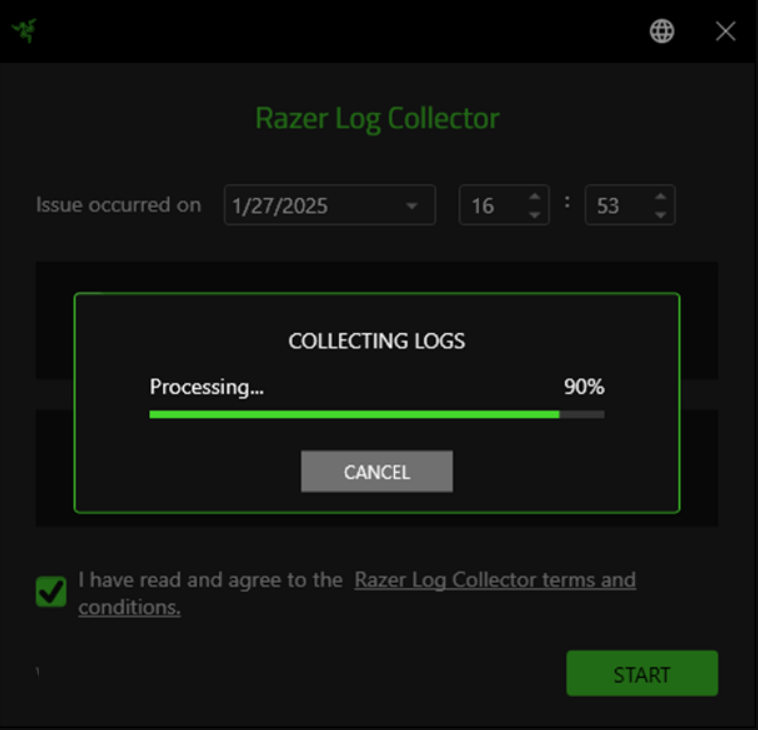
- Wait for the logs collection process to be completed.
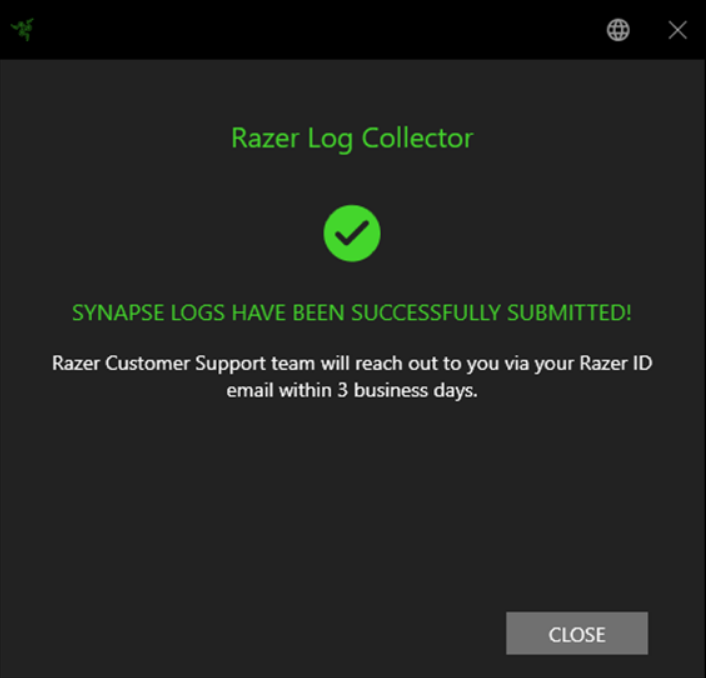
- Click "CLOSE" once the log collection is complete.
Uninstall Razer Log Collector
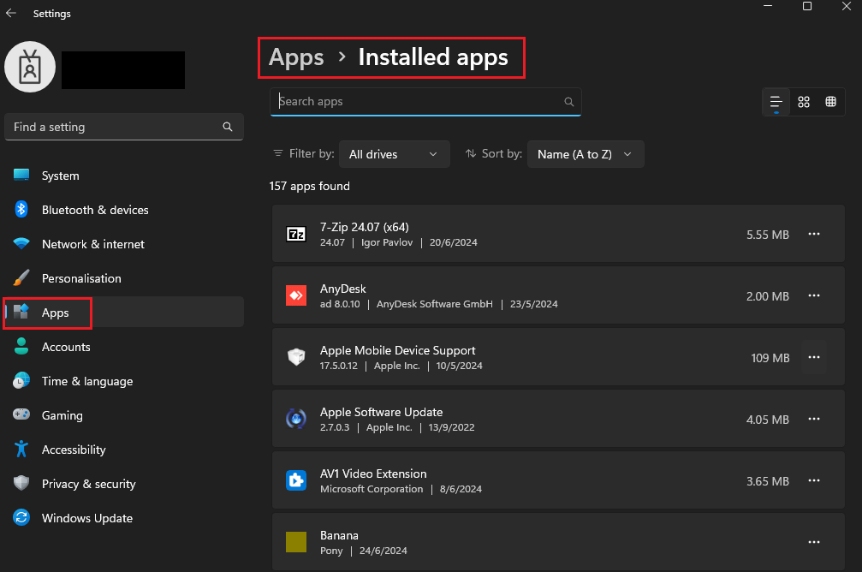
- Go to your system's Installed apps list.
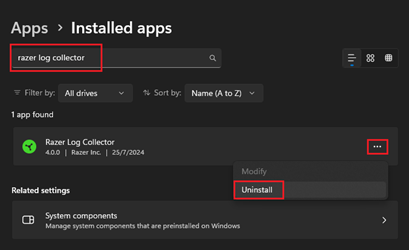
- Search for "Razer Log Collector" in the search bar.
- Click on the ‘…’ button and select ‘Uninstall’ to begin the uninstallation process.
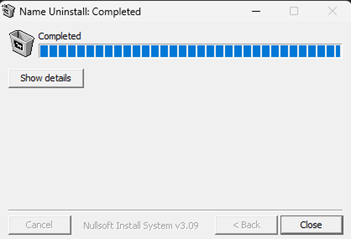
- Click on ‘"Close" to complete the uninstallation process.
Application Logs Source Directories
Note: This application collects logs from the following locations:
C:\ProgramData\Razer\Synapse3\Log
C:\ProgramData\Razer\Razer Central\Logs
C:\Users\<user>\AppData\Local\Razer\Synapse3\Log
C:\ProgramData\Razer\Synapse3\Service\Bin\Devices
C:\ProgramData\Razer\Installer\Logs
C:\ProgramData\Razer\Razer Central\Accounts
C:\ProgramData\Razer\Synapse3\Service\Lib\DetectManager\Log
C:\ProgramData\Razer\Synapse3\CrashDumps
C:\Windows\inf\setupapi.app.log
C:\Windows\inf\setupapi.dev.log
C:\ProgramData\Razer\Synapse3\Service\Bin\Log
C:\Program Files (x86)\Razer Chroma SDK\ogs
C:\Program Files (x86)\Razer Chroma SDK\install.log
C:\Program Files (x86)\Razer\ChromaBroadcast\logs
C:\Windows\Installer\{0CD55593-F275-4aea-9282-9170B5A14644}\GMS
C:\Windows\Installer\{OCD55593-F275-4aea-9282-9170B5A14644}\RC

