
Effective February 3, 2026, Razer Synapse 3 will no longer receive updates or support cloud services. After this date, cloud syncing of configurations across PCs using the same Razer ID will be disabled.
Note: Your installed devices will continue to be configurable in Razer Synapse 3. However, if you uninstall these devices completely, you will need to upgrade to Razer Synapse 4 to continue customization.
Download Razer Synapse 4 and migrate your existing Razer Synapse 3 profiles using the Profile Migration Tool to retain access to your configurations. See How to migrate your Razer Synapse 3 Profile to Razer Synapse 4 for instructions.
You can view the video below for instructions.
Step-by-step process
-
Open Razer Synapse 3.
-
Navigate to “STUDIO”.

-
Select the effect you wish to modify under the “EFFECT LAYER” column. See the answers below to add or remove an effect.
- How to add lighting effects on Razer Synapse 3 Chroma Studio
- How to remove a Chroma effect on Razer Synapse 3

- Click on the visibility icon to show or hide a layer.

- The effects are prioritized from top to bottom. Click on the layer you want to move, and then drag it to your preferred position.

- Double-click on a layer and input your preferred name, then press enter.

-
Select the LEDs where you want to apply your desired effect.

-
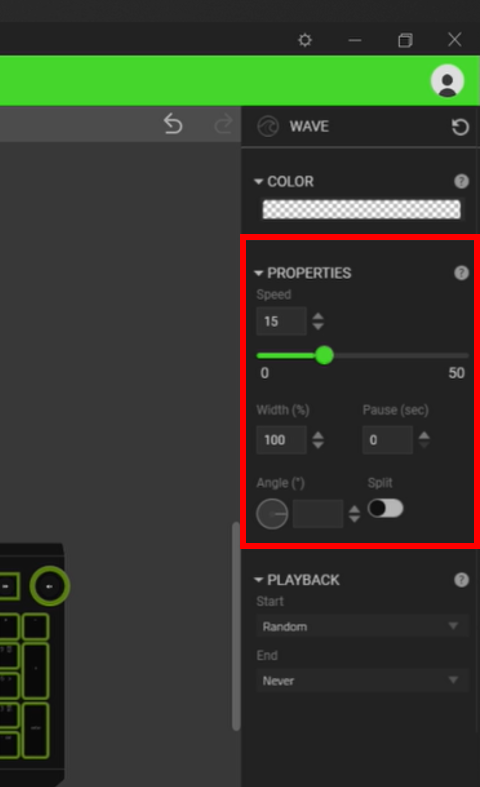
Customize your "Effects" settings in three ways:
- Color - allows you to select the color and pattern of the LEDs

- Properties - allows you to edit the duration, speed, width, angle, center point, and more.
- Playback - allows you to set when the effect should start and end.

- Color - allows you to select the color and pattern of the LEDs
-
Click "SAVE".


