
Graphics card upgrades on the Razer Tomahawk Gaming Desktop must align with motherboard PCIe specifications, chassis clearance, and power supply capacity. Proper removal, seating, and connector alignment are required to maintain system stability and prevent electrical, thermal, or mechanical damage.
Follow the detailed instructions below to upgrade the GPU on the Razer Tomahawk Gaming Desktop.
-
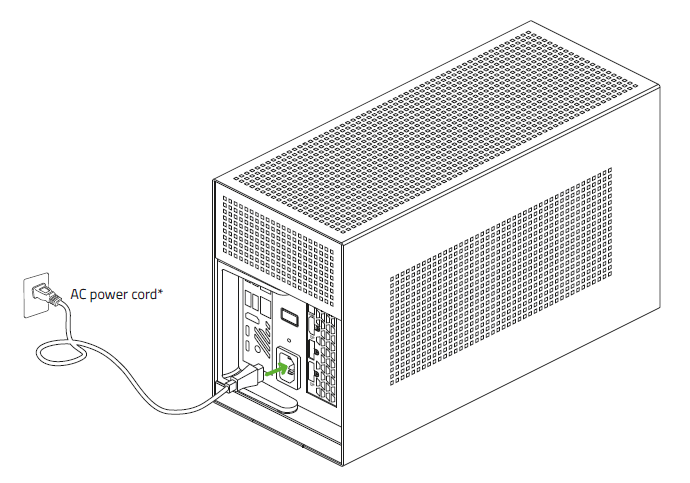
Unplug all connections including the AC power cord from the unit.
-
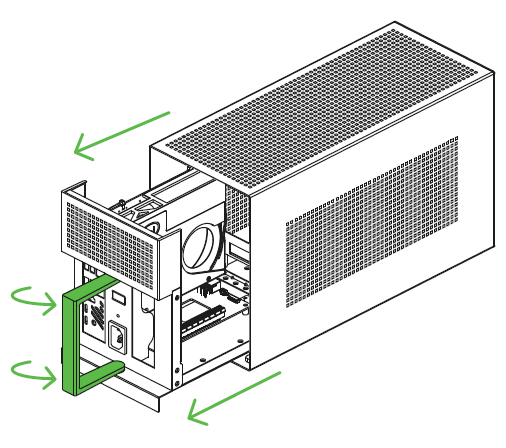
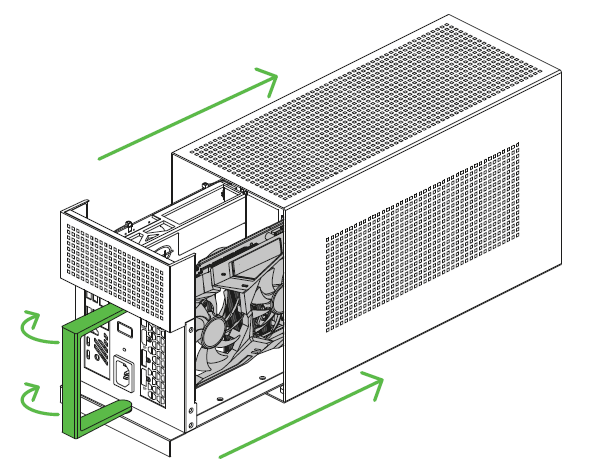
Pull the lever and remove the compartment from the enclosure.
-
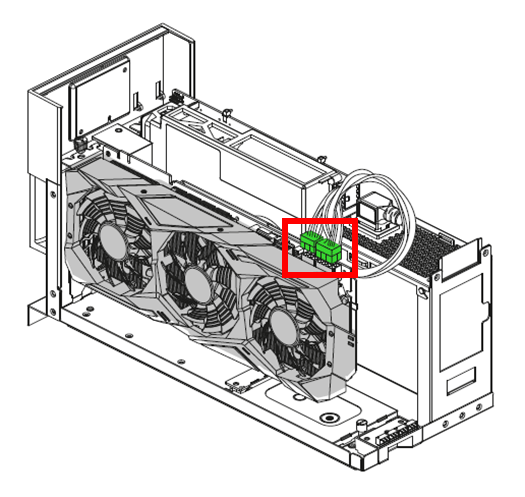
Detach the graphics card.
Note: Skip this step if there is no existing graphics card.
-
Remove the power connectors.
-
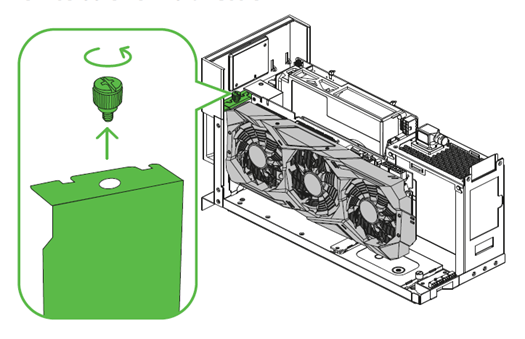
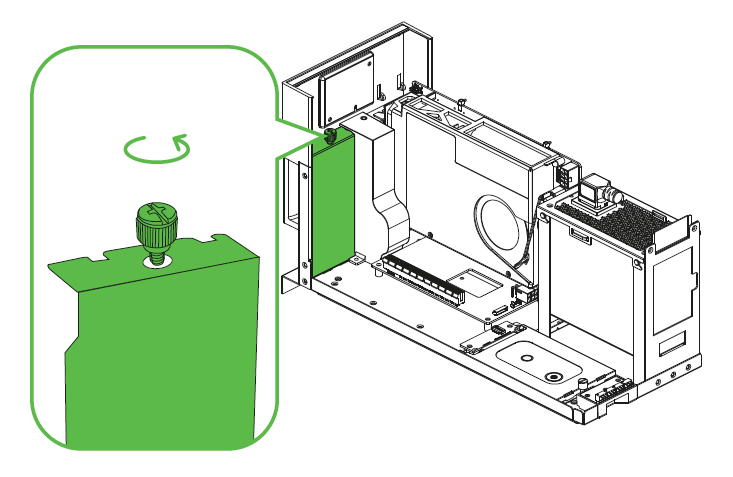
Remove the PCI-E thumbscrew.
-
Pull out the graphics card from the PCI-E port.
-
-
Install a new graphics card.
-
Ensure that the graphics card can fit inside the chassis.
-
The peak height of the graphics card should not exceed 5.51 in (approx. 140 mm) and should have at least 1 in (approx. 25 mm) allowance for the power connectors.
-
See the list of compatible-sized graphics cards for more details.
Length: 12.6 in / 320 mm
Height: 5.51 in / 140 mm
Width: 1.36 in / 60 mm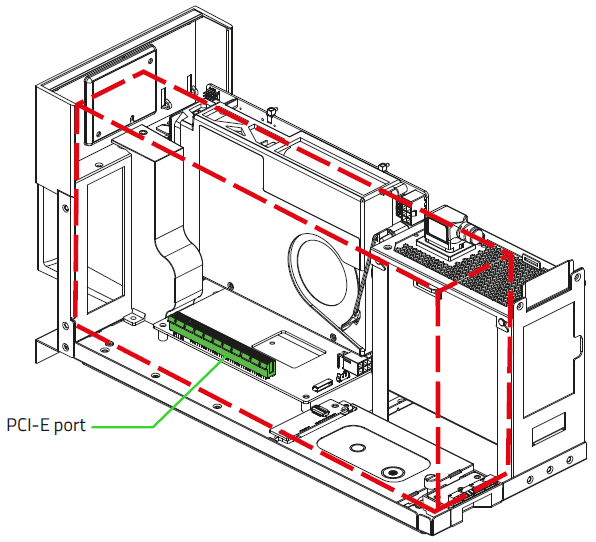
-
-
Remove the PCI-E slot cover and thumbscrew.
-
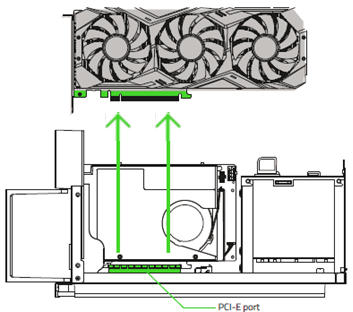
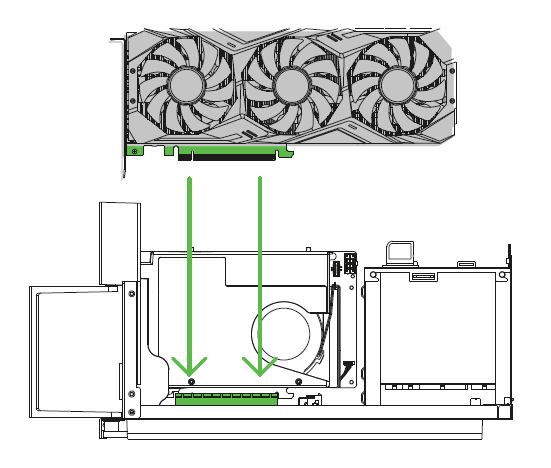
Insert the compatible graphics card into the PCI-E port.
-
Re-insert the PCI-E Thumbscrew.

-
Plug in the required power connectors to the graphics card.

-
Slide the compartment back into the enclosure then push the lever to lock.
-
-
Download and install the required drivers for the GPU from the manufacturer.
-
Restart the Tomahawk and go to BIOS by pressing "F2" while the system is booting up.
-
Go to "Advanced" > "Video" in the BIOS.
-
Set "Primary Display" to "IGFX" under Video.

Related articles:

