
Important - Review prior to upgrading:
- Review our warranty policy.
- Check the Tomahawk Gaming Desktop specifications for compatibility.
- Place the unit on a smooth surface for proper grounding.
Step-by-step process
-
Unplug all connections including the AC power cord from the unit.

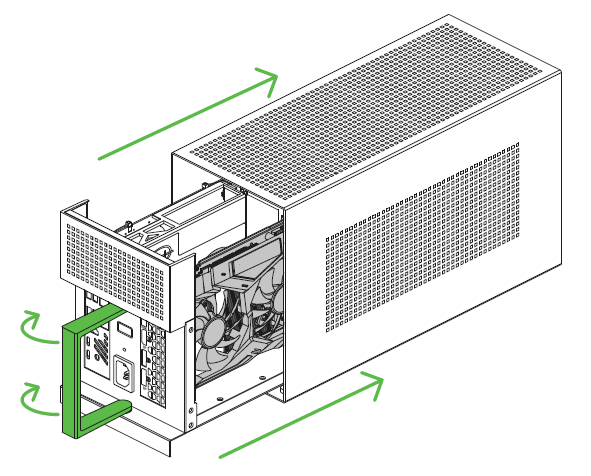
- Pull the lever and remove the compartment from the enclosure.

- Remove the graphics card to gain access to the RAM modules located inside the Compute Element.
-
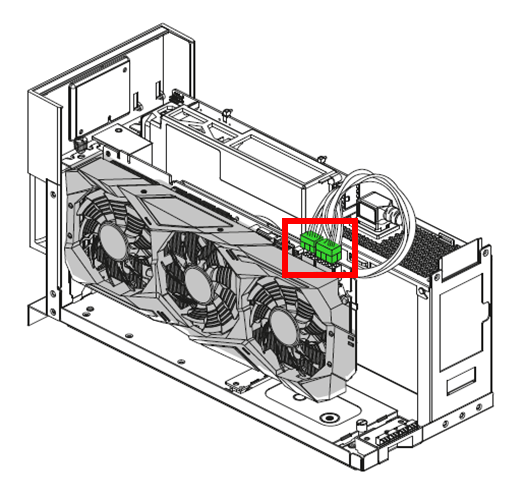
Remove the power connectors.
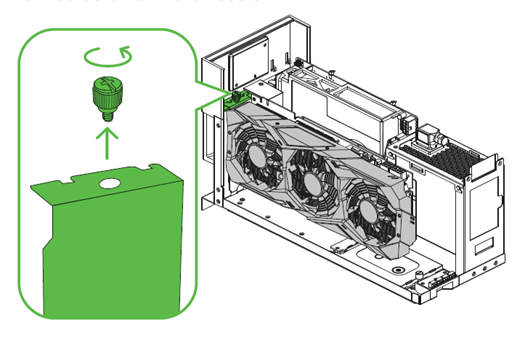
- Remove the PCIe thumbscrew.
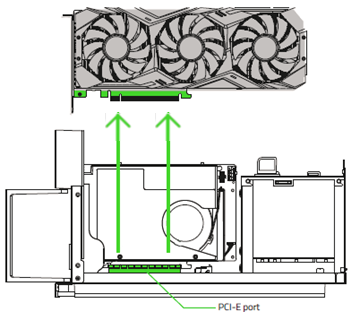
- Pull out the graphics card from the PCIe slot.
-
-
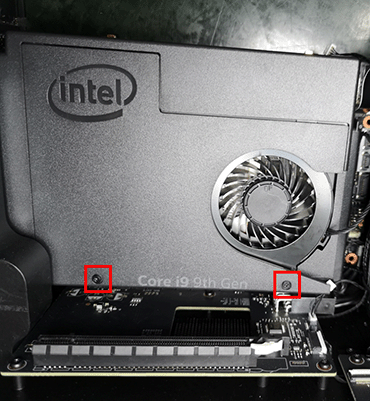
Unfasten the screws on the Compute Element’s front panel using a Phillips screwdriver to expose the RAM modules inside the Compute Element.
Note: Be careful with the amount of force you use. Do not use an electric screwdriver.
-
Unclick the two metal brackets on the side until the RAM pops up then pull it straight out.

-
Align the notches and insert the RAM at an angle, then push it down until it clicks.
-
Reinstall the Compute Element’s front panel.
-
Reattach the graphics card.
-
Slide the compartment back into the enclosure then push the lever to lock.
-
Once done, boot up the Gaming Desktop.
-
Go to "Settings" > "System" > "About" to check if the correct amount of RAM is showing.

Related articles:
- How to upgrade the storage capacity on the Razer Tomahawk Gaming Desktop
- How to upgrade the GPU on the Razer Tomahawk Gaming Desktop

